If you have an outdated hutch that you can’t even give away or you found one for cheap, you should turn it into a hutch bar. The great thing about repurposing a hutch or a China cabinet is that you will save on lumber costs for the project.
Tips to Building a Hutch Bar
You probably already have a friend or family member with hutch or tall cabinet that they are looking to get rid of. If not, then you can browse thrift stores or marketplace for an affordable hutch to turn into a hutch bar.

Try to use a hutch that is two pieces to simplify your project, but one tall hutch will work too. If you are using a large hutch that is one piece then you will need to determine the best place to cut it down to bar height.
Keep in mind standard bar height is 42 inches, so it is recommended to find a hutch that has a top that is about 40 inches tall or close to it. The bar top will be 2 inches thick, so going with a 40 inch hutch will bring you to bar height of 42 inches.
If you are going with a hutch that is shorter than 40 inches, you can get creative by building a frame for the bottom of the hutch or adding furniture feet.
Step 1: Building a Bar from a Hutch
If you are using a two piece hutch with glass doors or shelving, remove the doors and glass to avoid shattering the glass. After removing all of the glass, disconnect the top portion of the hutch to start turning it into a bar.
The top section of the hutch will be used for your bar because the top is typically the taller portion of a hutch. The bottom half of the hutch can be used for storage or as a media table, so don’t throw it away.

Now that you have two separate pieces from the hutch, take a look at the top portion and determine if it needs additional framing or supports to hold weight. Before attaching plywood or bar top, is it strongly advised to sure-up the hutch bar frame.
Step 2: Attaching Plywood to the Bar Frame
The plywood will be used to act as a strong backing for the bar. You can get creative with this part, if you prefer a different style bar front.
At this point you can lay your bar down on the floor with the front surface facing up. This will allow you to press firmly against the bar when attaching the plywood.
If you are going with plywood, a quality piece is recommended because it will be shown on the front of bar. The plywood will be attached to the front of your bar frame with wood screws and wood glue. Make sure to predrill holes around the perimeter where the plywood will be attached with wood screws to avoiding splitting the wood.
After attaching the plywood to the front perimeter of the bar, you can design the front of the bar however you prefer.
A few bar design ideas include using wood planks, wood paneling, bead board, faux brick, or recreate the design below with 1 inch common board. Whatever you decide to go with, make sure to cover the screws around the perimeter, so they are not exposed.

Step 3: Attaching Bar Top
Now that you finished the front design of your bar, you can stand it up right on a level surface to avoid tipping. There are many options when it comes to bar top, so it all depends on your style.
This bar has a butch bar top that was stained in Kona and covered with epoxy resin to project the surface. Butcher block should be aligned on the top of the bar with roughly a 6” or 7” overhang in the front and 7” overhang on the sides. There should be at least a 1” overhang in the back.
The butcher block top should be adhered with wood glue and 2.5” wood screws.
- The screws should be screwed UP INTO the top so the screw heads won’t show in the top. At least 16 wood screws should be used here spread out between both pieces of frame.
Step 4: Mount the Hutch
After the bar top has been attached, it is strongly advised to mount the bar to prevent tipping. A straight bar is vulnerable to tipping, so don’t skip this step!
Step 5: Sanding, Painting, & Staining
Sand the entire bar with a medium grit sand paper then follow up with a fine grit sand paper to smooth everything out. Wipe the entire bar with a dry cloth and vacuum debris before staining or painting.
This bar was stained with Kona on the bar top followed up with 2 parts epoxy resin and the bottom of the bar was painted with Dorian Gray by Sherwin Williams.
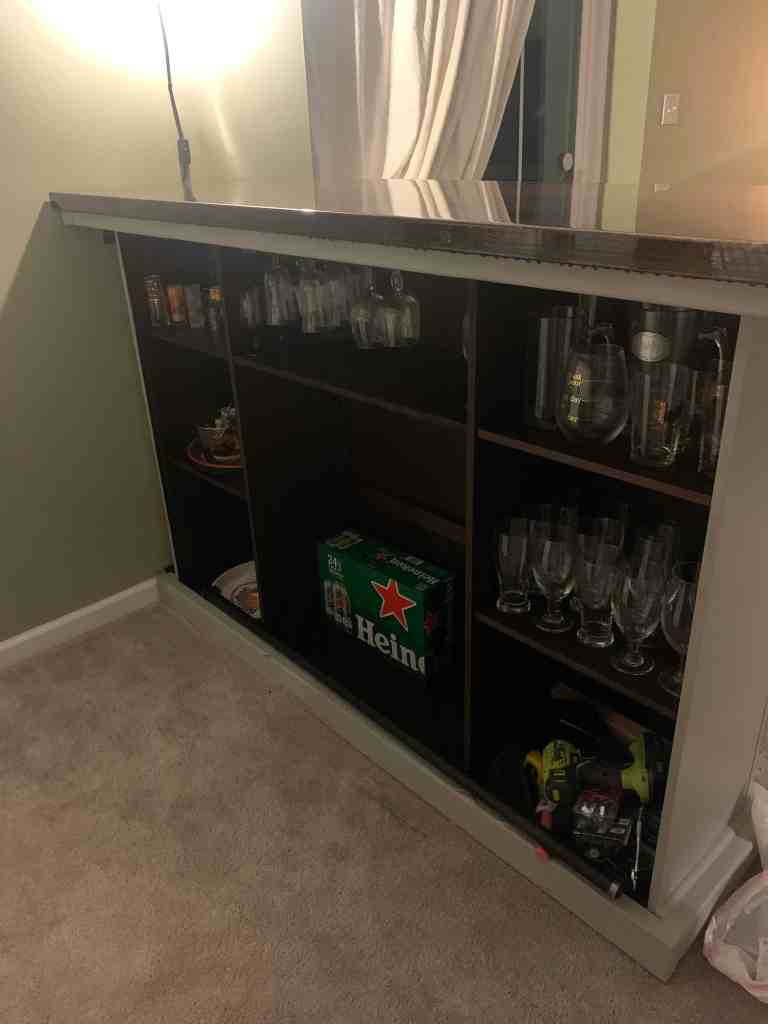
Step 6: Hutch Bar Shelving
Since the bar frame for your hutch bar was previously used to display and store dishes, it should have shelving built in. If you do not have enough shelving in the back of your hutch bar, you can use scrap pieces of plywood from the front of your bar to create more shelving.
The back of the bar was left the original stain color of the hutch, which matches the bar top nicely. You can get creative with this step and add a pop of color to the back of your bar to compliment the space.
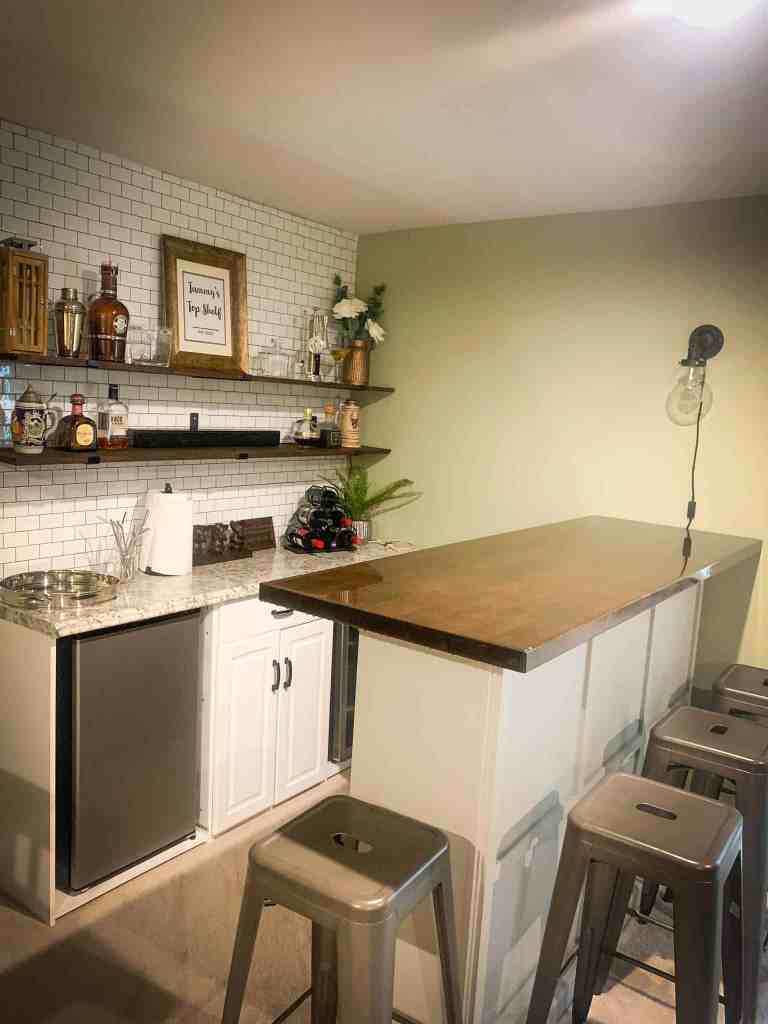
Finishing Touches to the Dining Hutch Bar
Your bar should be completed at this point and ready for bar stools, beverages, glasses, and bar shelving. Decorate the surrounding area to compliment the look and feel of your new bar hutch!