
Are those dirty grout lines staring back at you driving you nuts?! Instead of aggressively scrubbing grout, follow these tips on how to paint grout lines that will dramatically change the look of your kitchen.
How to Paint Grout Lines
Follow these 4 steps on how to paint grout lines without breaking a sweat or vigorous scrubbing. I have tried harsh cleaners and scrub brushes to clean tile grout, but they take a long time and smell terrible.

Instead of aggressively scrubbing grout for hours, opt for a grout paint that will last much longer that just cleaning and will seal the grout.
Best Grout Paint for Floor Tiles
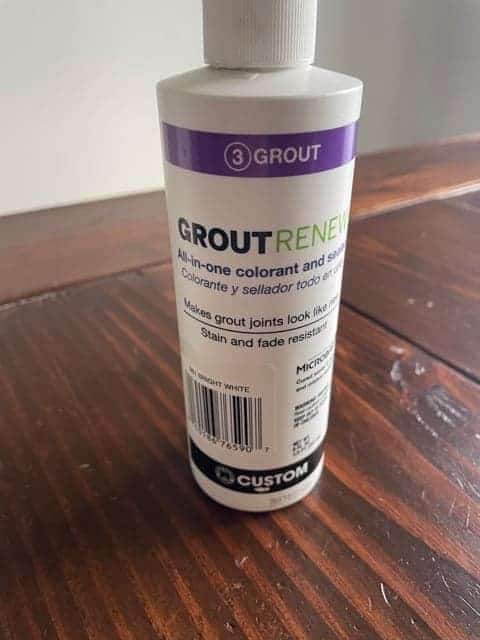
As I mentioned before, I tried many different products to clean tile grout in my kitchen, but I didn’t get great results. After trying several different products to clean tile grout, I found a beginner friendly grout paint at Home Depot.
I recommend using Grout Renew to paint your dirty grout lines because it is easy to work with and lasts if you follow the directions. This product will dramatically change the color of your dirty grout with only a toothbrush and no scrubbing!
Grout Renew also comes in a variety of colors, so you can find a perfect match for your tile file. After you brush this stuff onto your grout, you simply just wipes any excess off with a rag.
This product is so easy to apply, and seals your grout so you will only have to touch up your grout occasionally.
Items Required:
- Soft bristle toothbrushes
- Grout Renew
- Paper plate or bowl
- Rag
- Gloves
- Optional: Mask
Step 1 – Clean Floor Tiles Before Painting Grout
Before you paint tile grout, sweep or vacuum your floor thoroughly then mop the entire area. If you notice there are crumbs after moping the floor then I recommend vacuuming again. The goal is to avoid debris from getting into your grout lines when painting.
Step 2 – Painting Tile Grout Lines
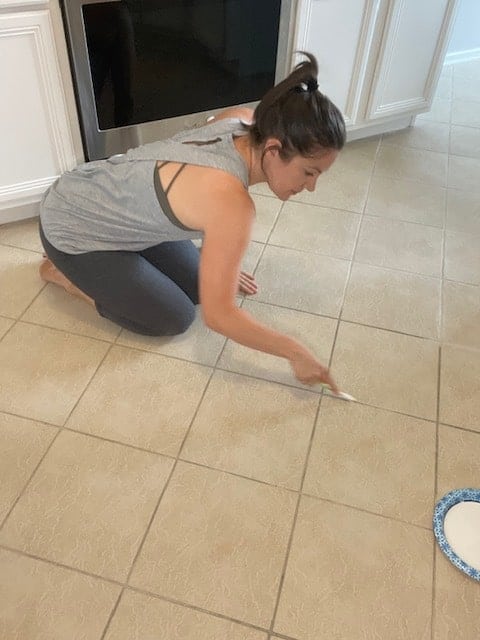
Now that your floors are squeaky clean, it is time to brighten up those grout lines with grout paint. Here is how to paint grout lines, so that it holds up. Start by putting on gloves then pour a small amount of Grout Renew onto a paper plate.
Start in a corner of the room with a soft bristle toothbrush, a rag, and your grout cleaner. Lightly dab the toothbrush into the Grout Renew and brush it gently onto the grout line.
Dragging the toothbrush along the grout line until the brush is dry. Then dip the toothbrush into Grout Renew again and continue to work your way around the room.
Repeat this process until your entire floor is complete. Be careful not to step directly onto the grout lines until the area is completely dry.
So, you might have to play hopscotch for several house until Grout Renew is dry. I recommend applying the Grout Renew before bedtime, so the floor can dry overnight without pets or kids walking on the floor.
Step 3 – Optional 2nd Coat of Grout Renew
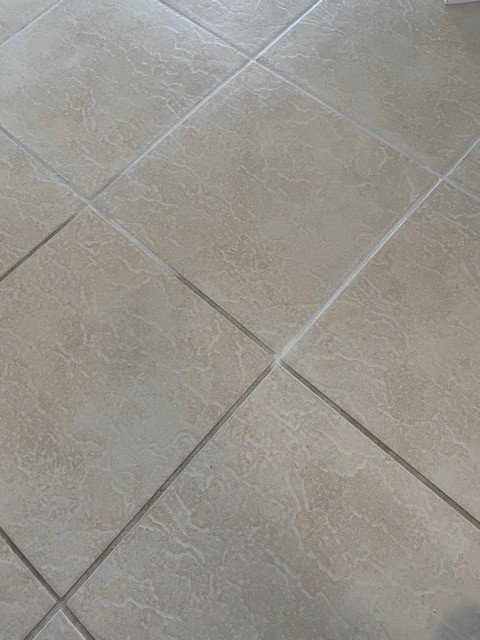
My floor looked great after one coat of Grout Renew, but in higher traffic areas the grout looked a bit gray not bright white. So, in higher traffic areas, I recommend doing a second application as the grout may not be as white.
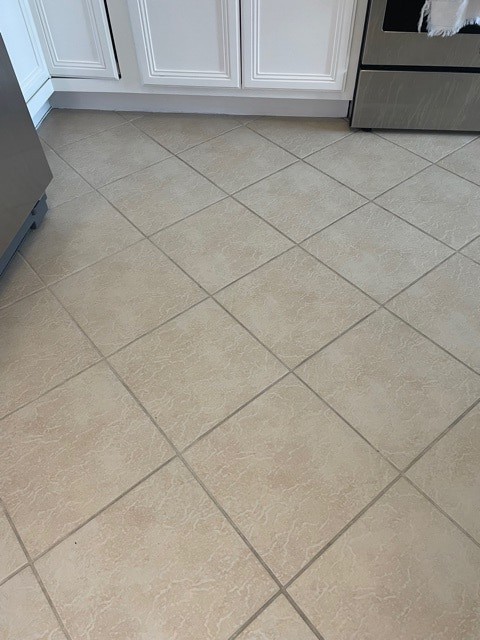
You might noticed after several months, the higher traffic areas look a little gray again. So, you might need to do a quick touch up occasionally. After applying a second coat my grout lines turned out bright white and match my white cabinets perfectly!

Step 4 – Cleaning the Floor After Painting Grout Lines
It is recommended to let Grout Renew dry for 72 hours or more before getting it wet. So, let your floor completely dry before moping the floor again or you will risk removing the grout paint.
Your floor will look slightly hazy at first, but this goes away after you mop the floor. So, don’t worry you didn’t ruin your floor if it appears hazy like mine. This will go away after another good mopping, but make sure to wait until the grout paint is totally dry!
Your painted grout lines will last up to a year and may need an occasionally touch up. So, save the leftover grout paint to do a quick touch up as needed.
If you have hideous tile that can use updating, but you don’t want to remove it, try stenciling your tiles. Stencils and peel and stick flooring has come a long way, so these are great options to update your home on a budget.
Conclusion
There are 2 things in my home that make me smile, bright white grout and clean paint lines along the ceiling. I hope this post gave you the motivation to start cleaning your grout. Once you get started, you won’t be able to stop with this product.