
Instead of throwing it away outdated decor, follow these steps on how to use textured spray paint to give it a brand new look. Once you get the hang of this stone spray paint, you will want to use it on everything!
Rust-Oleum Textured Spray Paint
Paint is a quick and easy way to instantly change the look of an item, so grab a old vase and give it a brand new look for a few dollars.
A coat of paint can cause such a dramatic effect in a room or on an object. This textured spray paint is so cool, but there is one problem with this stuff. I want to use it on everything!
How to Use Textured Spray Paint
Start slow with the product and occasionally step back or you might over do it with the texture.
First shake the can of stone spray paint to mix it up well before applying it to your item. Place your items in a well ventilated area, and cover the surrounding areas to prevent splattering.
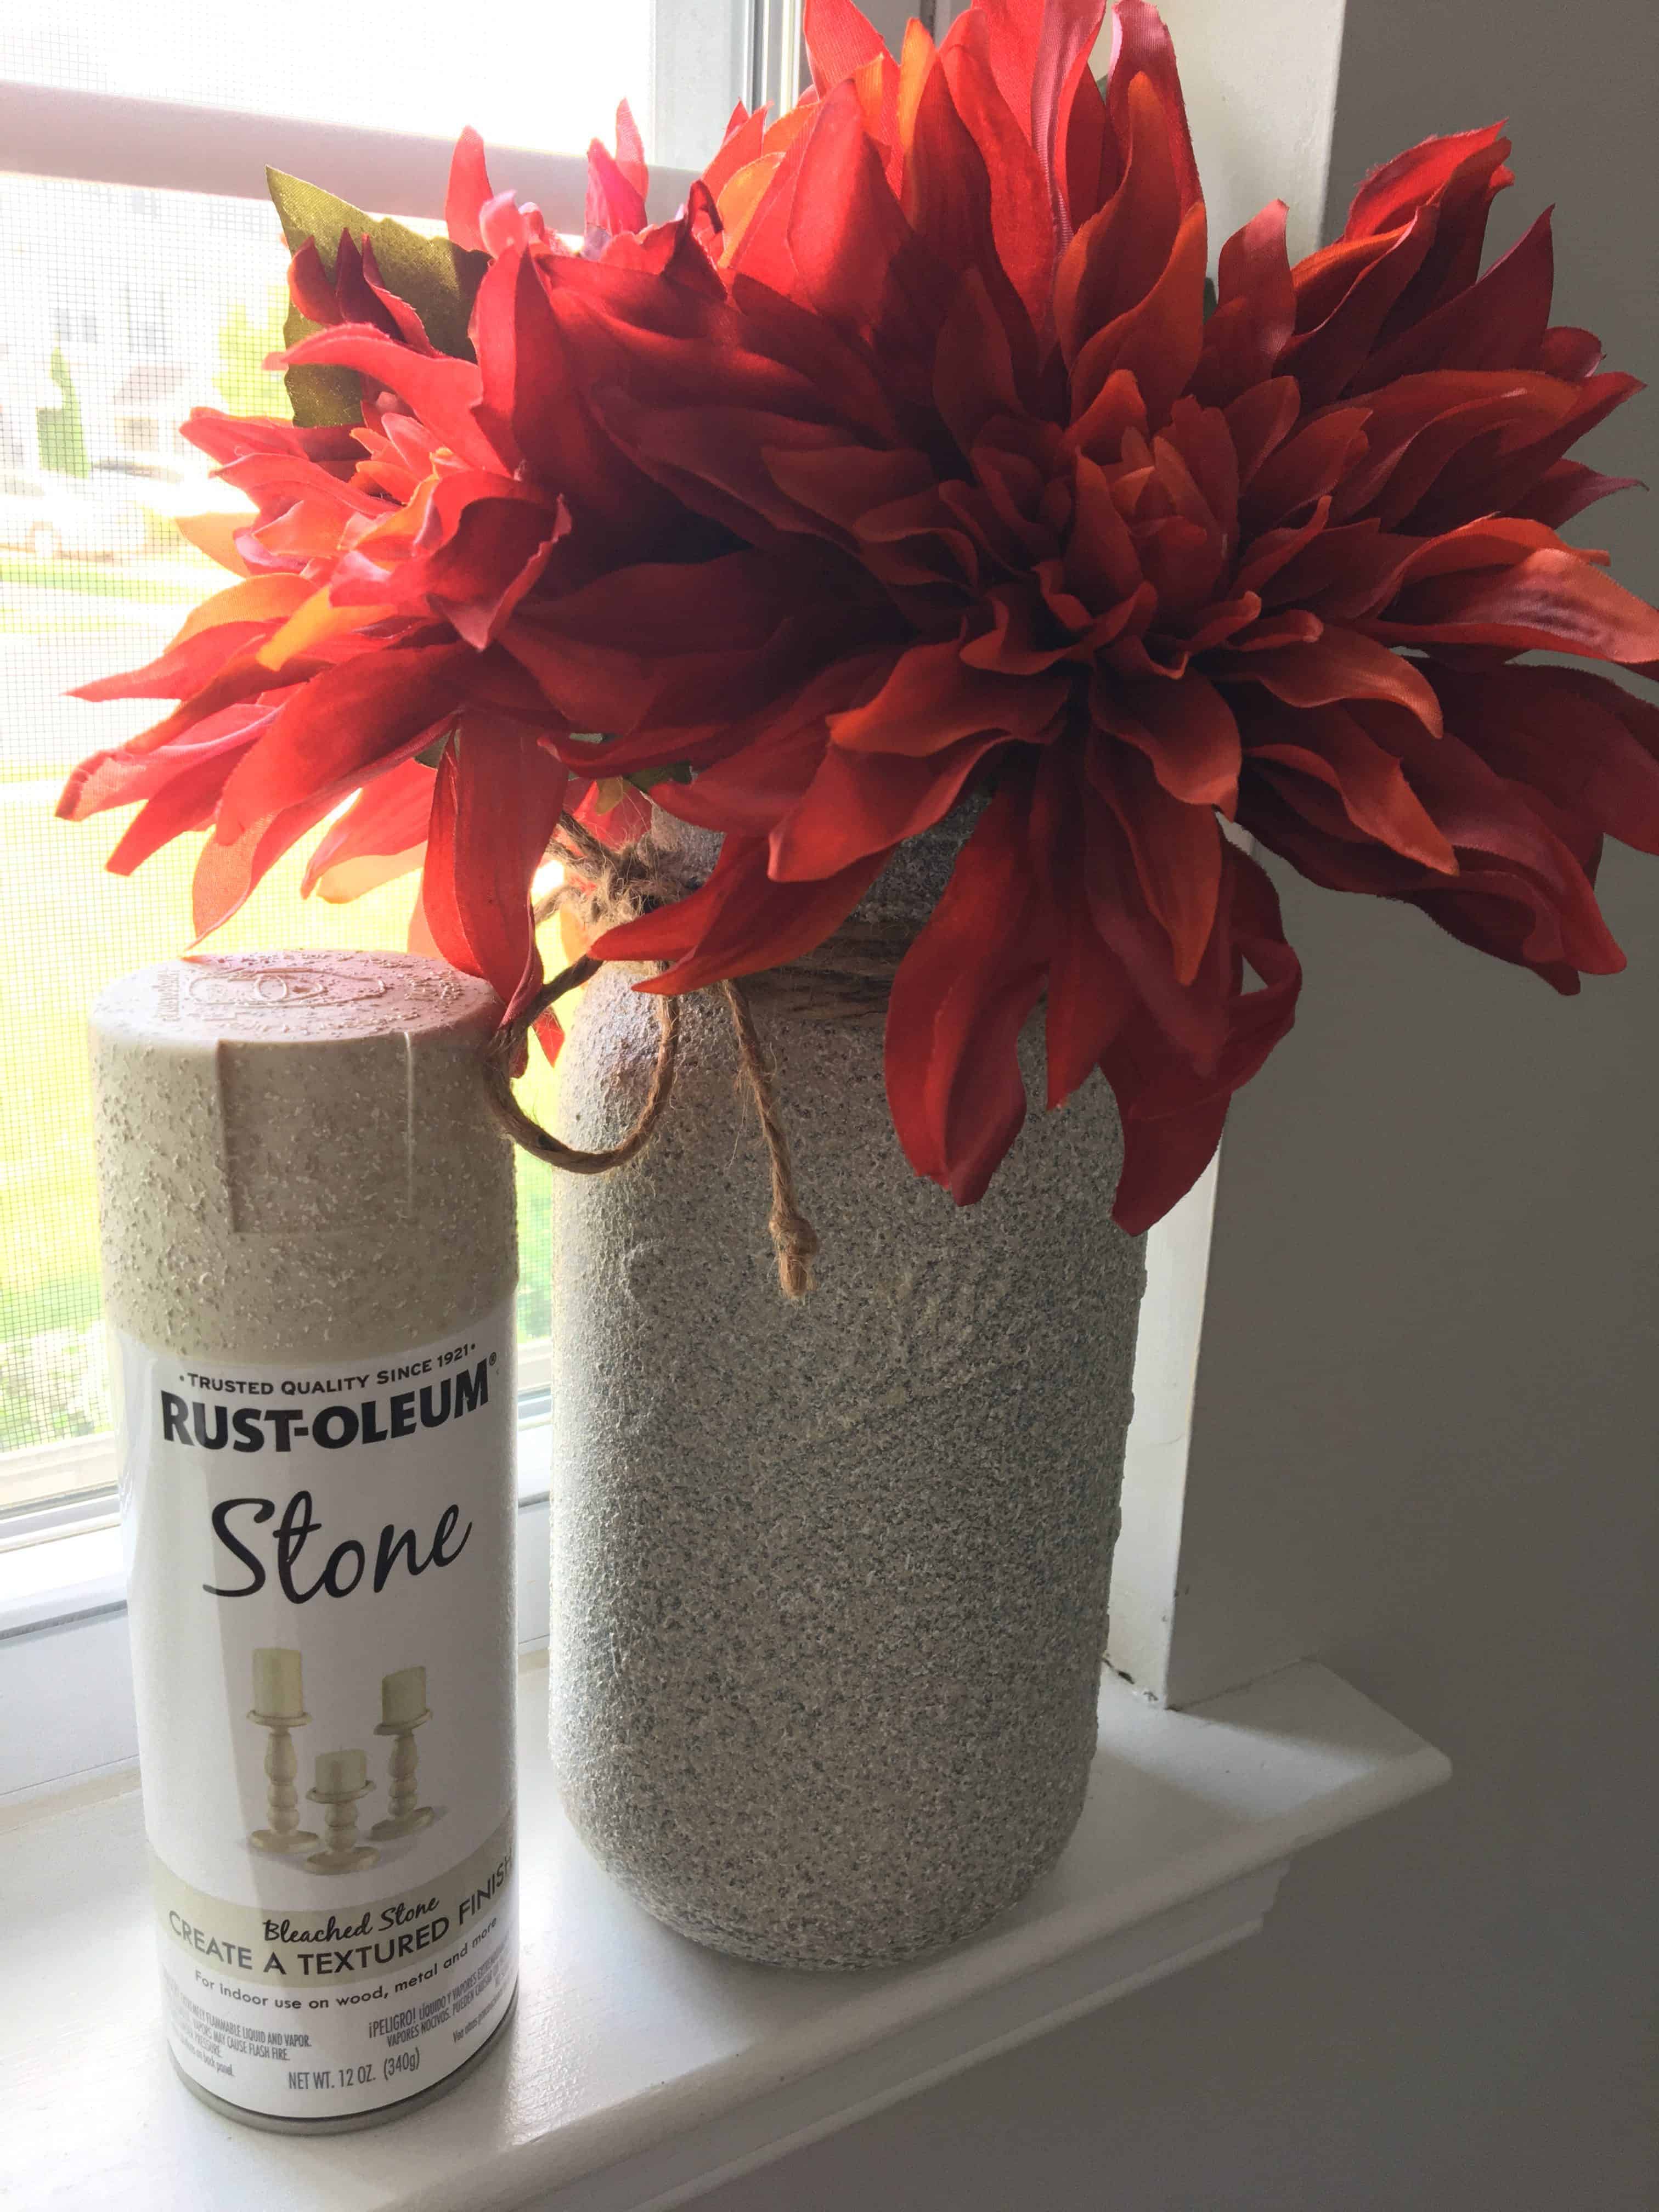
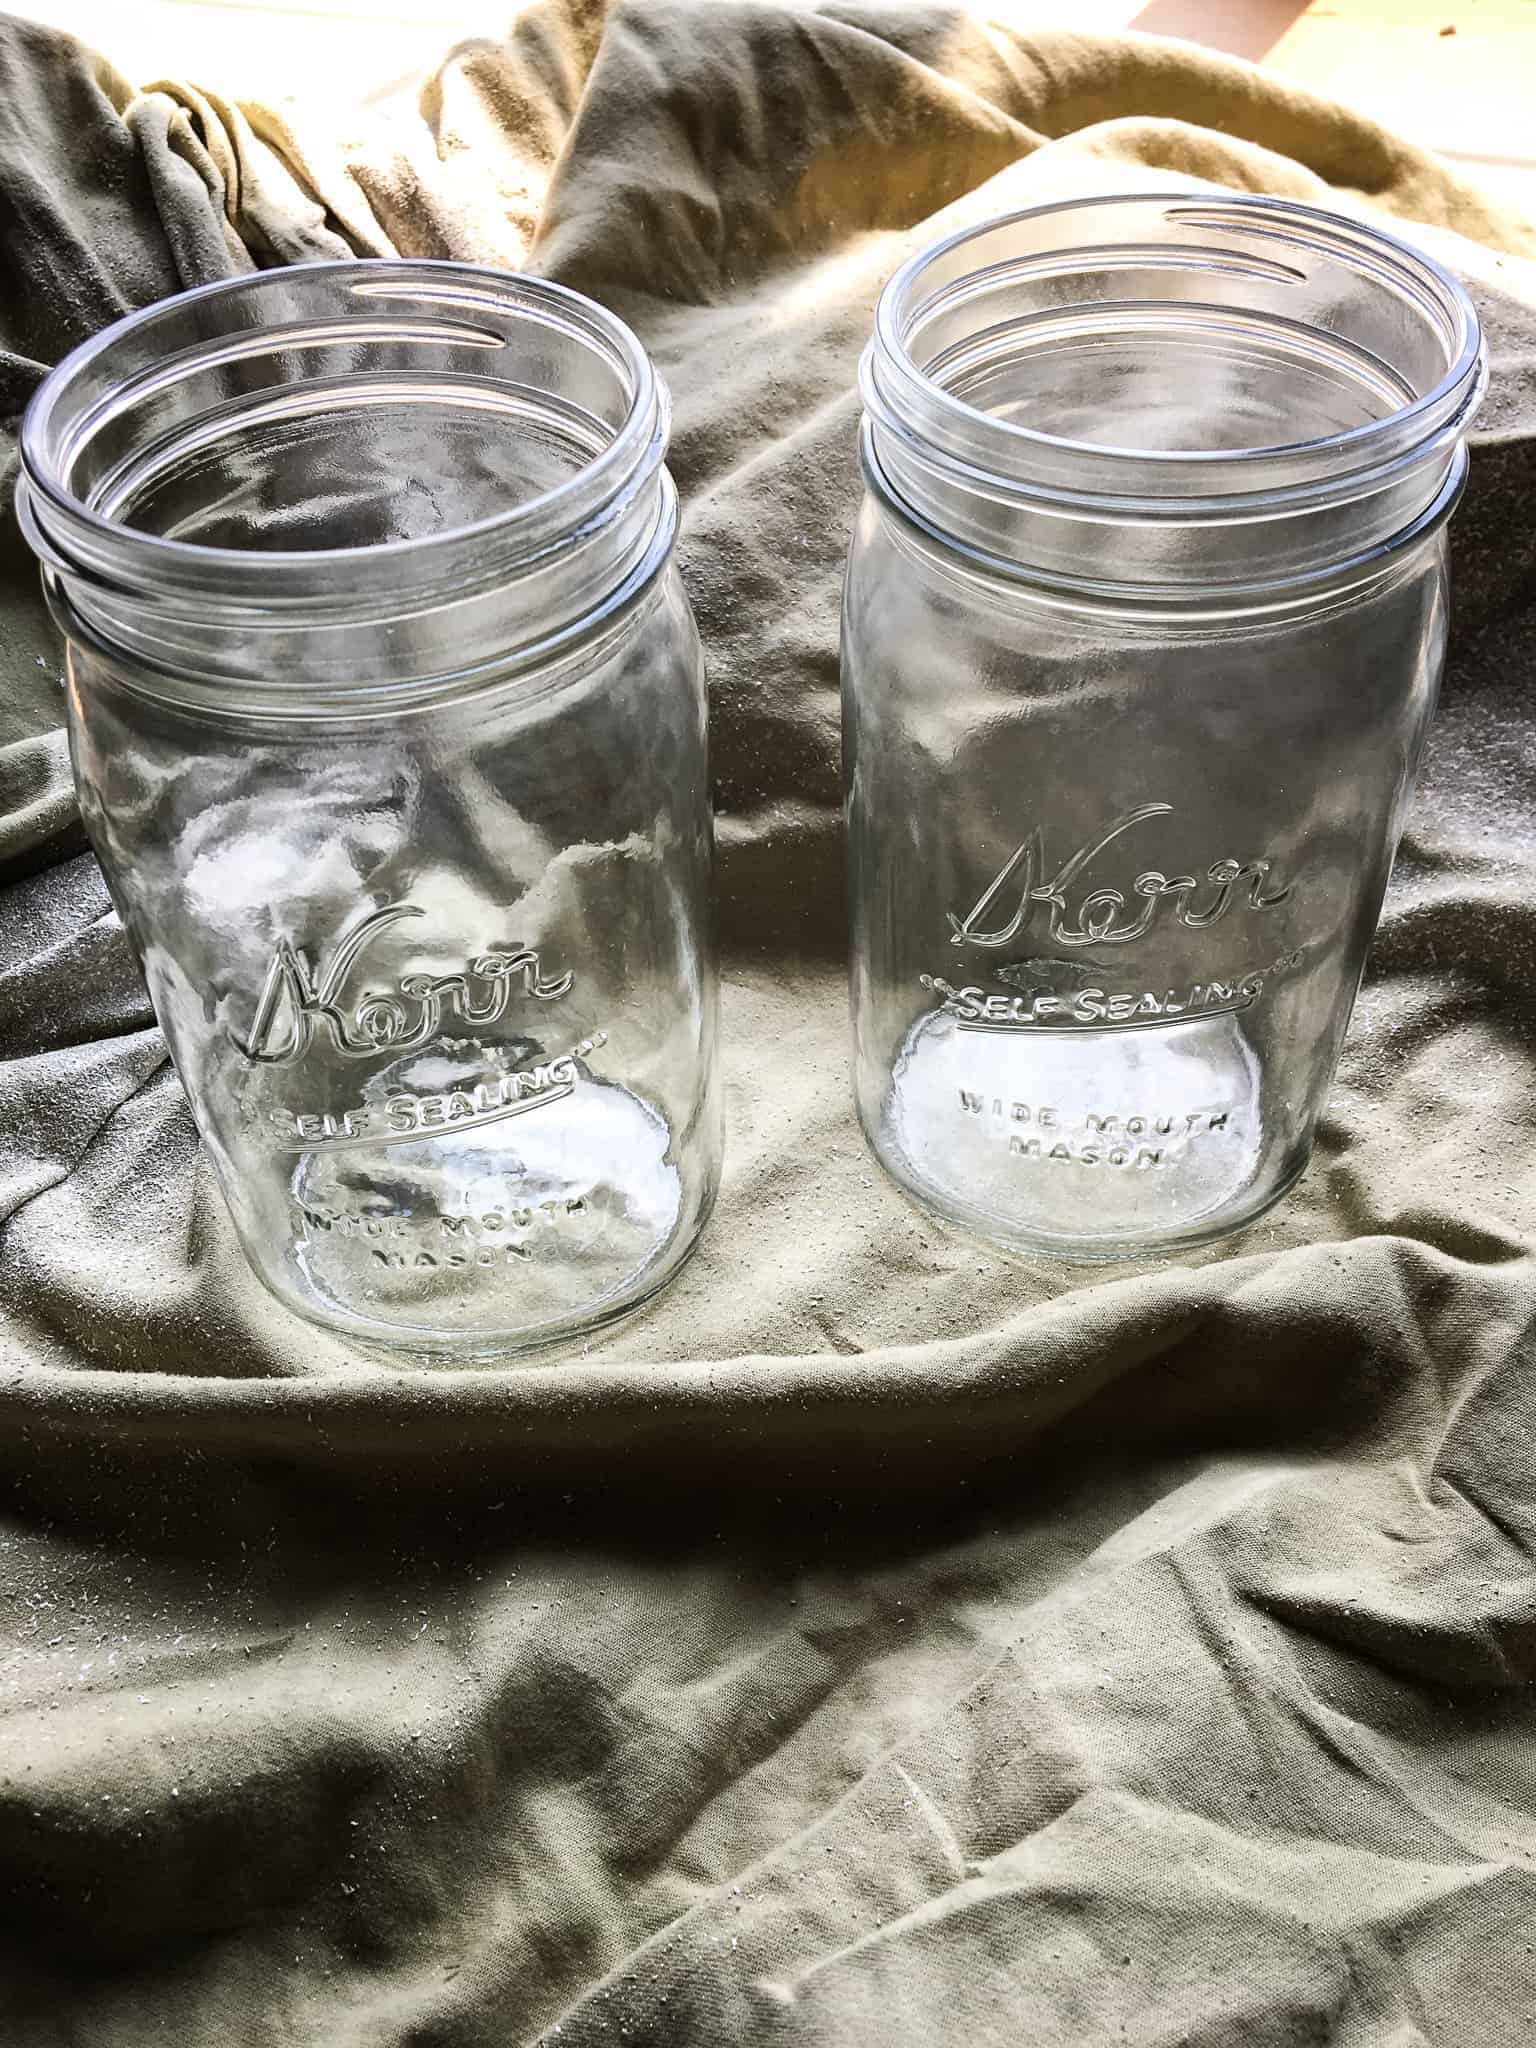
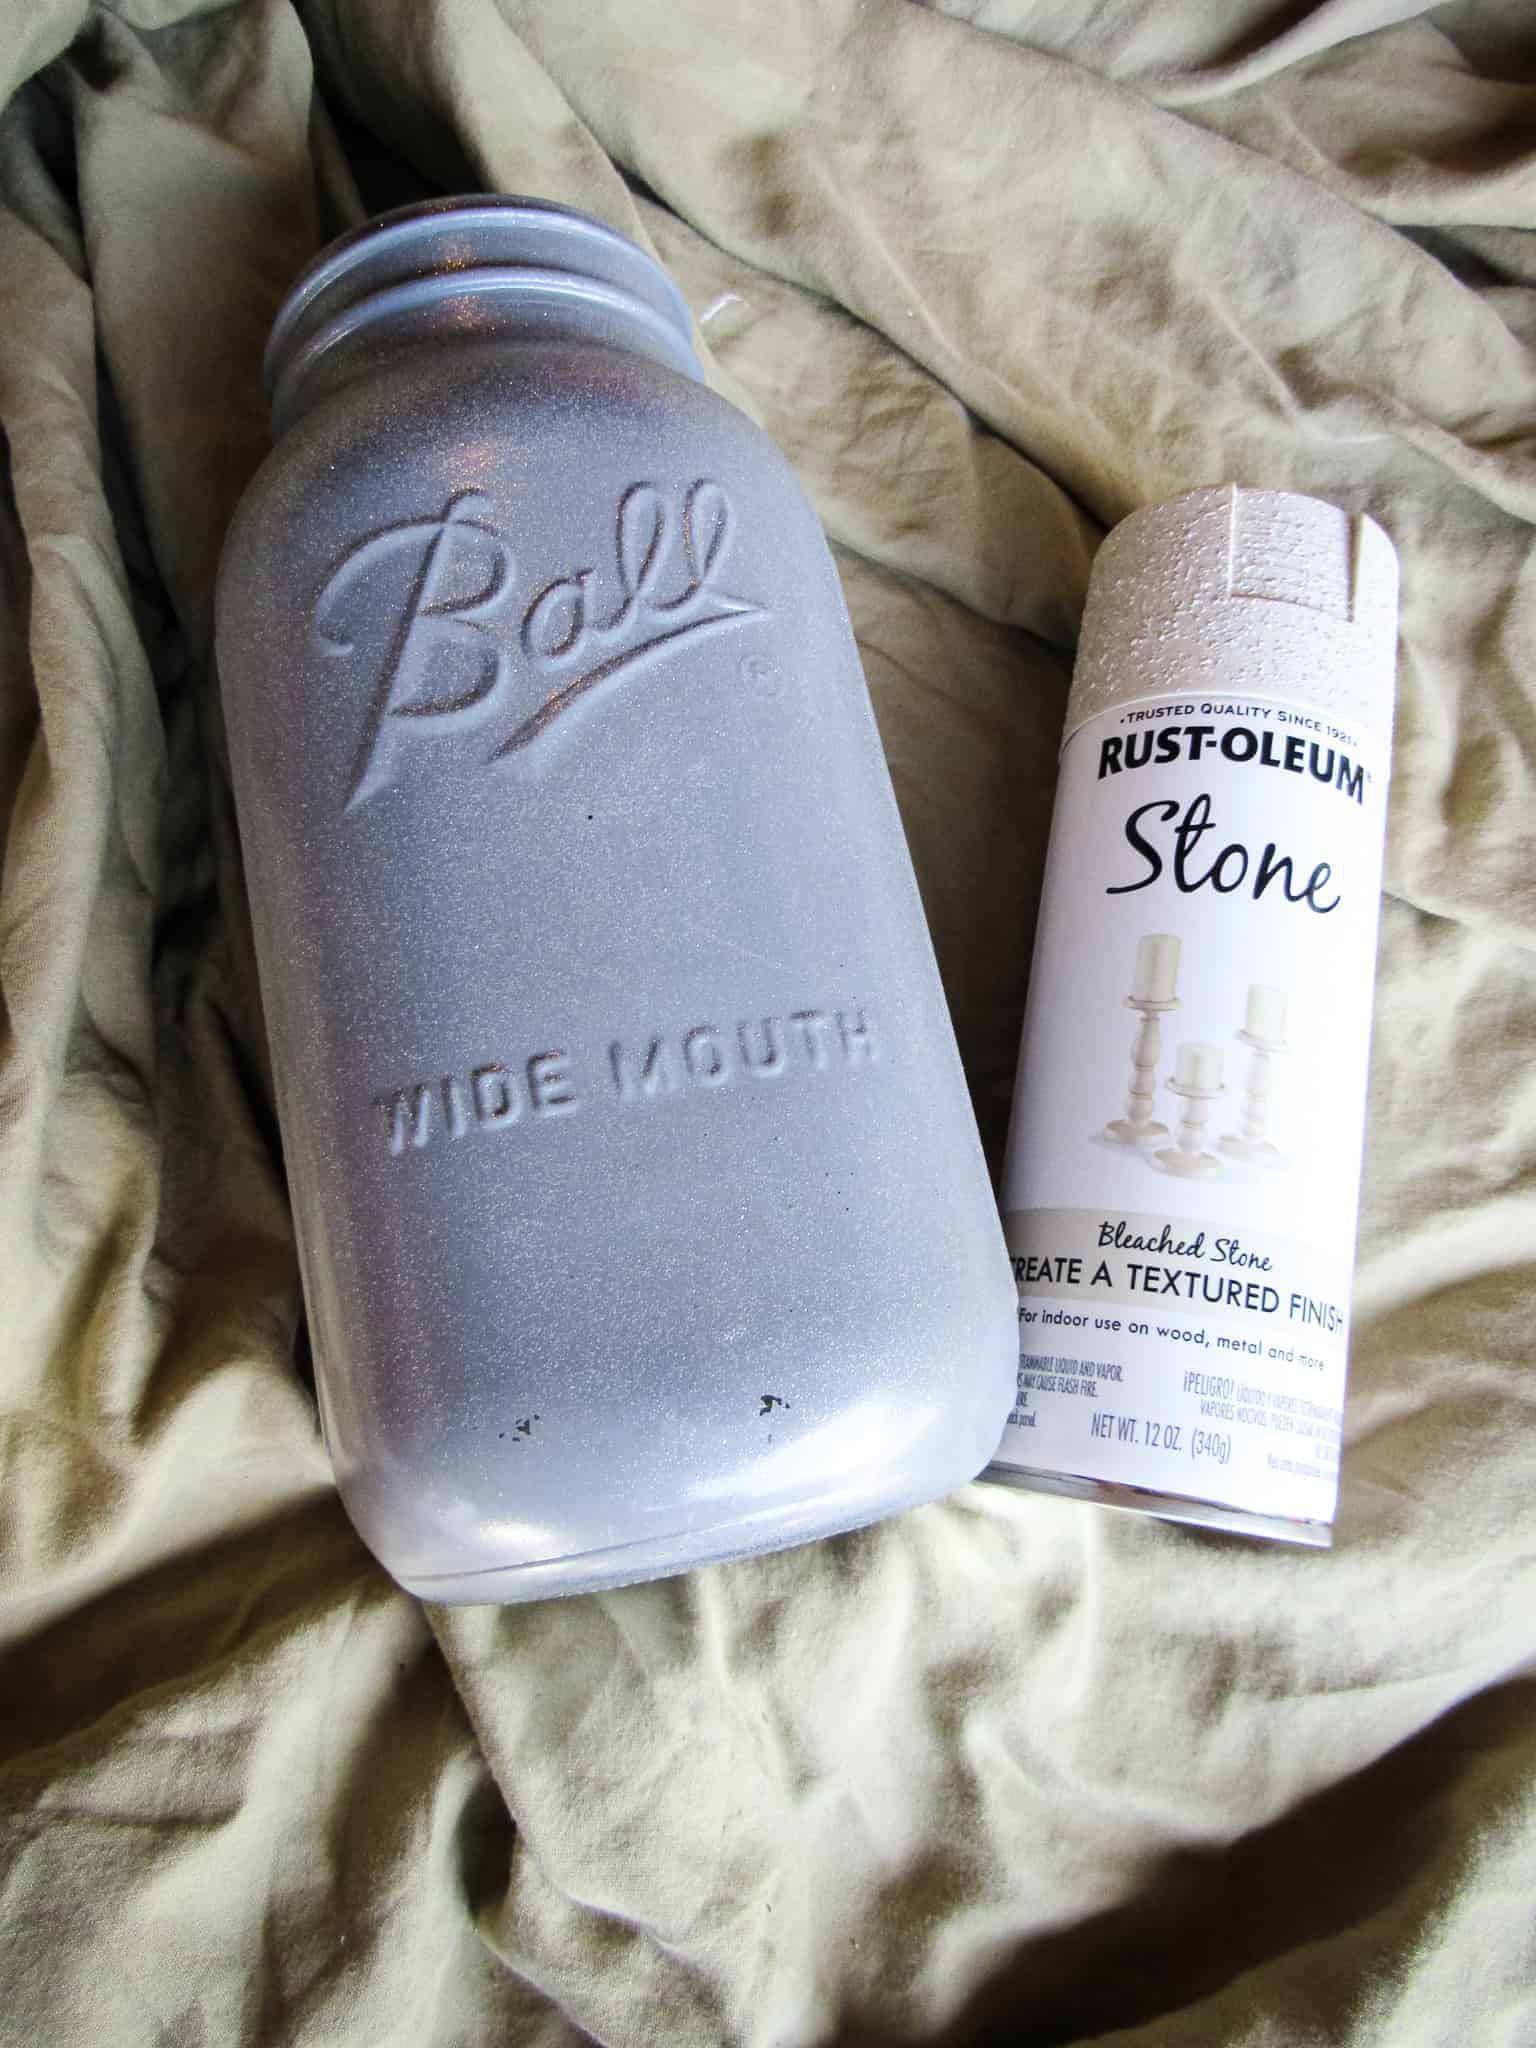
I used clear mason jars and a larger mason jar that was previously painted gray for this project. To apply the stone to the mason jars, hold the can about a foot away and press the nozzle down.
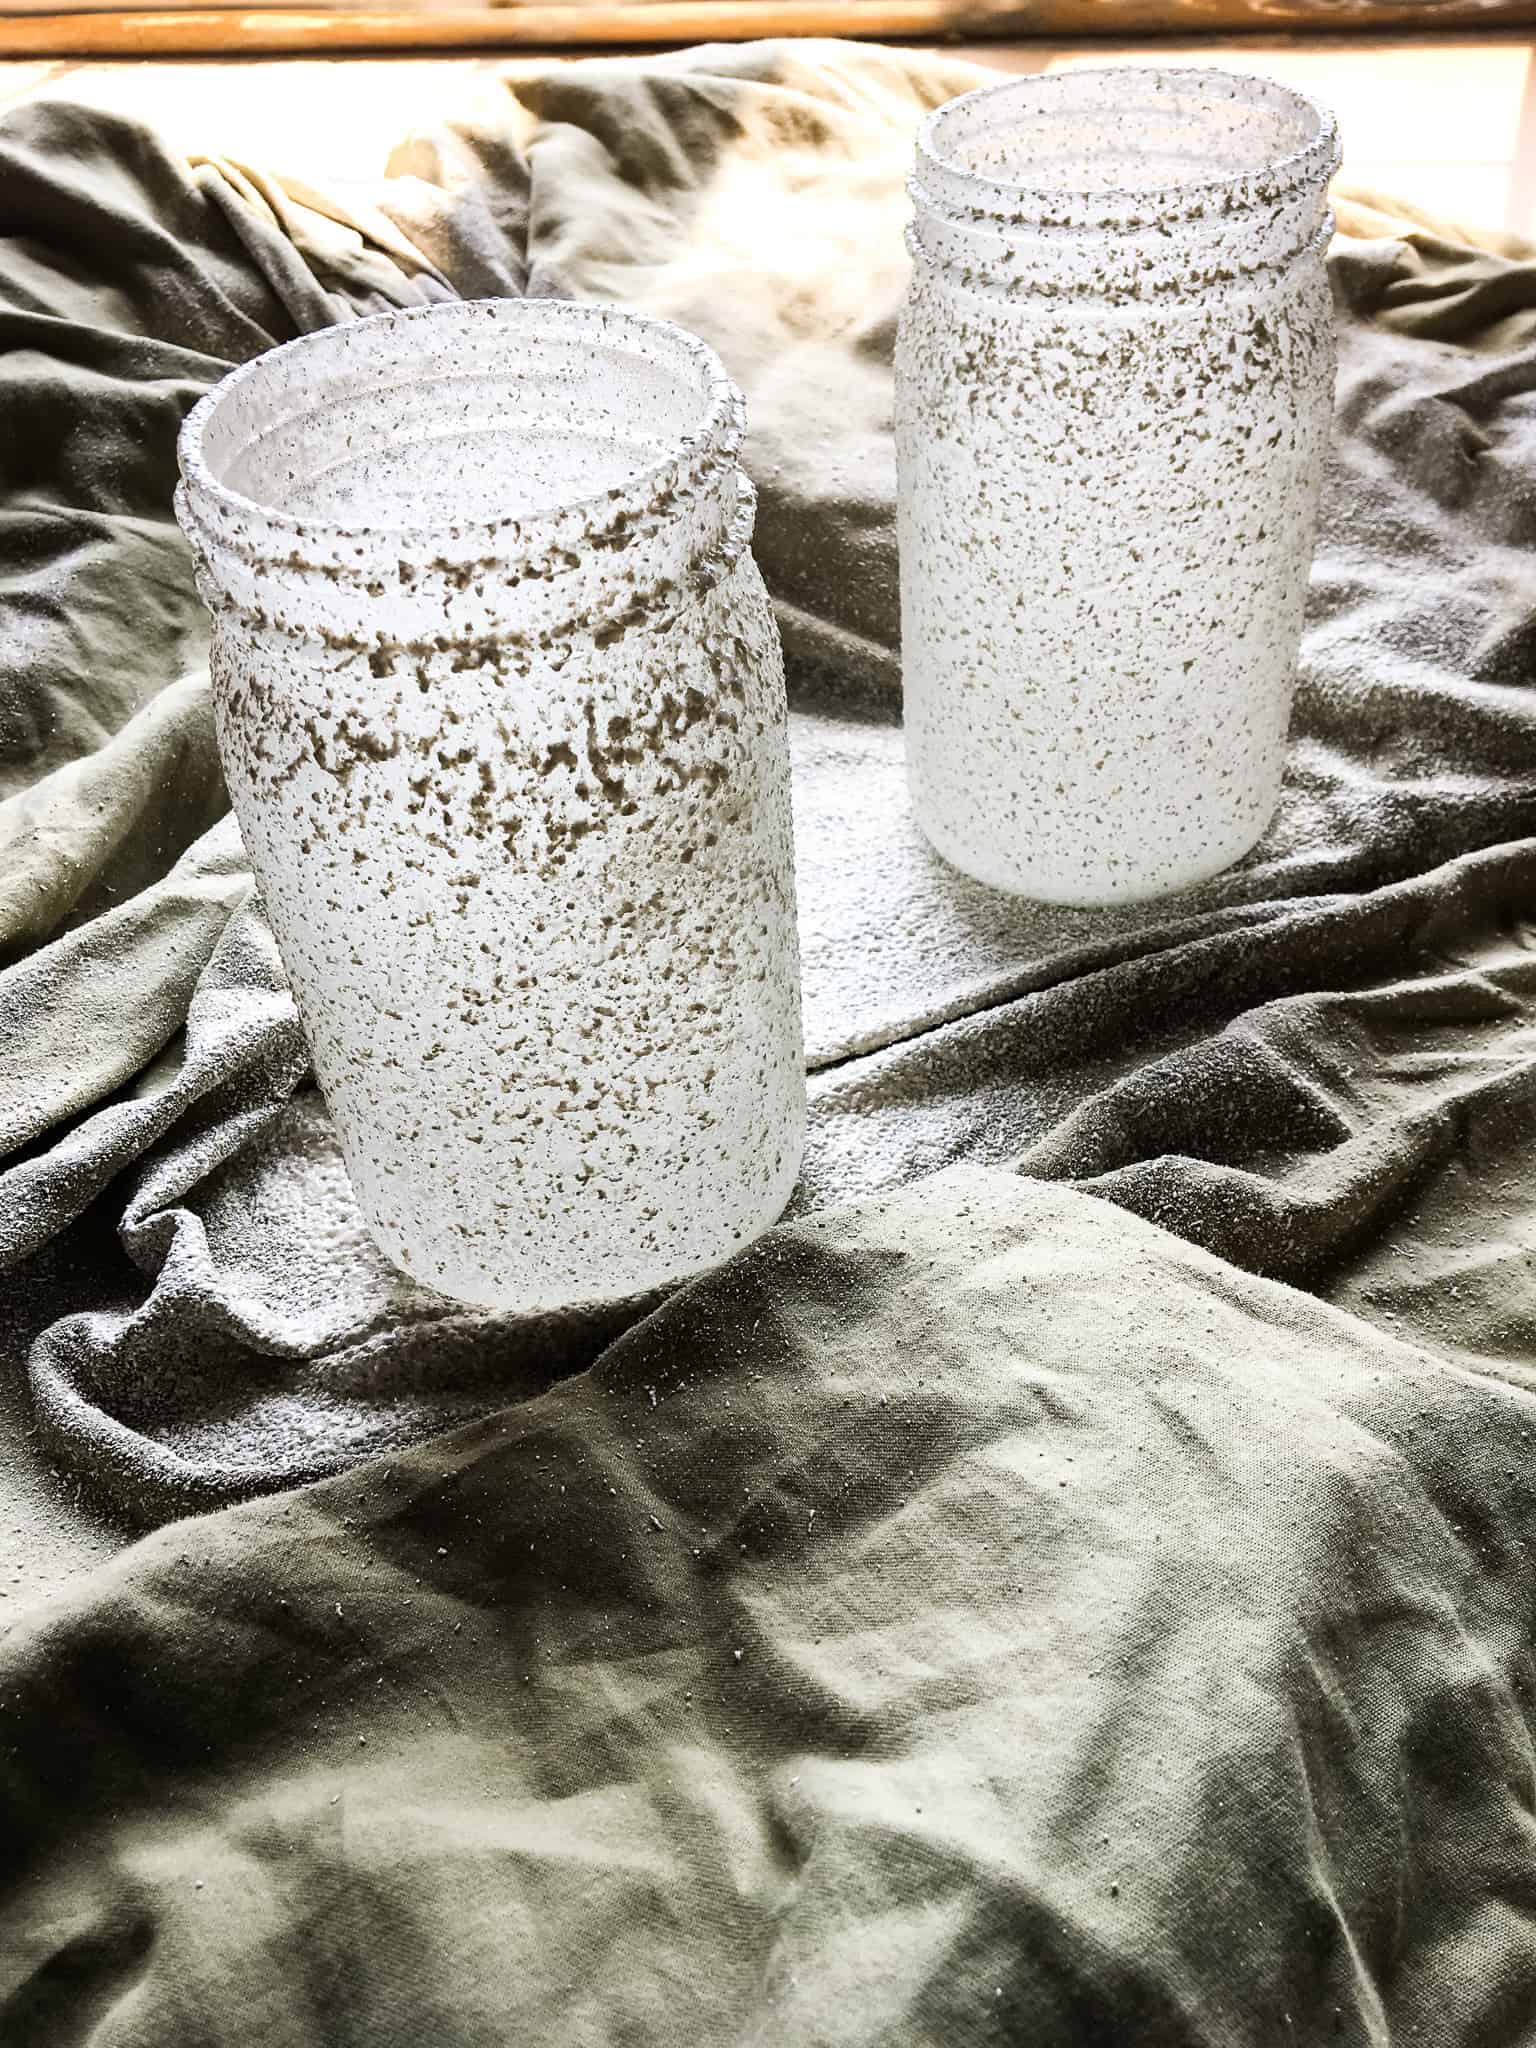
Making sure to apply even coats of stone around the entire mason jar. Remember to step back occasionally to make sure the spray paint looks even. If you applied the texture a heavy in some areas, lightly spray the rest of the vase to even it out.
Tips and Tricks to Applying Stone Spray Paint
Do not apply thick coats of the stone spray paint, as this will cause bumps and paint drips down the sides of your mason jar. I went a little too heavy with the spray paint around the top of the mason jars as seen below.
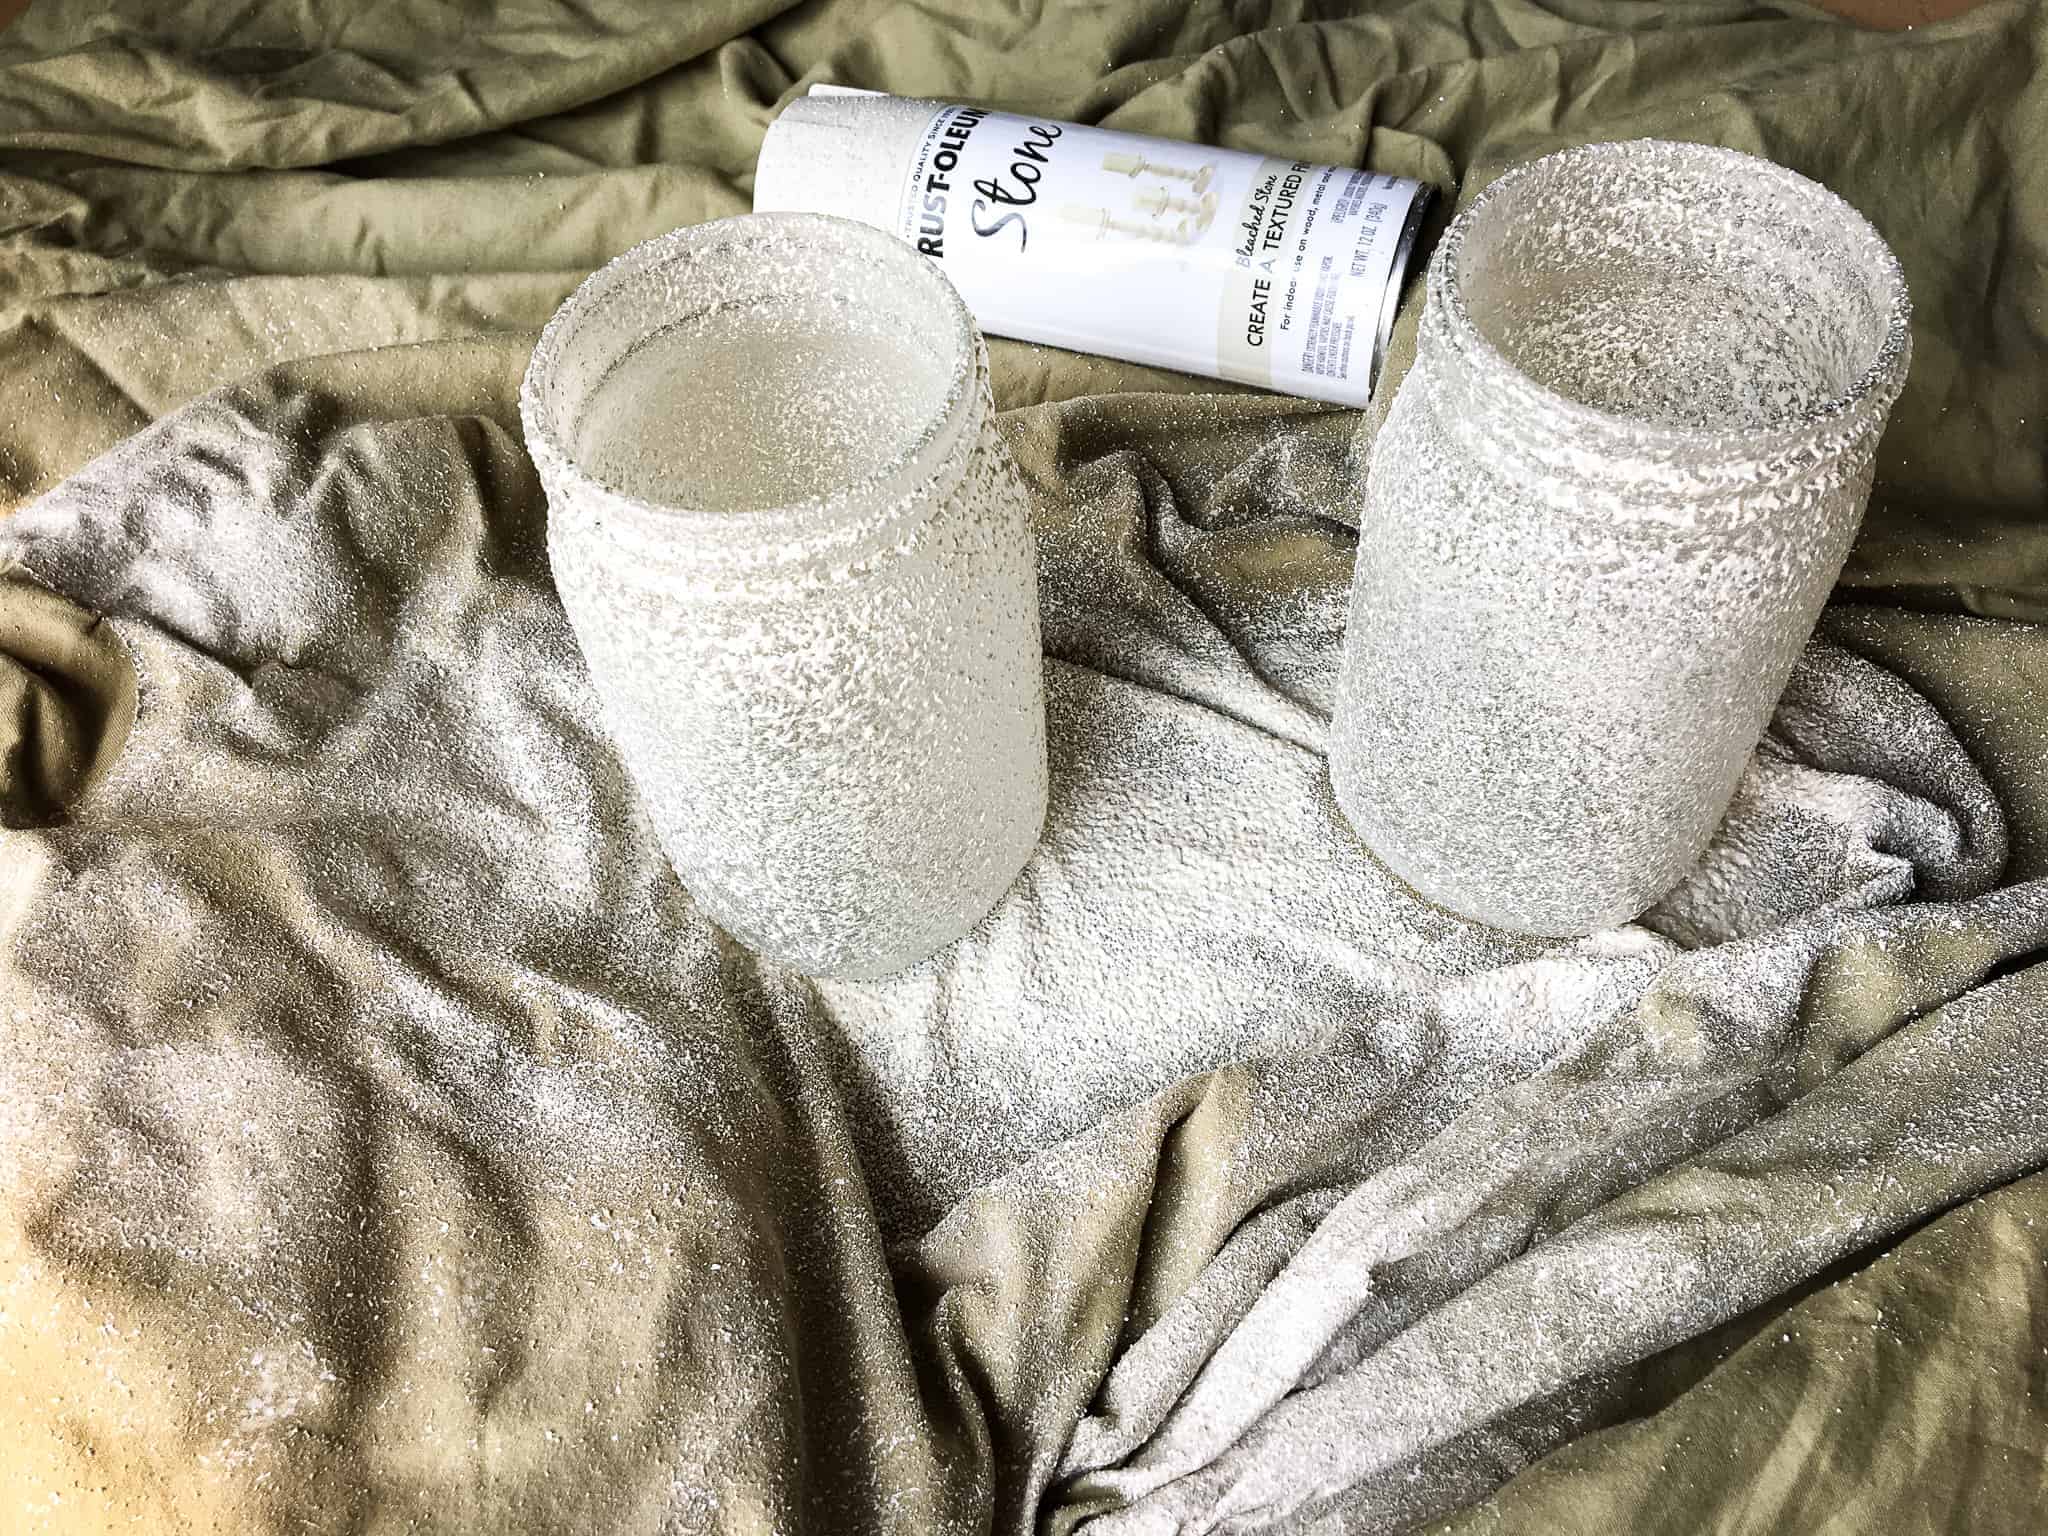
If you applied too much textured spray paint like I did above, a second coat of spray paint will even it out. Allow the spray paint dry for about 30 minutes or longer in between coats. If you are working in a higher humidity level then the paint will take longer to dry.
The paint might feel sticky if it’s humid, so the paint will needed to dry before applying additional coats. I used a total of two coats of stone spray paint to achieve the look I was going for. If you are applying the stone spray paint over a painted item then the color will appear differently.
This spray paint will not completely cover the existing color of your item. So, if you don’t care for the color on your item, make sure to spray paint it a new color then cover it with stone spray.
Stone Spray Over a Gray Vase
Keep in mind the color of the stone may vary if your item is already painted. The below mason jar was already spray painted gray before I applied the textured spray paint.
The gray lightly showed through the stone spray paint, but I love how this came out. Stone spray will not completely cover the existing color, instead it will add a slight shade of white and cream with textured over top.
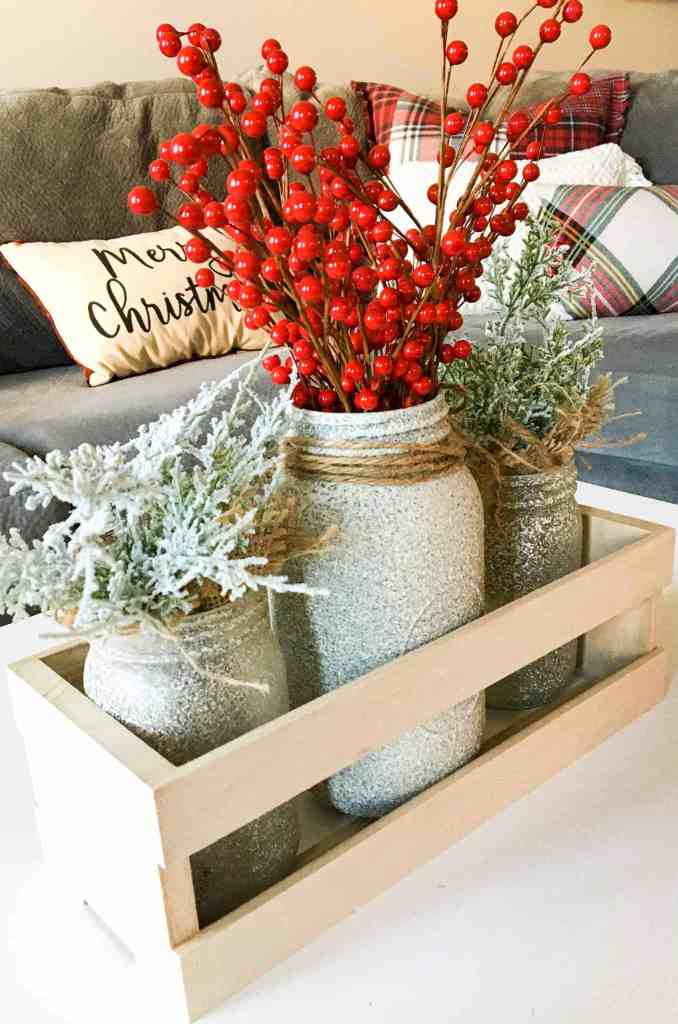
Stone Spray Painted Vases
The nice thing about these textured spray paint vases is that I can use them all year long. I am planning to rotate out the floral arrangement all year, so I can enjoy this DIY spray paint project throughout the year.

The box that I have the mason jars displayed in was purchased from Michael’s craft store for less than $10! I was thinking of making my own box for the mason jars, but this box from Michael’s was so cheap.
More Stone Spray Paint Ideas
Here is another quick spray paint project to update outdated holiday decor. My mother in law was giving away free holiday decor, so I couldn’t turn down this candle holder lantern.

The gold wasn’t that bad on this lantern, but it just didn’t go with any of my current decor. First I applied a single coat of gray chalk paint over the entire lantern, making sure to cover the gold completely.
Then I let the lantern dry for a few hours and applied a light coat of stone pray paint. I did not spray the textured spray paint on very thick because I wanted the stone to look like falling snow on the lantern. Next time you come across some cheap or free decor give it an update with spray paint.

Conclusion
Take a look at what you already have on hand and turn it into something new like these DIY decorative baskets. You would be amazed at what you can repurpose with a little textured spray paint! For even more ideas on how to update old decor take a look at these 10 Ways to Update Decor.