
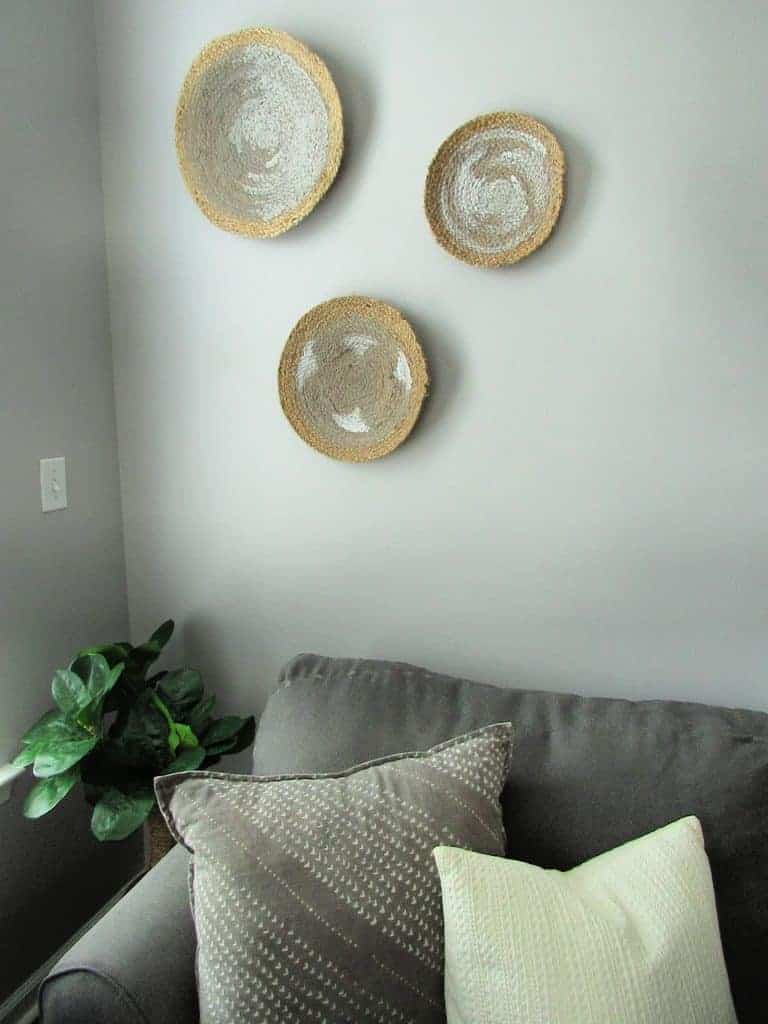
Looking for boho basket wall decor, but don’t want to spend a small fortune? This cheap DIY placemat wall art idea is fun and affordable.
Easy DIY Placemat Wall Art
Instead of spending hundreds of dollars on a set of basket wall art, try making this placemat art for only a few dollars. I am constantly changing it up in my home, so I couldn’t justify spending more than $20 for wall art that I will remove in a few months.
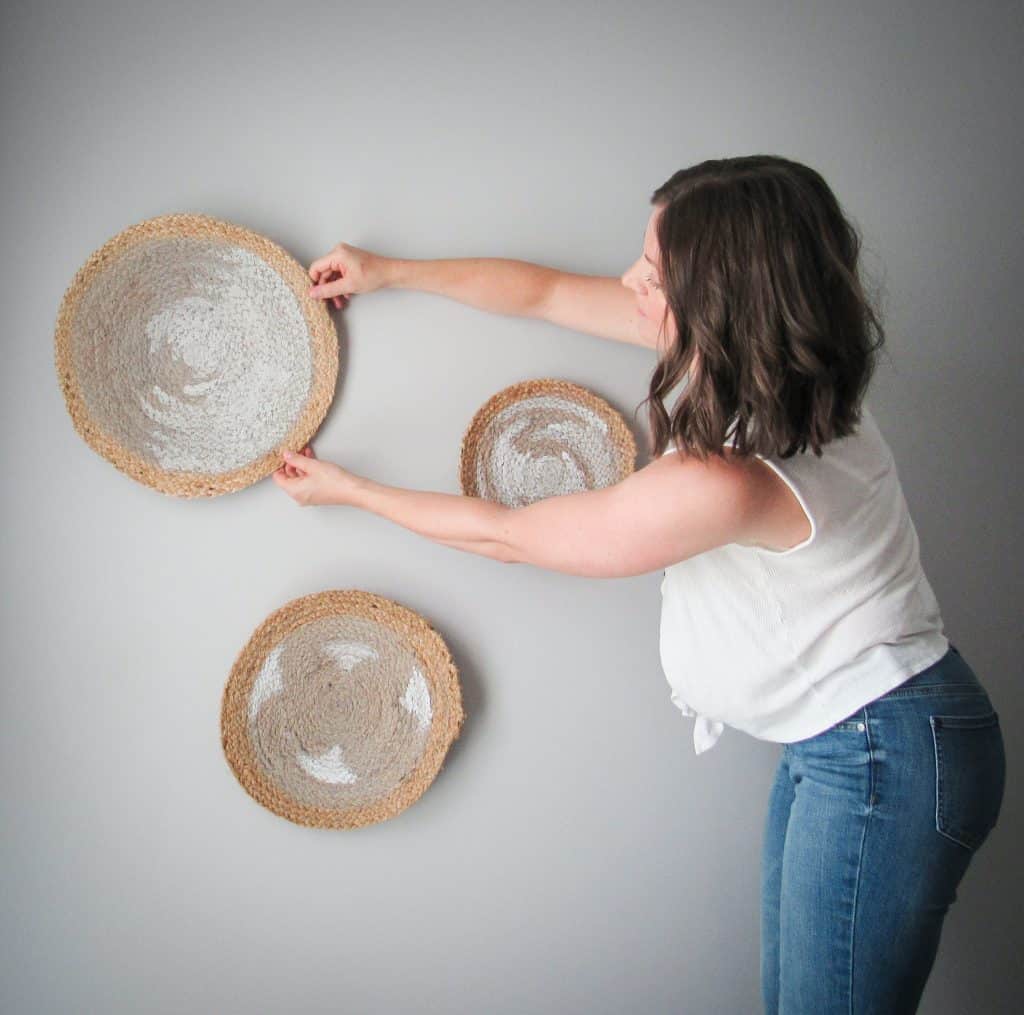
This placemat art is easy, affordable, and can be customized to fit any personal style. Don’t be afraid to get creative and add a pop of color to brighten things up.
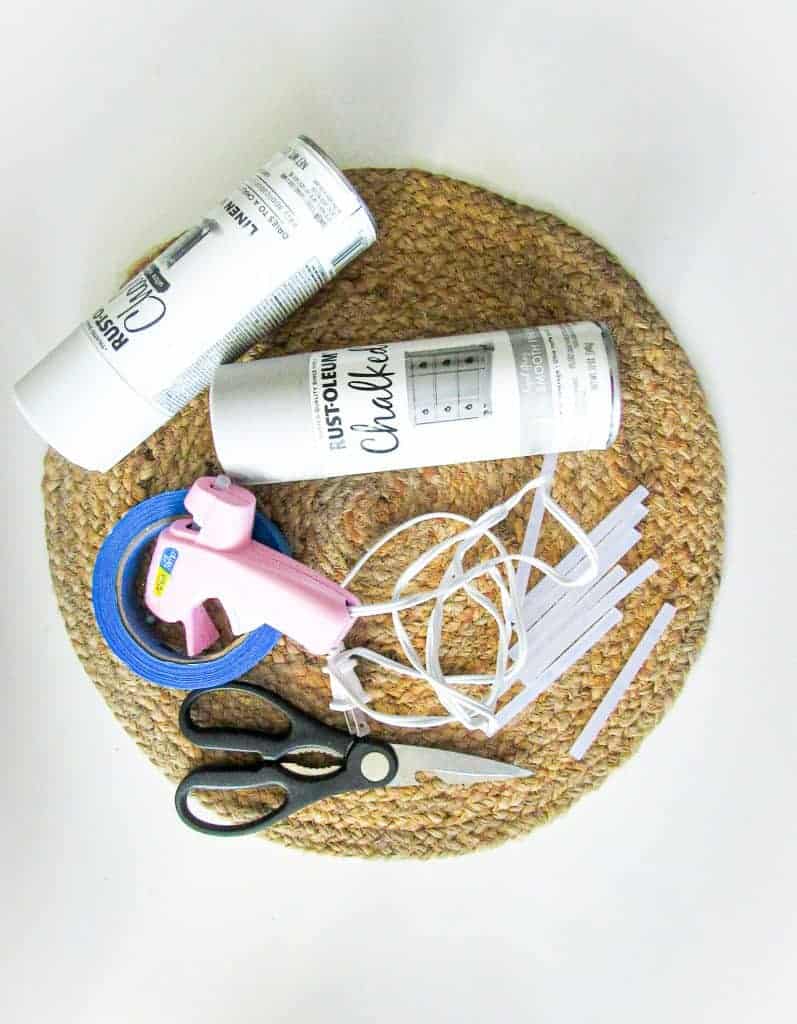
Materials Needed for Placemat Wall Art
The placemats that I found were flat, but made out of Jute which gave me ability to mold the placemat in a shallow basket. Get creative with this, you might be able to find cheap baskets that look similar to these.
Adding coat of paint or string art over top of the placemat can totally change the look of an outdated basket or a placemat.
How to Cut Placemats
The larger placemat in my design, is the original size of the charter placemat. For the medium size placement, I cut off 2-3 rows of jute with good scissors then I cut 6-8 rows of jute from the smallest size placement.
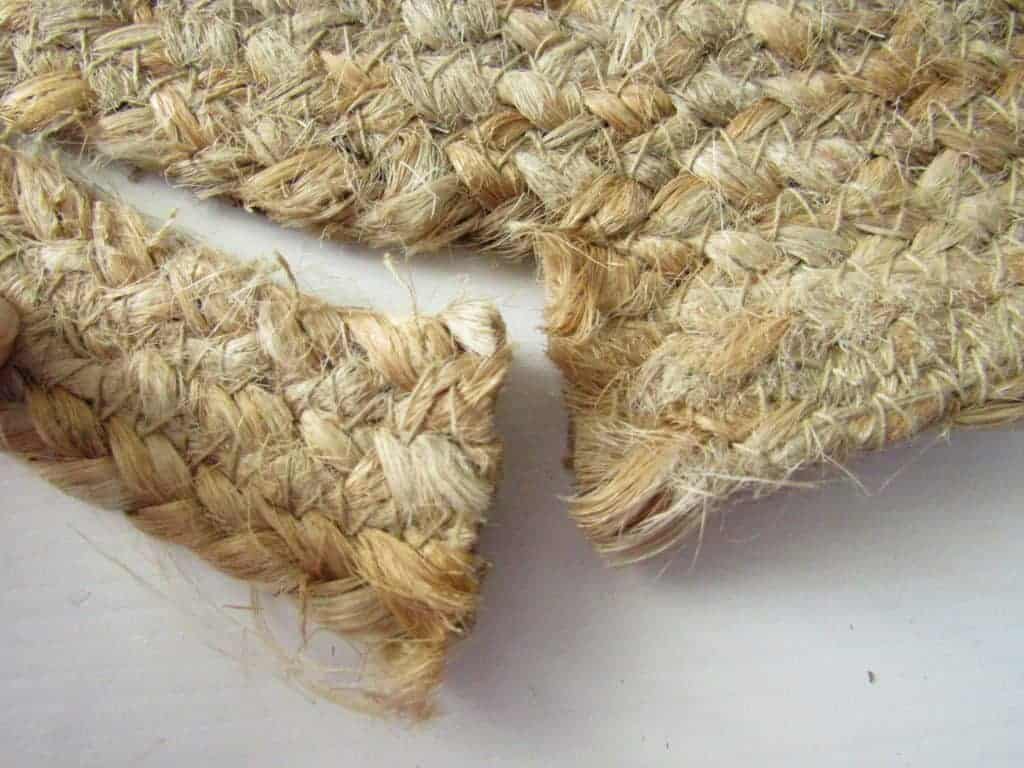
Try to cut the placemat wall art as neat as possible because the edges will be exposed in the final product. There will be stray pieces of jute hanging from the ends after cutting, but this can be trimmed with scissors.
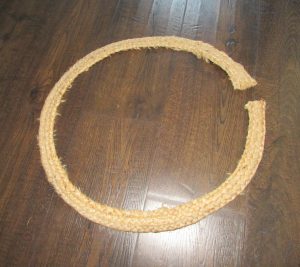
After each placemat has been cut to size, save the jute that was cut from the placement.
How to Paint the Placemat Art
Lay the jute ring that was cut from the medium sized placemat over top of the largest placemat. This will allow you to spray paint inside this circle for a clean line on the outside.
Place the smallest jute ring that was cut from the smallest sized placemat over top of the medium placemat. Again this is so you can spray paint a circle inside of the placemat.
I had to get creative with the smallest circle, since I did not have a jute ring that was smaller. A salad plate fits perfectly inside of the circle of the smallest placemat.
I traced the small placemat onto scrap paper then I traced the salad plate inside the center of the circle.

After cutting out the ring from the scrap paper, I adhered the ring to the smaller placemat. I used painters tape underneath the paper, so the paper would stay in place while I applied the spray paint.
Once all placemats have the outside rings in place, I sprayed a light coat of spray paint to the inside. Then I stepped back to see how it looked before applying a second coat of spray paint.
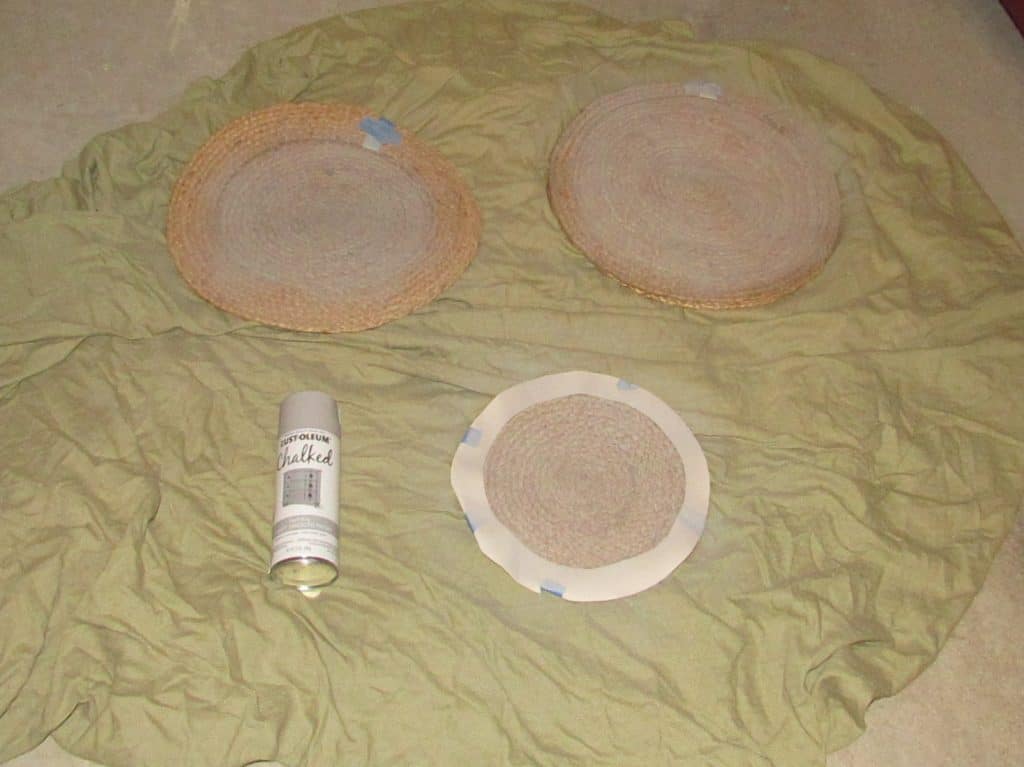
I applied two coats of aged gray chalk spray paint to all of my placemats. I used chalked spray paint because I had some leftover from another project and it has a nice matte finish. You can really use any spray paint you want for this, but I would recommend a matte finish.
Instead of spray painting the placemats, you can use thread to create the design. This will take more time, but it will look more store bought than spray painting.
Painting the Design
Once the gray spray paint was completely dry, I removed the outside rings and started applying the white paint. I recommend using a flat white paint to paint over top of the gray paint.
The paint might end up looking bright white and look hideous at first, but it will dry better. My largest placemat looked too bright white, so I decided to spray this again with the gray. The white paint looked so much better after a light coat of gray spray paint.
Shaping the Placemat Wall Decor
Start by pulling the edges to loosen the placemat and to help separate the paint for a more natural look. Some of my paint clumped together in a few spots, so pulling the edges helped move the paint around.
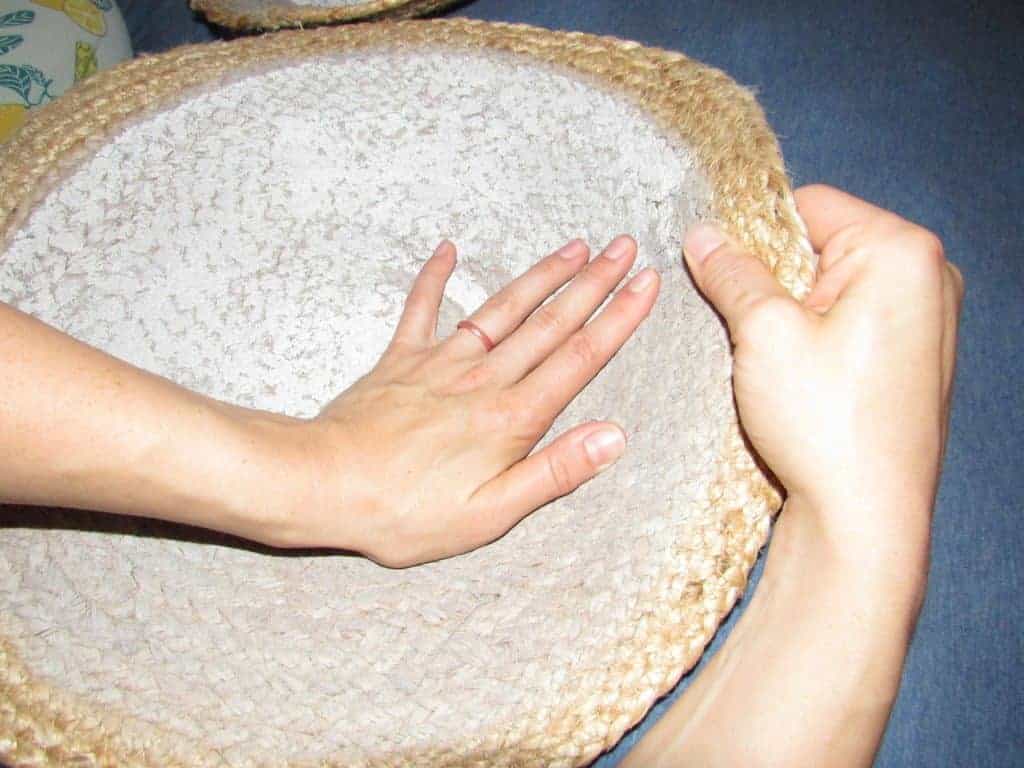
I used a large bowl to help me shape the placemat wall art into a shallow basket by rounding the edges. After shaping the placemats were shaped, I placed them on top of the bowl the upside down bowl. I left the placemats upside down on the bowl overnight, so they would maintain the shape.

Conclusion
To hang placemat wall art, you can simply just put a thin nail right through the placemat. Another way to hang the placemats, is to hot glue alligator teeth to the back of each placemat.
Then hang the placemats on the wall by the alligator teeth to a nail. I hope you love your placemat wall decor! If you enjoyed this project, you will love these other affordable home decor projects.