
Looking to update your bathroom mirror on a budget? This step-by-step guide shows you how to frame a basic builder-grade mirror using affordable materials and tools.
Step 1: Choose & Cut Your Frame
Pick your wood—mine was simple baseboard, 2″ wide and ¼” thick. Cut the two shorter sides at 45° angles, then do the same with the longer sides. Dry fit the pieces on the mirror, using painter’s tape or a helping hand to hold them in place.

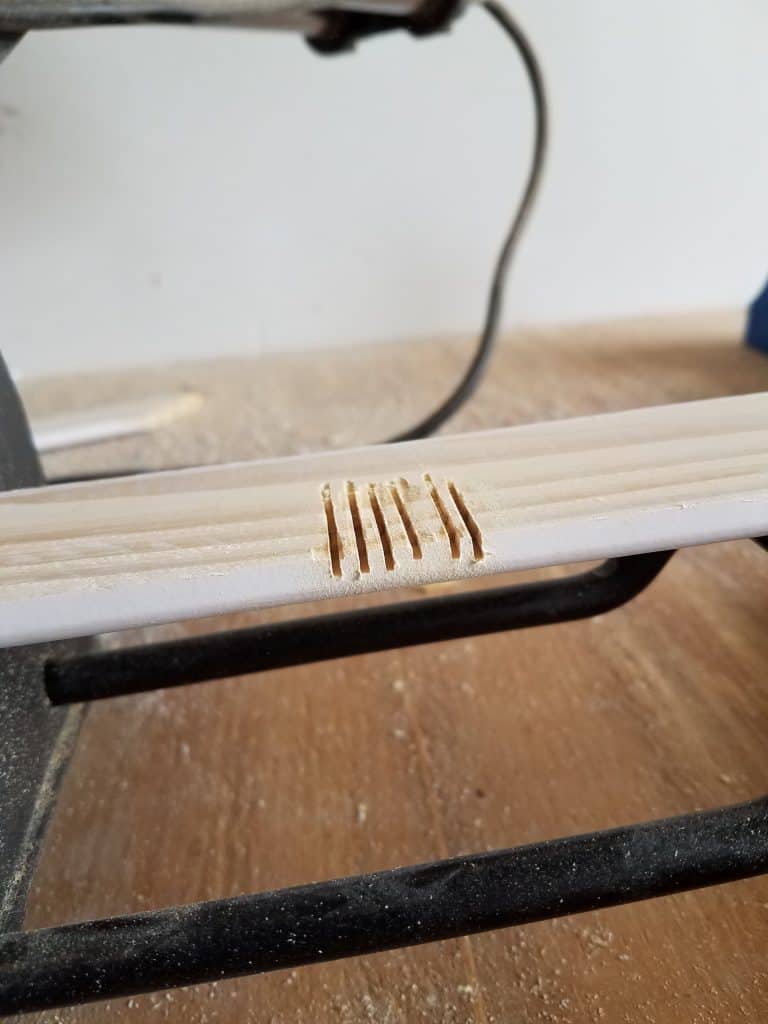
Step 2: Notch Around Mirror Clips
Hold each piece to the mirror and trace where the clips hit the wood. Carefully notch those areas using a multi-tool or chisel and hammer. Refit as needed until the frame sits flush.
Step 3: Paint the Frame
Use bathroom-rated paint to handle humidity. I originally chose a gray with a purple undertone but later repainted for a better match. Paint before installing for easier cleanup.

Step 4: Install the Frame
Dry fit one last time. Then apply Loctite adhesive in a zigzag pattern on the back of the bottom piece and press it firmly onto the mirror. Repeat for the sides, then the top. Make final adjustments quickly—Loctite sets fast.

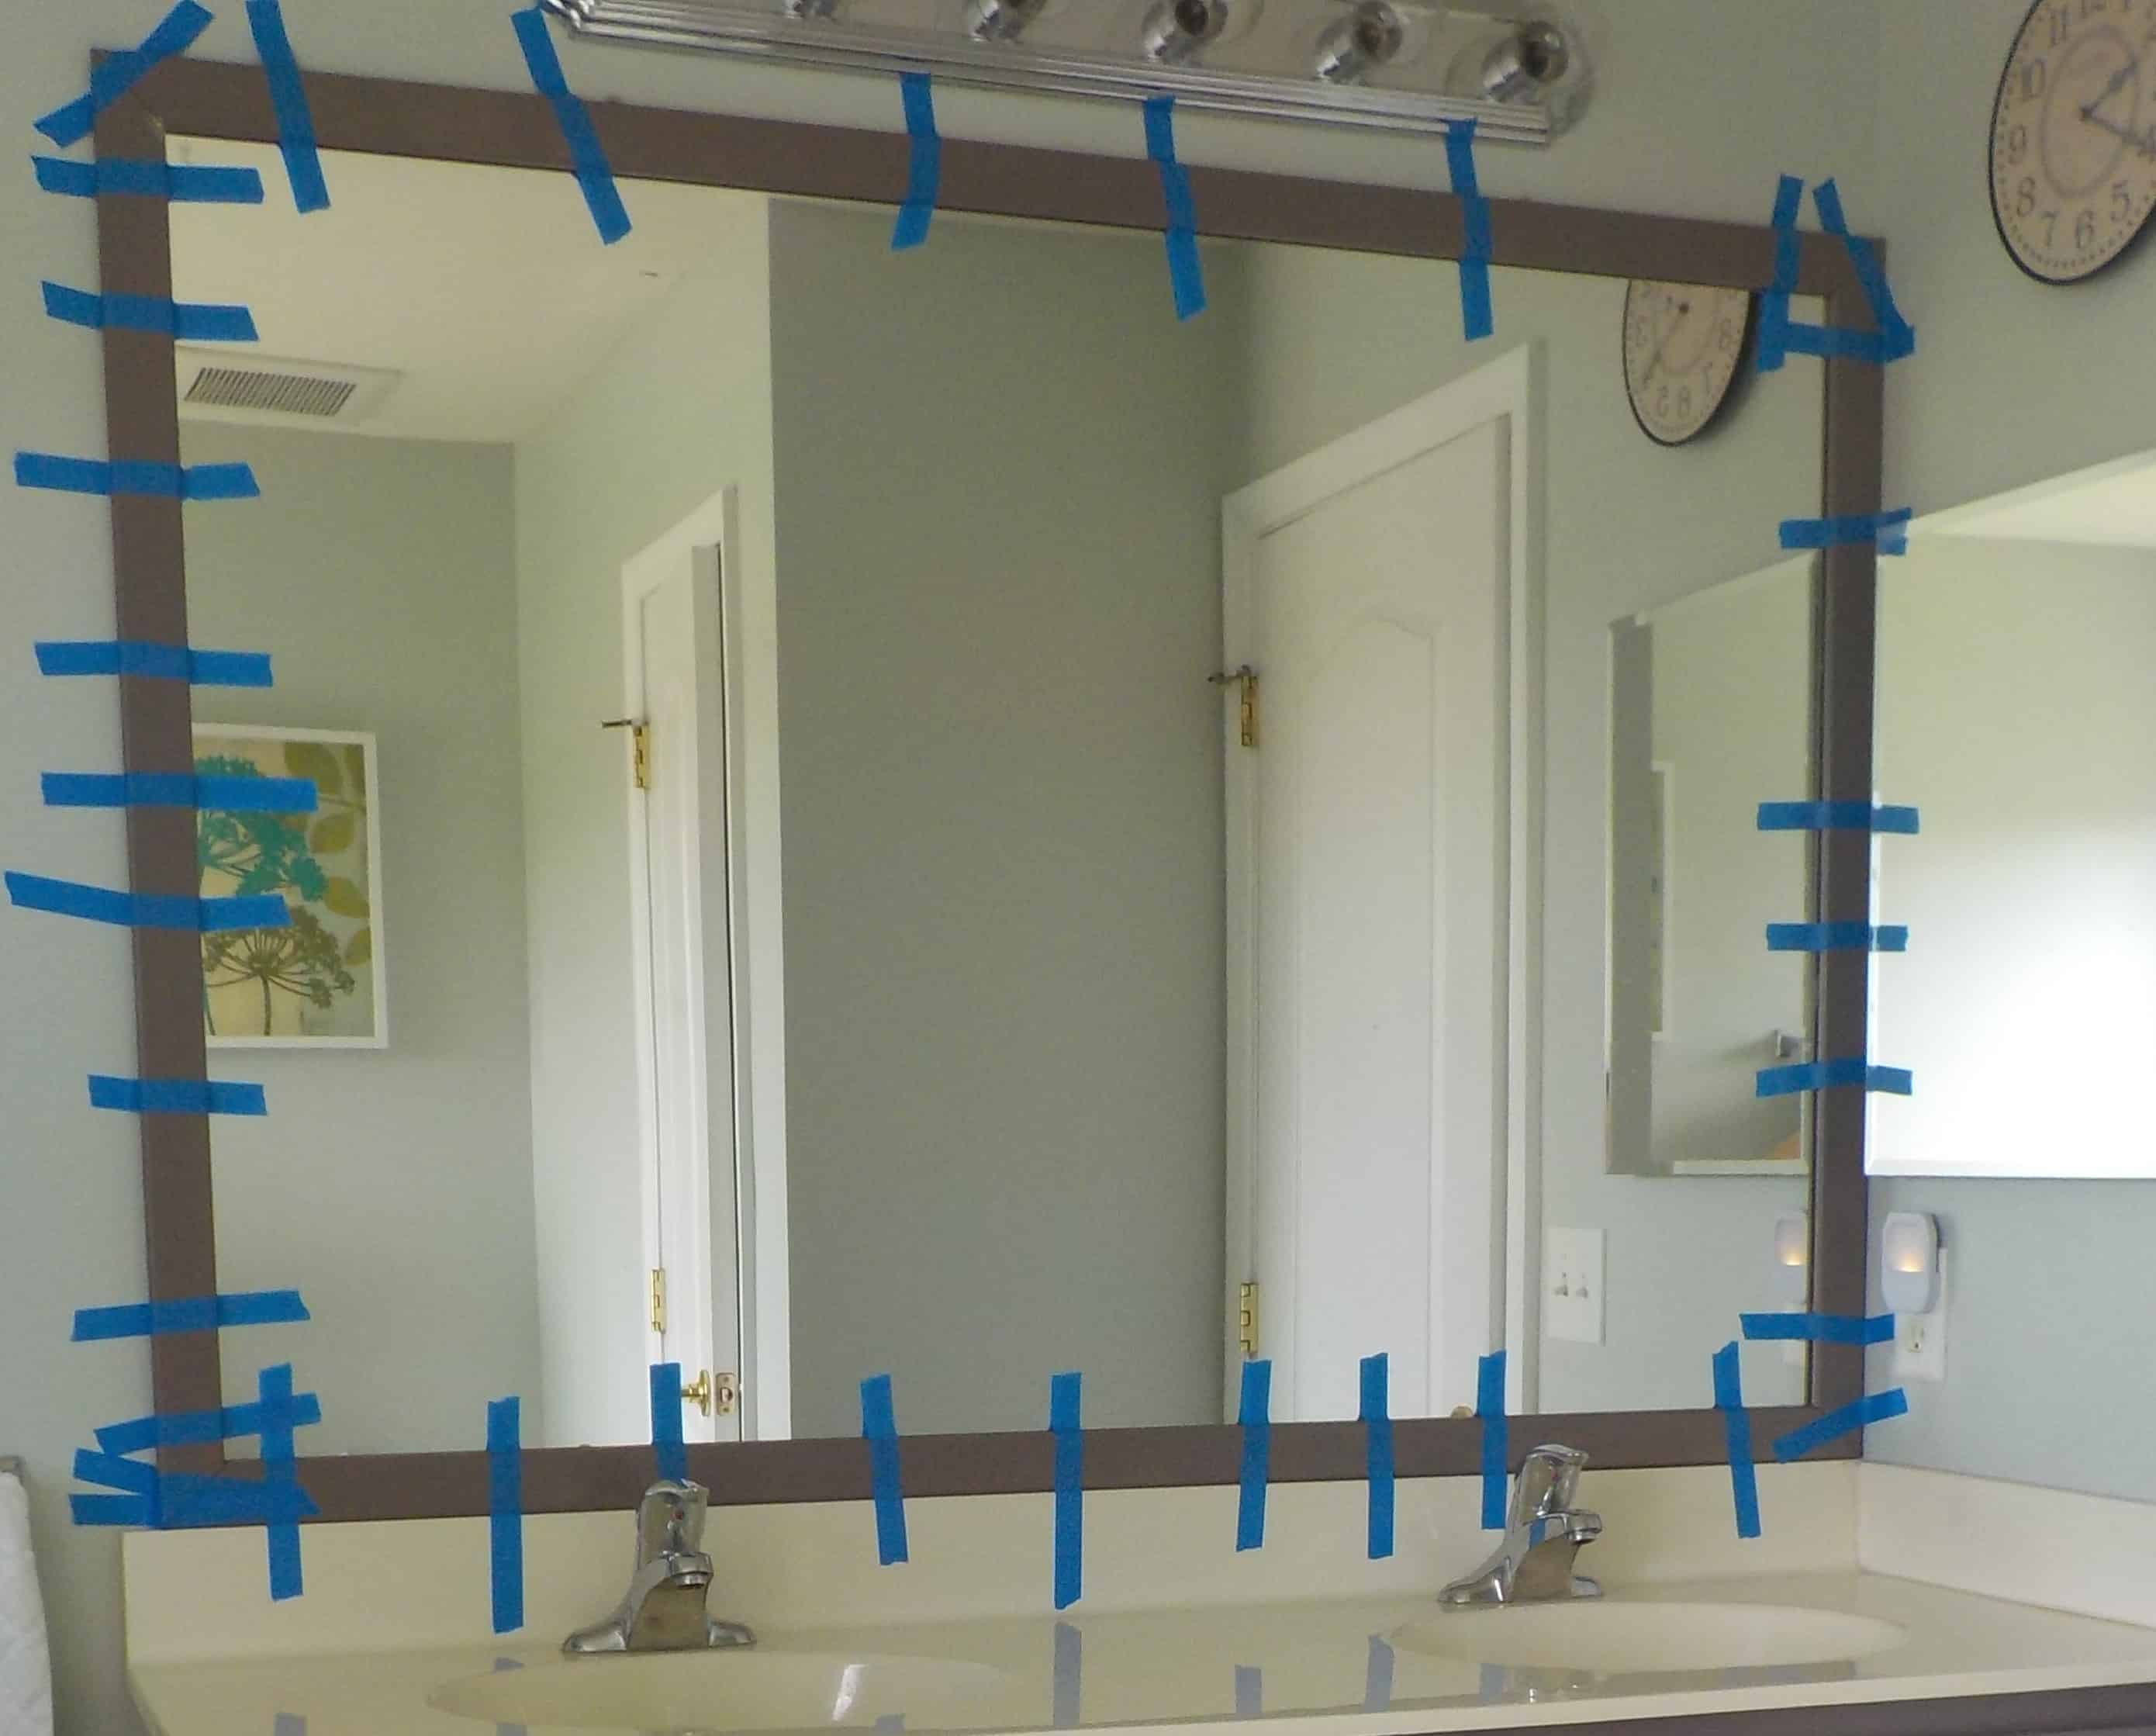
Step 5: Secure with Tape & Touch Up
Use painter’s tape to hold the frame in place for 48 hours. Once the adhesive sets, remove the tape and touch up any chipped paint.
Final Look
This simple upgrade completely transformed my bathroom. The frame added definition, matched my vanity and hardware, and gave the space a polished look—without breaking the budget!