
Don’t have space or time for a large bar? This small straight bar is the perfect weekend project. It’s compact, beginner-friendly, and multifunctional—use it as a mini bar, console table, kitchen island, or craft station.
Why Build This Bar?
We designed this as a functional piece of furniture for any room. Our detailed woodworking plans break it down step-by-step for beginners, including a cut list to minimize lumber waste.

Step 1: Build the Frame
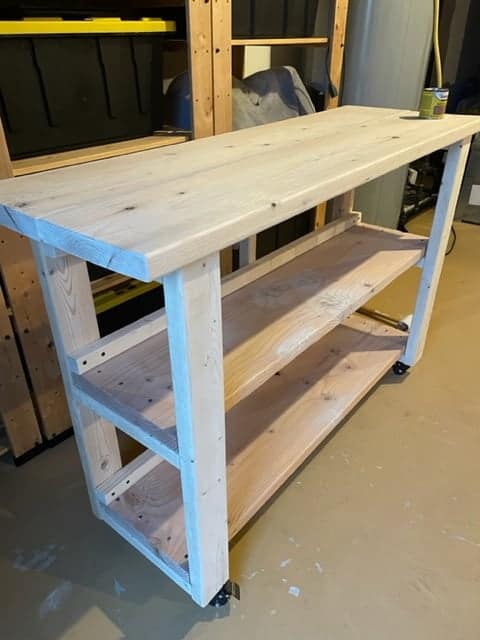
Start by building two identical side frames using 2x4s cut to 31″ tall. This height allows for optional 2″ wheels and a 2″ wood top—making the total height 36″, or standard counter height.
You can skip pocket holes and drill directly into the wood to simplify the build. Countersink screws and fill them if you want a cleaner finish.

Step 2: Add Center Supports
Lay two 2x4s flat and attach three center supports—one low, one mid-level (for shelf support), and one near the top. Repeat to build the second frame.
Step 3: Add Shelves
Cut two 2x12s to 47″ long for shelves. Fit the bottom shelf between the frames, then add shelf supports behind it to hold planks in place—especially if you’re adding decorative boards to the front.
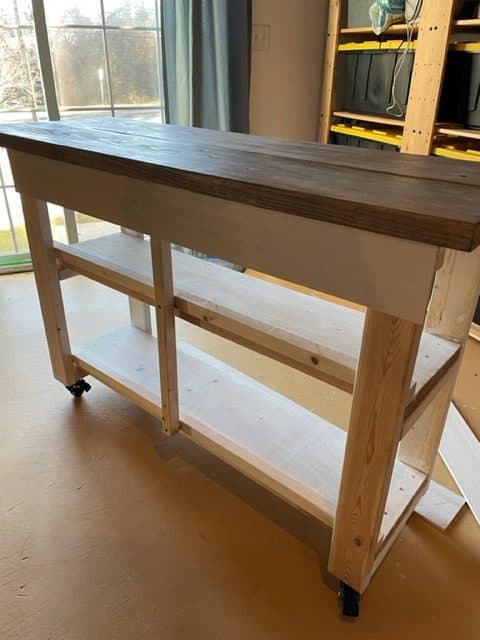
Step 4: Attach the Bar Top
I used two 2x6s for the top, filling the seam with wood filler to prevent crumbs. Feel free to get creative and use high-quality wood or repurpose scrap lumber.
Optional: Add Wheels
We added 2″ locking caster wheels for portability. These heavy-duty wheels rotate 360° and lock in place—perfect for small spaces.
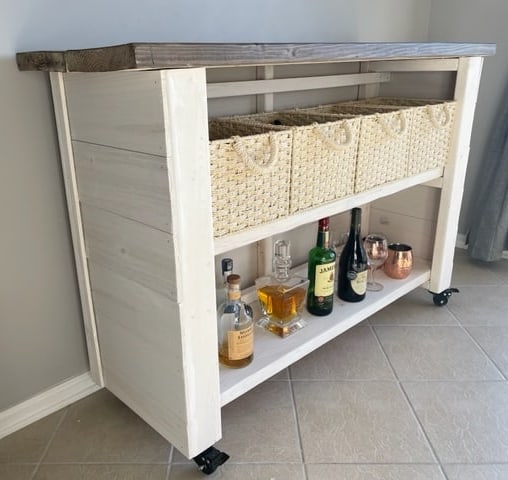
Use It Your Way
This small bar is more than just a drink station. Use it as:
- A coffee bar
- A kitchen island
- A craft station with basket storage
- A console table with photo displays
Final Thoughts
Whether you’re a beginner or looking for a quick DIY project, this small straight bar is a fun, functional build. Customize the exterior to match your style and enjoy its many uses!