
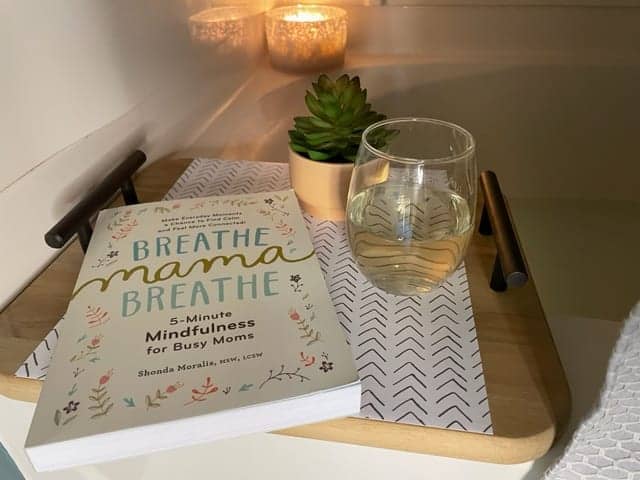
Making a wood bathroom tray is easier than you think, if you use a piece of scrap wood or a cutting board. This is a fun and easy way to make your own tray without spending money.
Wood Bathroom Tray Design
This wood bathroom tray design would also work well as a serving tray or a decorative tray in your home. I used an old cutting board to make my wood bathroom tray because I didn’t have to cut or buy any wood. My cutting board was really beat up, so I figured instead of throwing it away I would try to repurpose it.
Wood Bathroom Tray Ideas
If you are using scrap wood to make your wood bathroom tray then you will first cut it to size for your tray. Since I was using a medium sized cutting board, I did not cut any wood for this project.
I used coarse sandpaper to smooth the deeper marks in my cutting board then I transitioned to fine sandpaper. Next I wiped the tray clean then used Rustic Beige wood stain to give the bathroom tray a little color.
After the stain has dried for several hours, you can apply another coat of stain or an optional clear coat. I only used one coat of stain and decided against a clear coat because I was adding contact paper to the wood bathroom tray.
How to Add Contact Paper to a Wood Tray
This was my first project using contact paper, so I was a little nervous to use it. I found a really good quality contact paper with a fun pattern on Etsy.
The contact paper was really thick and felt like a vinyl adhesive, which made it easier to work with. To attach contact paper make sure your surface is clean and completely dry.
Make sure to measure the contact paper a few times before cutting and adhering it to your item. I cut the contact paper with scissors then I trimmed the excess with a paper cutter to even out any uneven lines.

Once you have the correct size, peel a corner of the contact paper backing. Making sure to only remove a small section of the backing at a time. Working in sections will prevent bubbling and incorrect placement of the contact paper.
Contact Paper Tips and Tricks
Start in a corner and firmly press the contact paper in place while working your way over. As you work your way across make sure to smooth lines or bubbles.
Then continue to work your way across the surface while slowly pulling the backing away from the contact paper. Most contact paper allows you to slightly lift it up if there is bubbling or you laid it down incorrectly.
If you end up with a little bubbling you could use a credit card to smooth out the surface. The credit card should be gently rubbed over the bubble and worked out with your fingers.
If the bubble will not smooth out then you could pull the contact paper up and try to lay it down again. Since I was working with a small piece of contact paper this was easy to do without help.
If you are making a much larger bath tray then you might need someone to help you adhere the contact paper.

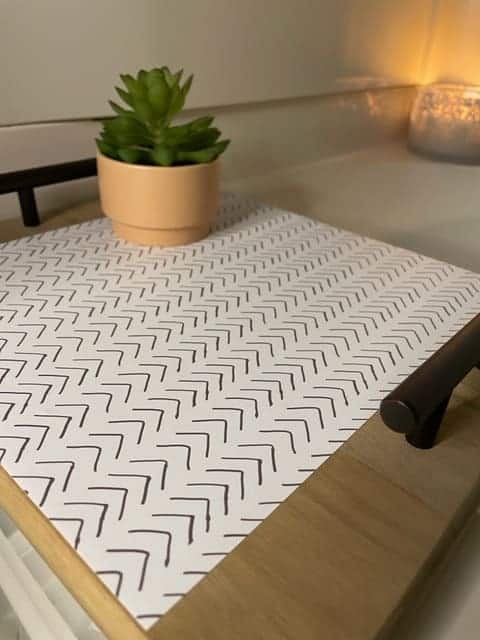
The Best Decorative Contact Paper
I was really impressed with this white contact paper and I highly recommend this for any project. Even if you are a newbie to contact paper, this is an easy product to work with because it is such good quality.
The decorative contact paper looks super smooth without any bubbling on my bathroom tray. I highly recommend this handmade contact paper for your next diy project!
How to Attach the Handles
To attach handles to the bathroom tray you will need a drill and screws that came with the handles. Place the handles on the tray and center them then measure the handles to make sure you are happy with the placement.
If you have the handles in the right spot, tip the handle to the side and place markings under the handles where the screws will be located. Now it is time to grab a drill and make the holes for the handle screws.
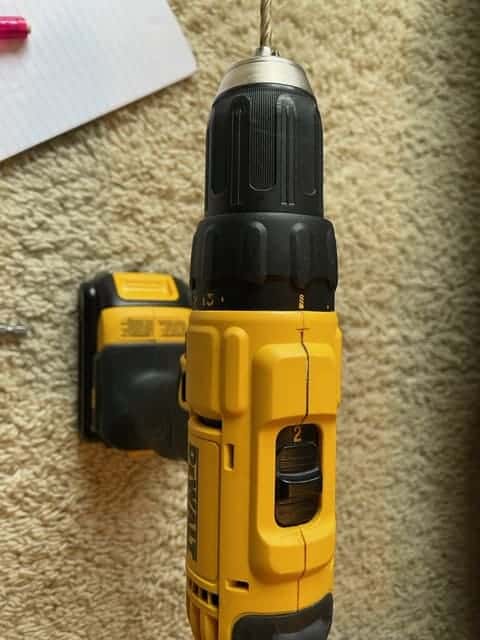
How to Drill Holes for the Handles
I set my DeWalt drill to the drill setting and use the speed setting 2 located on the top of the drill. Then I made a pilot hole using a 5/32 drill bit because my 3/16 drill bit was dull.
Place a thick wood block under your tray to lift the tray and give you support when drilling the holes. Insert the drill bit into the drill and lock it then place the drill bit on the first marking on your bath tray.
Now with firm pressure push the drill bit straight down into the first marking to create your first hole. Once you have gone all the way through the first marking, pull the drill out and move onto the 2nd marking.
Test one of the screws for the handles in the hole to make sure it fits. If it does not fit into this hole then you will need to grab a slightly larger drill bit and redrill the hole.
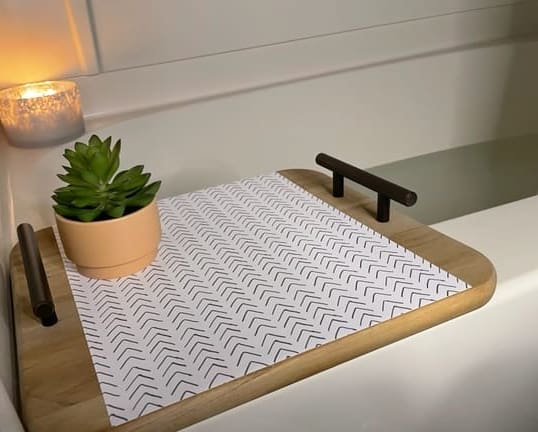
Continue to follow these steps until all of the holes have been drilled into your bathroom tray. Next grab a screwdriver and place the screws for the handles into the newly drilled holes.
Then hold the handles against the other side of the tray and tighten all of the screws. Now you have yourself a cute wood bathroom tray!
Conclusion
If you are looking for more projects using scrap wood then you might like some of our posts. This mirror is made from stained pieces of wood then adhered directly over the existing mirror. You can easily frame a mirror using scrap wood or for around $20 total.