
Want a glossy, durable bar top but not sure how to pour epoxy? Here’s an easy guide to help you avoid bubbling and other common mistakes.
What to Know Before Pouring Epoxy

Epoxy gives bar tops a shiny, protective finish, but it can bubble or harden incorrectly if you’re not careful. Use a two-part epoxy kit (like FamoWood Glaze Coat), and don’t skimp—you’ll need enough to pour and spread a full, even coat.
Tip: Work with a partner. One person pours, the other spreads. Epoxy sets fast, so speed and teamwork matter!

Tools You’ll Need
- Epoxy resin kit (1 gallon)
- 2 large, clean buckets
- Stir sticks
- Plastic putty knife
- Heat gun (or hair dryer)
- Drop cloths
- Gloves, mask, safety glasses

Step-by-Step: Mixing & Pouring Epoxy
- Prep your surface – Clean and dry it thoroughly.
- Mix part A & B – Combine both parts in one bucket and stir for 6 minutes.
- Transfer & stir again – Pour into a second bucket and stir for another 6 minutes.
- Pour quickly – You have 10–15 minutes before it starts to harden. Pour across the surface in sections, while the second person spreads it evenly.
- Level check – Epoxy is self-leveling, but make sure your bar is level so it doesn’t pool or slide off the edges.

Remove Bubbles (Important!)
Hold a heat gun 6 inches above the surface and sweep across it. This helps pop air bubbles for a glass-smooth finish. A hair dryer on low may also work in a pinch.

Curing Time
Epoxy begins to harden in minutes and fully cures in 72 hours. Avoid touching it or placing anything on the surface during this time. Also, keep dust away while it dries.
Final Thoughts
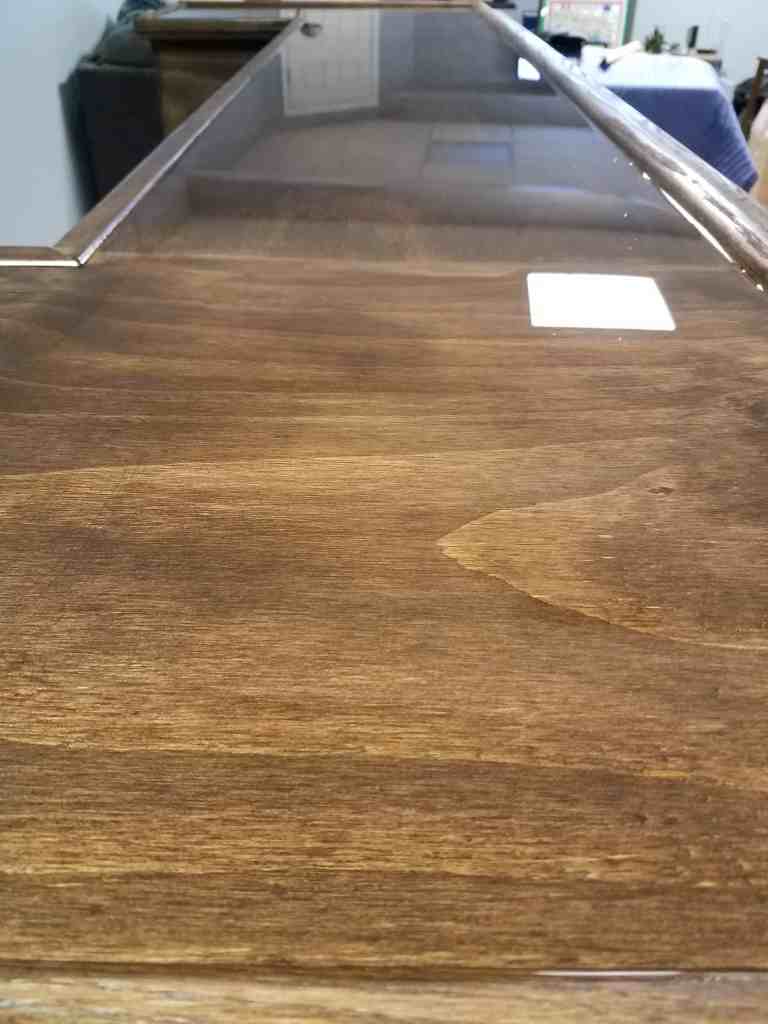
If you follow these tips, you’ll end up with a bubble-free, glossy bar top that lasts. Take your time with prep, work fast when pouring, and trust the process!