
Looking for a quick weekend project that brings a big impact to your space? A grid accent wall is a fun and affordable DIY for beginners that brings tons of visual interest to any space.
Easy Grid Accent Wall
Adding a grid wall is an easy and affordable way to dramatically change a room. A grid accent wall looks great no matter what color it is painted because it brings texture and visual interest.

I had an extra gallon of Georgian Bay paint and a baby boy on the way, so this grid wall was the perfect project for the nursery. An accent wall like this one doesn’t feel babyish, instead it remains in style and grows with your child.
Step 1: Measure Your Space for the Grid Accent Wall
To get started with a grid wall, measure the width of the wall and the height to the ceiling from the top of the baseboard.
Once you have all of your measurements, you can determine how many 8 FT finger joint pine boards you will need. You can draw this out on paper or calculate how many pieces of wood trim you will need for your accent wall.
I purchased 12 pieces of wood trim for my space and ended up using 11 pieces of wood trim for this accent wall.
Items Required:
- Nail Gun
- Nails
- Liquid Nails
- Sandpaper
- Paintable Caulk
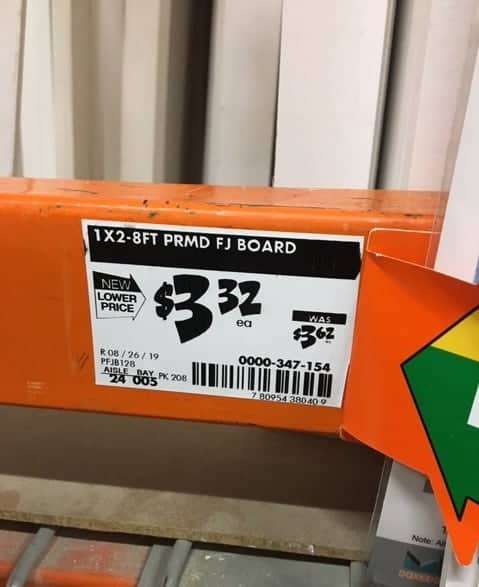
- 1X2- 8 FT PRMD FJ Board (Finger Joint Pine)
- Paint
- Rollers
- Paint Brushes
Optional Step: Paint the Grid Accent Wall
I painted my wall with 2 coats of blue paint before adhering the board and batten bedroom wall. The reason for this is because I knew this color was going to take 3 coats of paint.
So, I figured painting a couple of coats before adhering the boards would be easier. If you are working with a darker color like this then you might find it easier to paint the wall first then touch up the paint later.

Step 2: Create a Grid Pattern
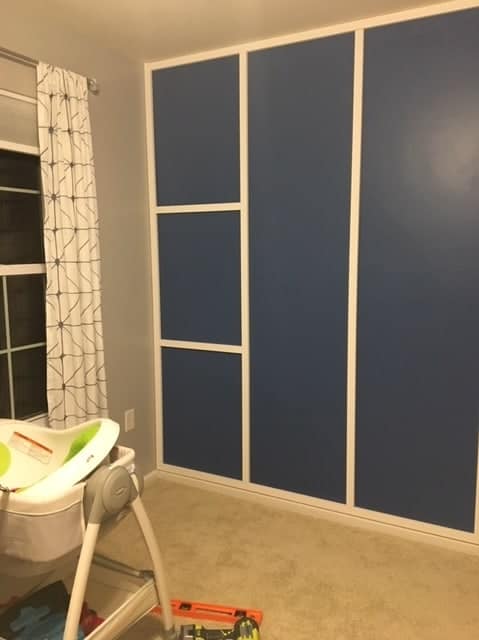
I found it easier to create a grid frame for the board and batten bedroom wall before working on the interior section of the wall.
Measure: First I measured the right and left pieces that frame the outside of the grid wall. Then I measured the top and bottom pieces that border the outside of the wall as well.
Cut: Make sure to label the boards before cutting them, so you can easily adhere them to the wall. Once they have been measured and labeled, cut them to size.

Glue: Before gluing the boards to the wall, double check the fit. If everything fits nice and snug, I apply liquid nails to the back of each board. Do not over apply the liquid nails or this will end up oozing out all over the board and batten wall.
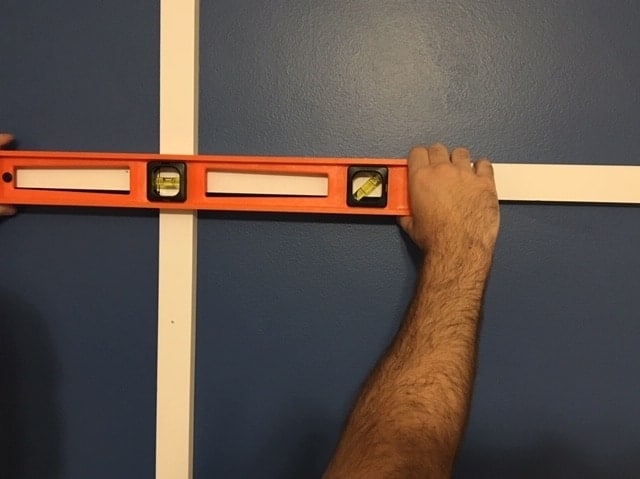
Level: Press the boards firmly in place and make sure it is level before using a nail gun to secure them in place.
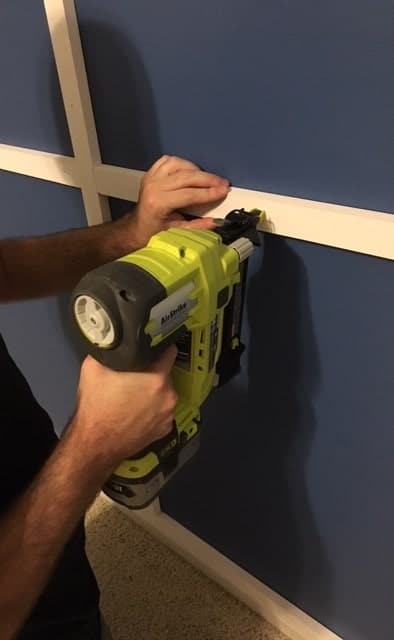
Nail Gun: Then I used a nail gun to adhere these boards to the feature wall. Once I adhered the outside frame, I began to work my way over from left to right. Continue to follow these same steps throughout your project.
Step 3: Measuring the Boxes Inside the Frame
Before I made any cuts for the inside boxes, I applied painters tape to the wall in a few spaces to see how the design would look.
I measured the entire inside area between the boards and calculated where all of the pieces should be placed and cut.
Every accent wall will have different measurements, but I wanted to include my measurements as a rough idea.
The inside of my boxes measured 29 inches in length and the width is 22 inches.
Step 4: Adhere the Vertical Boards
Once you determine the spacing for your boxes, measure, cut, and adhere the vertical boards following the steps mentioned in Step 1.
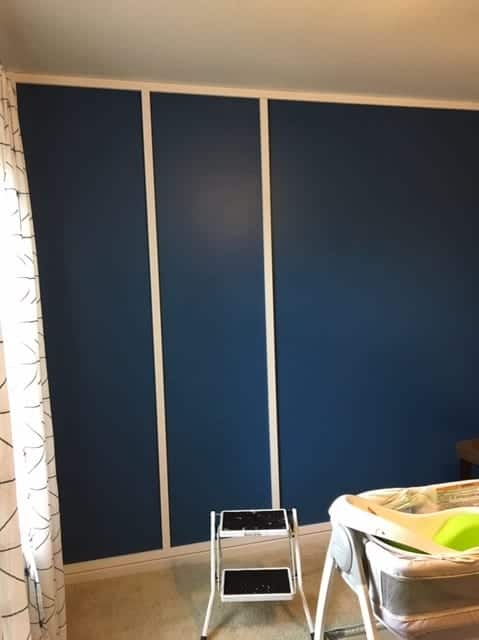
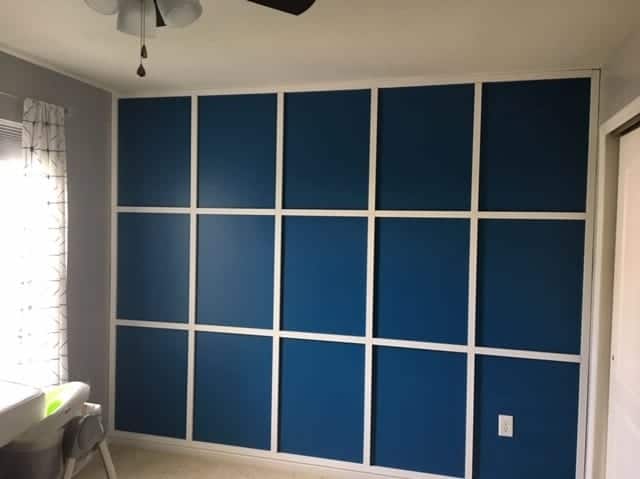
Adhere Vertical Boards: Work your way across the wall until you have finished adhering all of the vertical boards as shown in the photo below.
Step 5: Adhere the Horizontal Boards
Measure Horizontal Boards: I recommend taking this one section at a time because your walls may be bowed and the pieces might not all fit the same.
For the first section, measure in between both vertical boards to determine the length of the 2 horizontal boards.
Cut: Make the 2 cuts for the horizontal boards then dry fit them before adhering.
Adhere: If the boards fit correctly, then glue, level, and adhere with a nail gun.
After finishing the first section, move onto the next section and work your way across the wall until it is complete.
Step 6: Caulk and Sand
After all of the boards have been nailed to the wall, I recommend going back in with paintable caulk along the edges and nail heads.
Paintable Caulk: I used caulk on all of the nail heads and the and along the edges to smooth everything out.
Caulking the edges is optional, but it does leave your with a nice finish. I do highly recommend caulk the nail heads because that will look very noticeable if you leave it as is.
Sanding: After everything has dried, lightly sand with a fine sandpaper to smooth out the caulked areas.
Wipe and Vacuum: Wipe down the walls with a dry rag to remove sanding debris and vacuum tight areas with a small attachment. Also, vacuum the floor to prevent dust from stirring up onto your newly painted wall.
Step 7: Painting the Grid Wall
Paint: Now that the everything is clean and dry, it is time to paint! Start painting all of the white boards with your paint, making sure to drag the paint along the sides of the grids.
I recommend painting the white boards first because you will have to go back in with a roller and paint inside each boxes and smooth the paint strokes out.
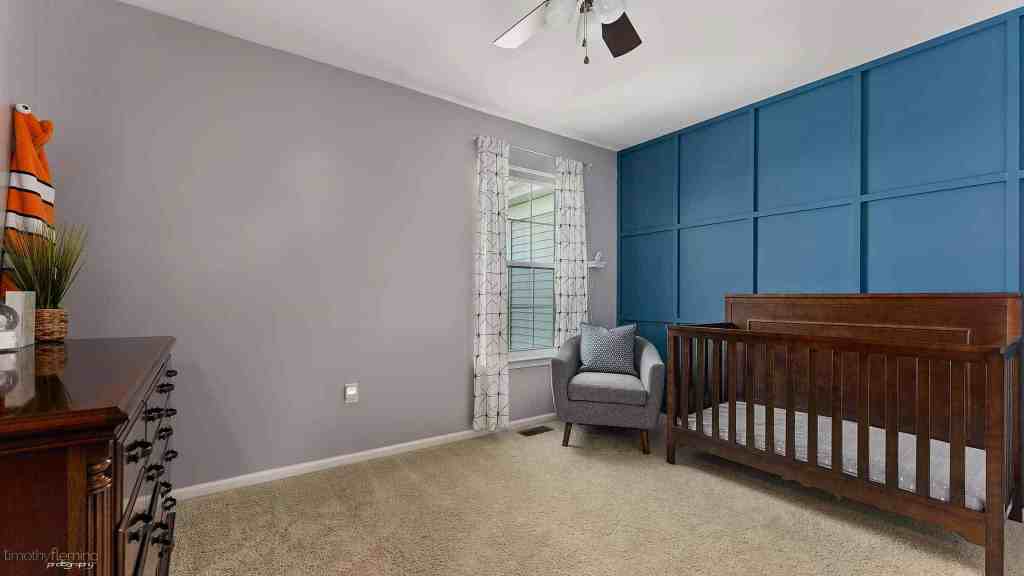
I used the paint color Georgian Bay by Sherwin Williams on this nursery accent wall because I was going for an ocean theme. For more Dos and Don’ts when installing an accent wall visit Angela Rose Home.
Conclusion
Even though this grid accent wall was created in a nursery, the room still is in style and my son is almost 5 years old. The room doesn’t have a babyish feel like some nurseries can have, instead the room feels like it will grow with your child.