
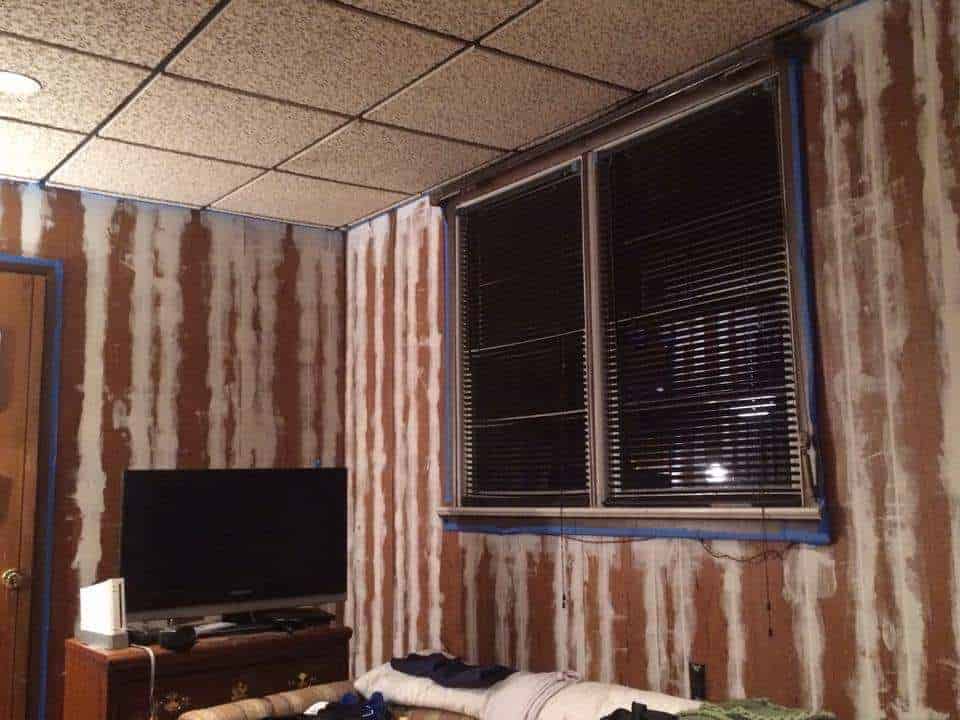
Wood paneling can make a space feel dark and dated. If you want a smooth, modern look without removing the paneling or installing new drywall, filling the grooves with spackle is an affordable solution.
Step 1: Spackle the Grooves
Start by filling the lines between panels with spackle. Use gloves and putty knives to press and smooth the spackle into the grooves.

Work in sections until all lines and holes are filled. Don’t sand until the whole room is done to avoid stirring up dust multiple times.
Step 2: Handle Problem Areas
If your paneling bubbles or feels loose, cut away the weak areas until you reach solid material. Fill those gaps with spackle.

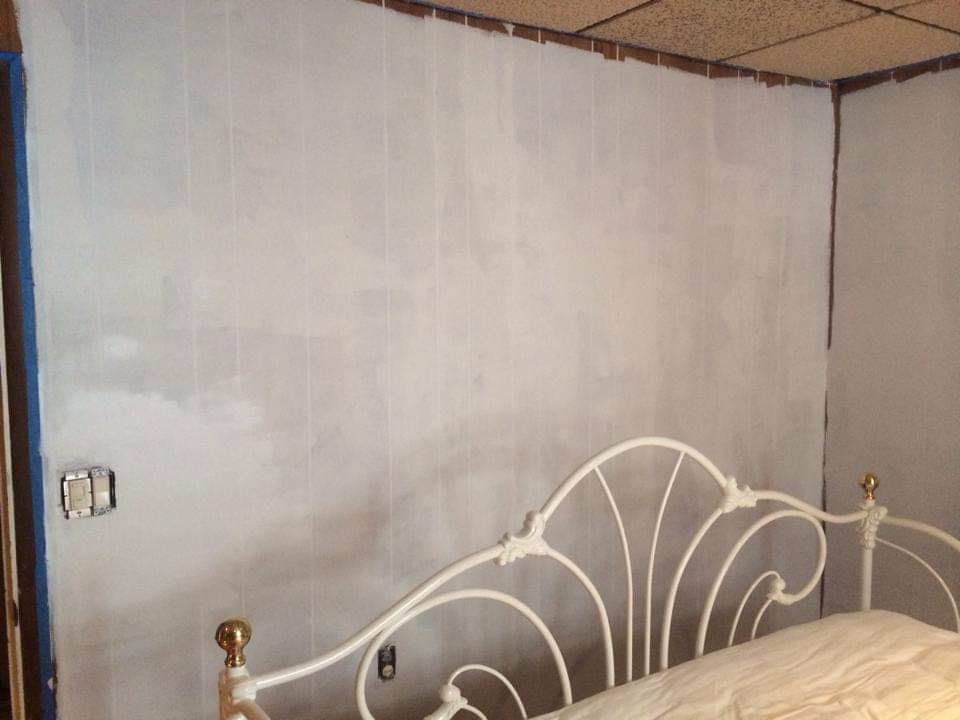
Step 3: Sand the Walls
Once the spackle is dry, sand with a hand sander or electric sander using fine grit paper.
Use medium grit for thicker areas, then finish with fine grit for a smooth surface.
Be prepared to touch up spots with more spackle if needed.
Step 4: Caulk and Clean
Use paintable caulk in corners or where panel seams show. Wipe the walls down with a damp rag to remove dust. Vacuum the room to keep debris off freshly painted walls.
Step 5: Prime and Paint
Use at least two coats of primer before painting, especially if using a light color. Follow with your desired wall paint.
Optional Ideas:
- Only spackle the top half, then add molding and paint the bottom white for a beaded board look.
- Leave one panel wall as an accent.
- Add built-ins to cover most of the paneling.
- Or skip spackling and just paint for a quick refresh.
Conclusion:
Though time-consuming, spackling transforms dated paneling into modern, bright walls that look like drywall—without the mess or cost of replacing it.