
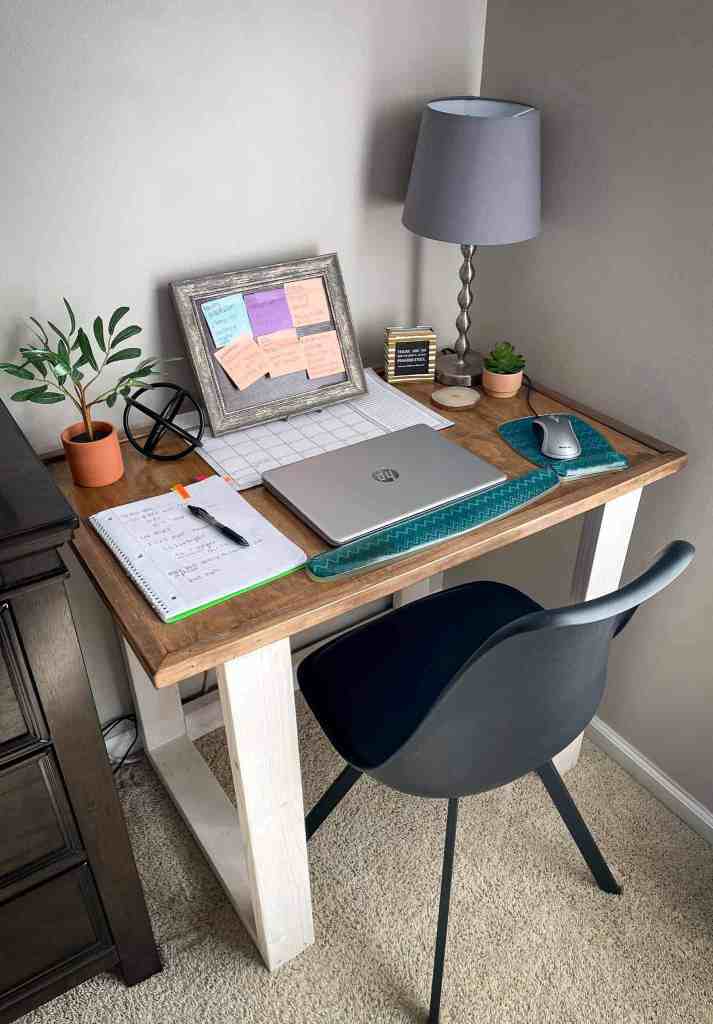
Do you have a small corner that could fit a desk? Instead of buying an expensive desk, build your own for a fraction of the cost with our free DIY desk plans.
Free DIY Desk Plans
This is an easy scrap wood project to take on that requires very little woodworking experience. Our free DIY desk plans are beginner friendly, affordable, and sturdy! Get creative with this scrap wood project and see what you can repurpose for this project.
Items Needed to Make a DIY Desk
To make a desk you will need 2 x 4’s, plywood, optional corner molding, and free DIY desk plans. I used a piece of pine plywood for the top and framed the outside of the desk with corner molding.

The corner molding gave the desk a cleaner look and hide the rough edges of the plywood. I recommend using wood that is in good condition, so your desk will feel sturdy.
Do not use wood that is bowed or cracked as this can ruin the integrity of your desk.
If you are going to purchase a piece of wood for the top of the desk then I recommend buying a large piece of birch wood. Using a better quality piece of wood, will allow you to skip the corner molding and the wood will have a cleaner edge.

I used plywood as the top for my desk because I had a large piece taking up space in my garage. So, don’t be afraid to customize this desk and use whatever wood you have on hand.
DIY Desk Measurements
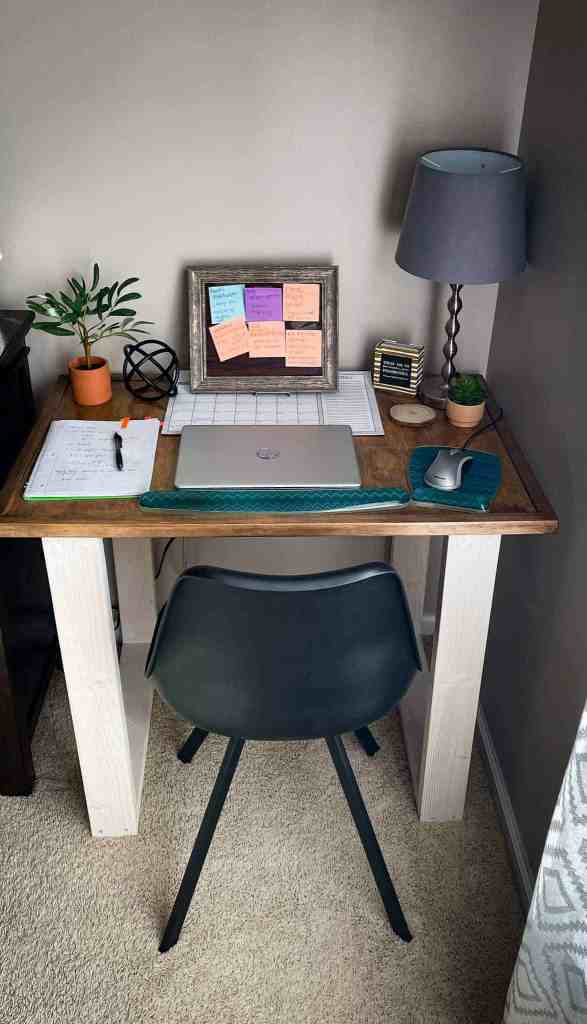
My home does not have enough space to add a small office, so I built this DIY desk to fit in a corner near a sunny window. The space that I was working with was tight, so my desk 29 is only inches high and 19.5 inches wide to fit just right.

Most desks are 30 inches high, so I went with 29 inches for the height of my desk because I was adding a 1 inch thick piece of plywood to the top. I recommend building a desk about the same height because a chair will fit nicely underneath the desk.
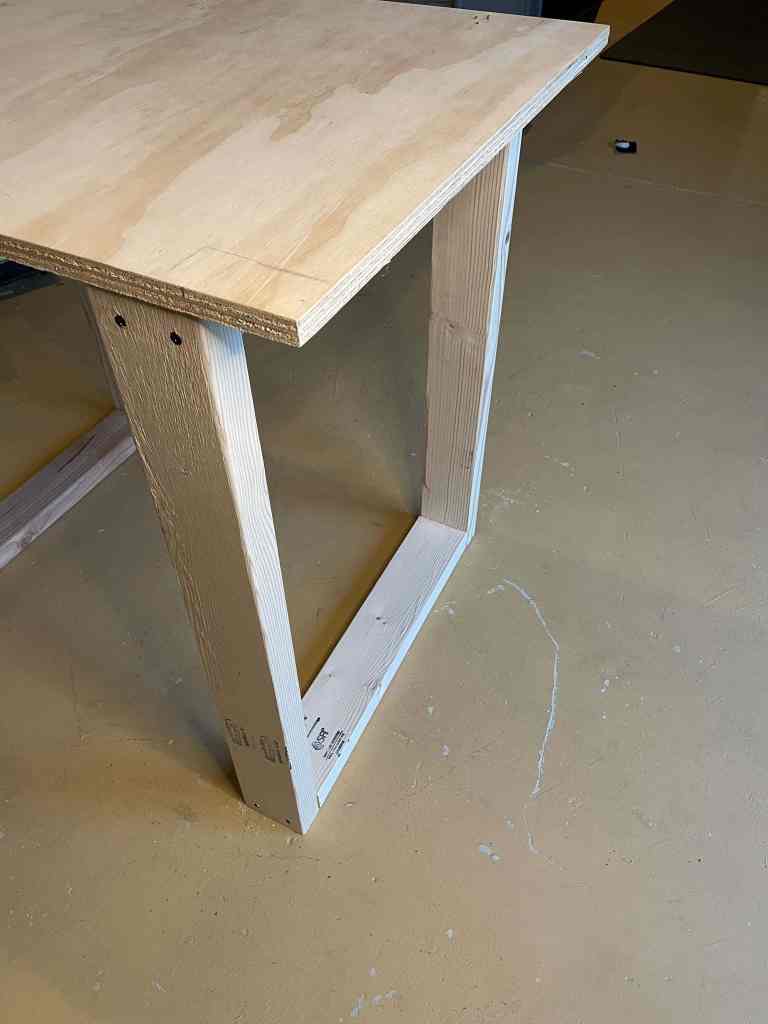
How to Make a Desk Frame
When building a desk frame, simply cut 2 x 4’s to height and width that fits your space. The outside of the frame is 29 inches tall and 19.5 inches deep, but this can be customized to fit your space.
First cut 4 pieces of scrap 2×4’s to 29 inches in length then cut 2 pieces of scrap 2×4’s to 19.5 inches long.

Connecting the Desk Frame
To connect the desk frame you will need a drill, wood screws, and wood glue or liquid nails. First apply a thin layer of liquid nails to the 2×4’s that are going to be attached to one another.

Then predrill holes in the attached 2×4’s before joining them together with wood screws. I made the mistake of not predrilling and one of my 2×4’s cracked, so make sure to predrill.
For the frame a 19.5 inch 2×4 will be on the top and a 29 inch 2×4 will be on either side. After you have made 2 frames for your desk, you will be moving onto the support for your desk.
How to Add Support to a DIY Desk
Now that you have built a left and a right frame, you will need to connect both frames to supports. The supports are very important as this will bear weight and make your desk sturdy.
There are multiple ways to go about adding supports to furniture, so if you prefer a different design then go ahead and change the supports. I went with a simple and clean support to leave plenty of foot room underneath the desk.
Adding the First Support
To adhere the first support, use liquid nails, kreg jig, and screws. The first support will be attached at the bottom of the frame in between both the left and ride sides of the desk.

Create 4 pocket holes with a kreg jig in the 23 inch 2×4 before attaching this support. There should be 2 pocket holes on each end of the support. Using the kreg jig allows you to easily screw into the pocket hole to attach the support to the frame.
Adding the Second Support
The second support will be placed along the top portion of the DIY desk. To adhere the second support, use liquid nails, kreg jig, and screws.
Make sure to add 4 pocket holes with the kreg jig on the 2×4 on both ends of the support. Once you have made your pocket holes, lightly add liquid nails on the both ends of the 2×4 support.

Then place the second support in the center on the top portion of the frame. Drill the screws into the pocket holes attaching the support to the frame on either side.
This support will rest in between the left and right frame and drilled in place. If for some reason your desk does not feel sturdy, add more supports and consider mounting to a wall.
How to Add a Top to DIY Desk
After you have cut you desk top to size, you can attach it to the frames. Gently rest the plywood top onto the frames and make sure the top is centered.
Once you have the plywood top centered you can add liquid nails onto the top of the frames and support. Make sure the desk is centered one more time before allowing the liquid nails to dry.
Now you will need either a nail gun with brad nails or finish screws and a hammer. I used a nail gun and brad nails to attach the plywood to the frame and support.
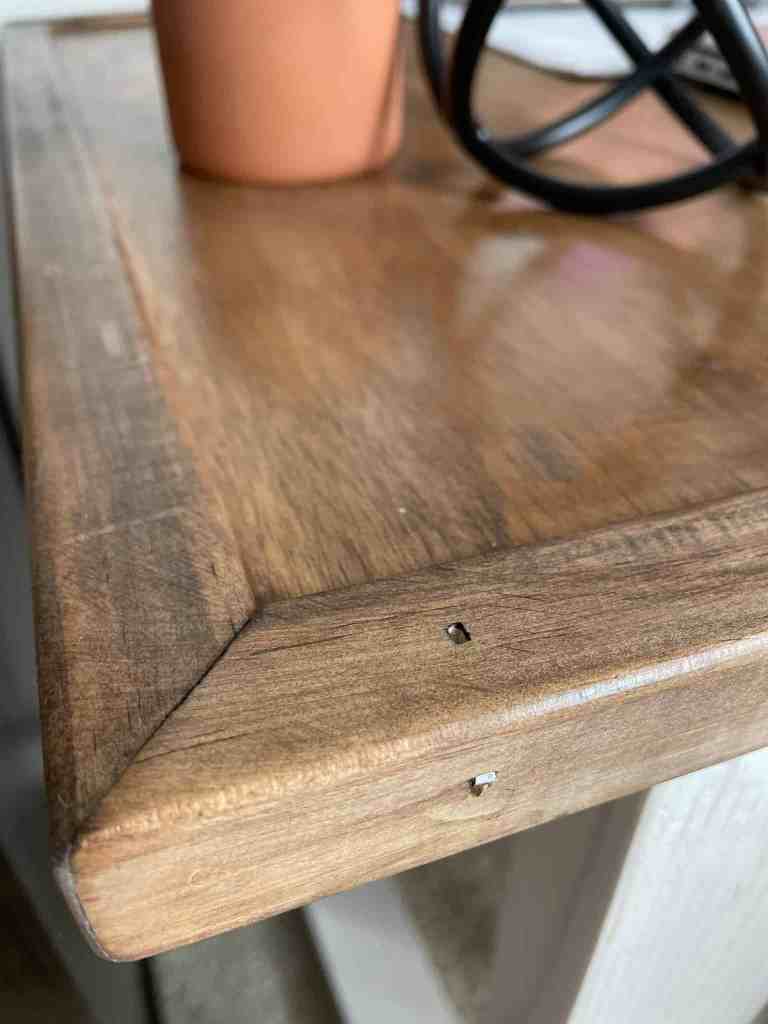
Try to countersink the nails if you can, so they will be just below the top surface of the desk. I lightly tapped the nails with a hammer to countersink them before covering the hole with wood putty.
Covering the Plywood Edges
There are a couple of ways to hide the rough edges of plywood. The first option is to brad nail corner molding onto the edges.
Another option that has become very popular and much easier to install is plywood banding. The banding is stainable and paintable, so it will match would perfectly.
The Handyman’s Daughter provides great instructions on how to work with plywood banding, if you want to learn more about it. The banding was relatively new when I built my desk, so I opted for corner molding to cover my plywood desk top.
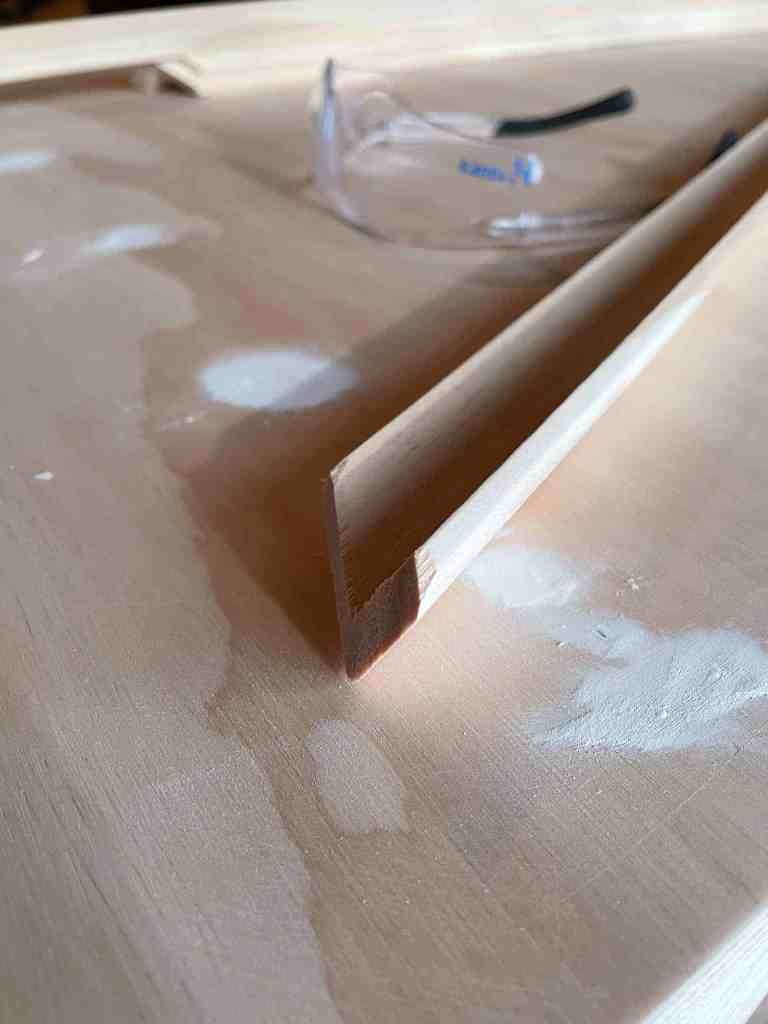
The corner molding was cut at 45 degrees and attached with liquid nails, a nail gun, and brad nails. Again I countersunk as many of these nails as I could, so I could cover the nail holes with wood putty.
Sanding Your Scrap Wood Desk
Now that you are done building a desk, you should add wood putty wherever needed. Once the putty has dried, you can down the entire desk. I started with course sand paper then transitioned to fine sand paper to smooth the surface. After completely sanding your desk, wipe the desk down to prep for painting or staining.
Painting and Staining
I white washed bottom of my desk and I did a 2 part stain on the top of my desk. To white wash simply grab some white paint, water, and a disposable cup.
Pour a little white paint and slowly add water until you get a good consistency. I poured enough water into the paint, so it is not too thick or too watery.
Use a paint brush to brush on the white wash then wipe the paint off with a rag. I only applied 1 coat of white wash because I like how the wood grain showed through the white wash.
Then I stained the top part of the desk and the corner molding with a custom stain color by apply 2 different stains.
Clear Coat
After the wood has dried for several hours, you can apply a water based polyurethane to protect the top of your desk. The protective clear coat should be applied with thin layers using a brush meant for gloss. Allow the desk to dry overnight or longer for resting your computer on top of the desk.
Conclusion
We hope our free DIY desk plans helped you turn a small corner into an inviting office space. Don’t forget to add a little greenery and wall art to make the space more cozy and inviting! You might find these tips helpful when it comes to decorating.