
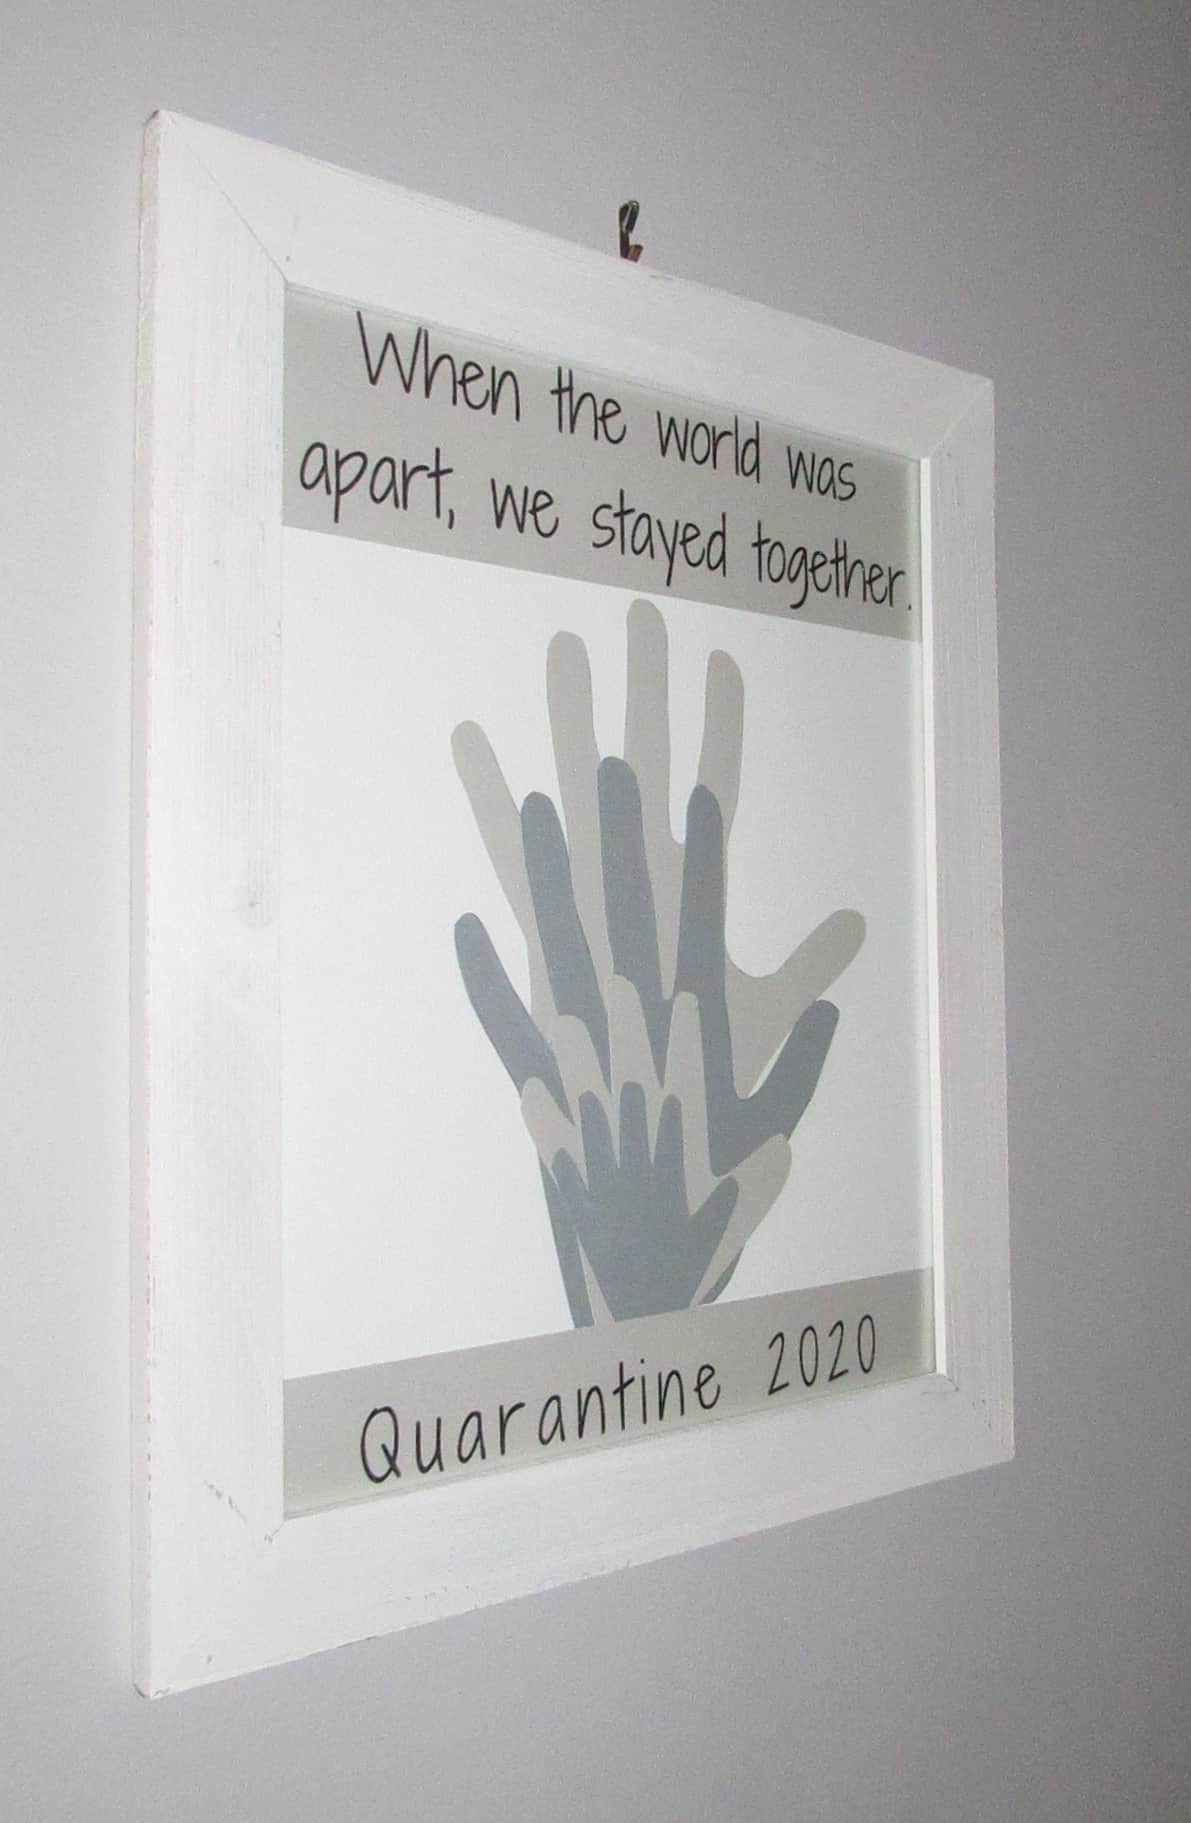
If you are looking for a fun way to display the your family hand prints then you will love this project. Since I had a lot of time on my hands (no pun intended), I decided to make this family hand print art project.
I made this family hand print craft during the beginning of quarantine in 2020, so feel free to change the wording to your last name or another meaningful quote.
Step 1: Trace Everyone’s Hands or Paws
Begin tracing everyone’s hand or paw prints, onto scrap paper to make a hand print pattern.
Make sure to trace the same hand for everyone in the family, so the hands align nice and neat for the project.
I chose to trace the left hand for everyone in my family, but it doesn’t matter which hand you go with.
If you have a toddler or a pet that can’t sit still like mine, finger paint might work better than tracing.
Paint your pets paw or child’s hand in finger paint then have them press their hand onto the scrap paper.
You can then cut this outline of their hand out instead of trying to trace the paw or hand.
Materials Used for Family Hand Print Art:
- Scrap Paper
- Card Stock or Construction Paper (for Hands)
- Card Stock (for the background)
- Glue or Double Sided Tape
- Small Scissors
- Optional- Fiskers Paper Cutter (I love this thing!)
- Picture Frame (My frame is 11 x 14)
- Finger paint (Optional)

Step 2: Cut Out All of the Family Hand Prints
Now that you have traced the hand prints onto scrap paper, cut them out carefully.
Then trace the hand print patterns onto a nicer card stock or construction paper. Next cut out the family hand prints again from the card stock or construction paper.
I recommend using small scissors to cut the heavier paper because it can get a little tricky cutting around the tighter spaces of the hand.

Step 3: Select Wording for the Family Hand Print Art
Choose your wording for the family hand print art then type it into Microsoft Word or Canva. I made this project back in 2020 during quarantine, so feel free to adjust the word to your preference.
For ideas, Google family quotes or you can include your last name with anniversary on the family hand print art project.
Once you decide what you would like to include on the top and bottom section of the project, type it into Word or Canva.
Then adjust the fit and sizing of the wording, so it stretches evenly across the page you are working with.
I recommend printing the wording out on test paper to make sure it fits onto your family hand print art.
If you are confident you have the correct sizing, print directly onto the card stock or construction paper.
I printed the wording out in landscape to make sure it went across the entire portion of the frame.
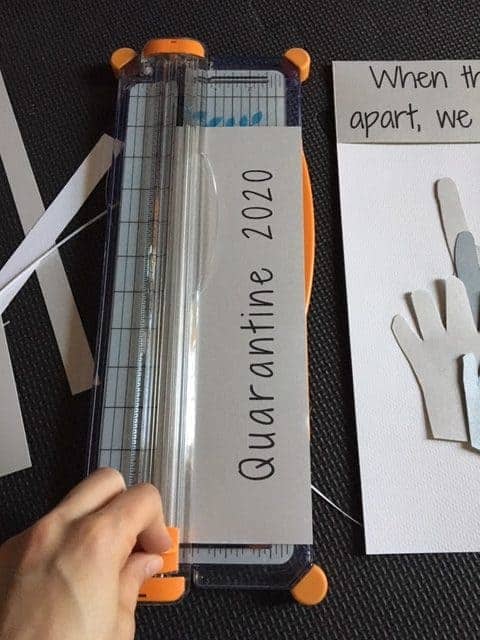
Step 4: Cut Out the Wording
Use a Fisker’s Paper Cutter to help size the wording and make clean cuts.
Then use double sided tape or glue to stick the wording to the paper that you are using for your background.
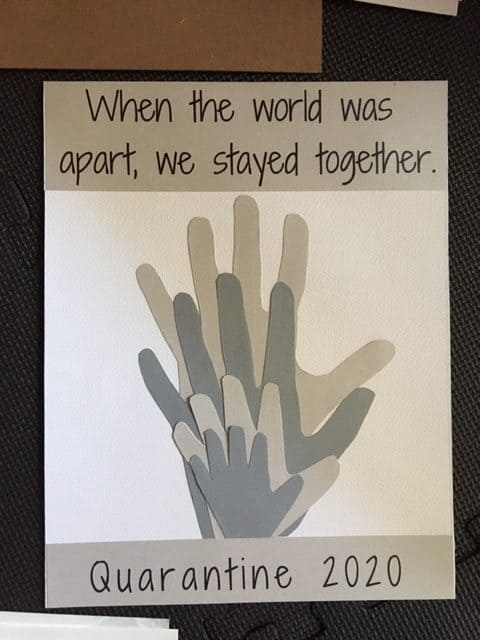
Step 5: Glue the Wording and Hands
After you have the wording in the correct place, start lining up the family hand print art onto the paper.
Place the hand prints onto the paper with double side tape or glue. Adjust the hand prints so that you can see all of the fingers and the hands align nicely.
Conclusion
Lastly, frame your family hand print art and display proudly in your home. I hope you enjoyed this project! You might find these other holiday crafts fun to make from repurposed items!