
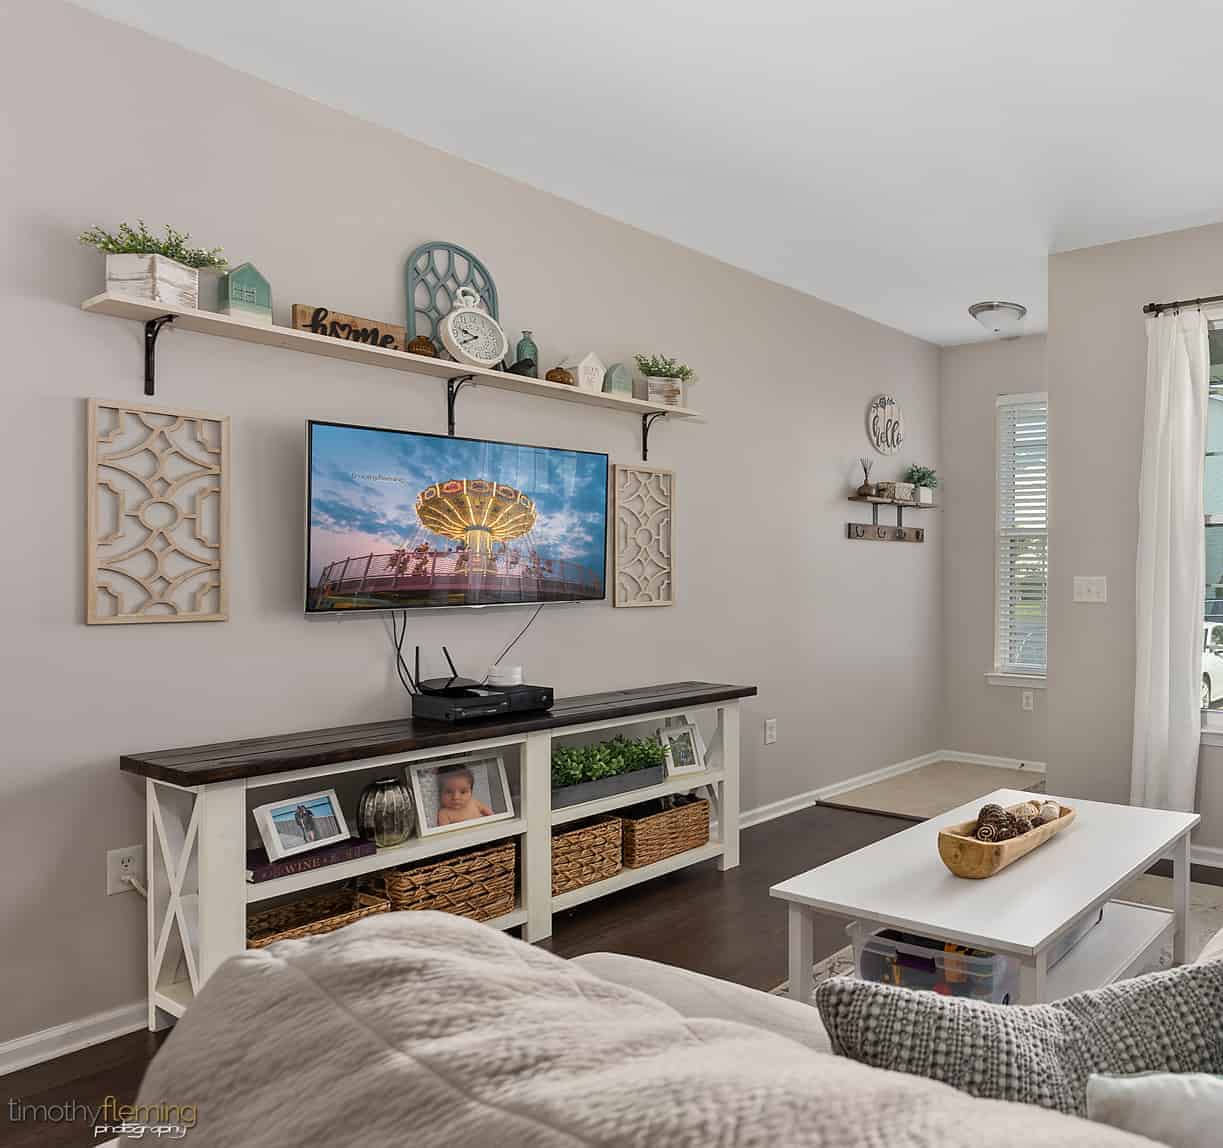
A DIY console table is a great beginner woodworking project you can complete in a weekend. This narrow console table is perfect for small spaces and adds a custom touch to any room. We built ours to fit an empty wall in our awkwardly shaped living room, and guests always notice it.
Tools Needed:
Kreg jig, tape measure, drill, hammer, sander, miter saw, speed square, screws, safety gear.
Cut List (in inches):
- 12 – 2×2 @ 30
- 6 – 2×4 @ 28.5
- 2 – 1×12 @ 63.5
- 5 – 2×4 @ 11.25
- 2 – 2×2 @ 11.25
- 2 – 2×2 @ 22.5 (ends cut at 60°)
- 4 – 2×2 @ 11.25 (cut with 60°/30° angles)
- 3 – 2×6 @ 74.5

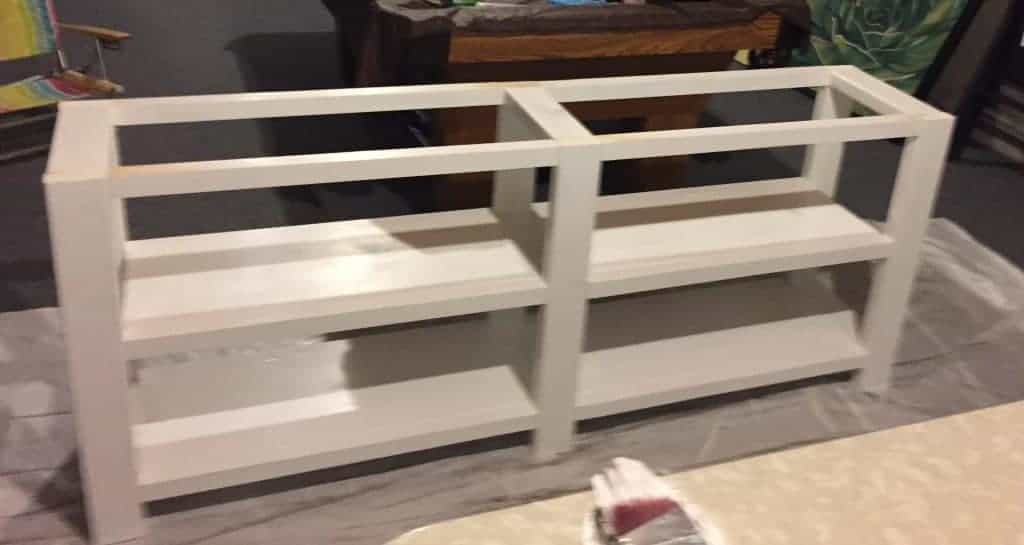
Step 1: Build the Frame
Cut and assemble the frame using your Kreg jig and pocket screws. Start with the 2x4s and 2x2s to build two matching frame sections.

Step 2: Add Shelves
Attach the 1×12 shelves to the frames using 2 1/2″ pocket hole screws. Make sure everything is level and flush.
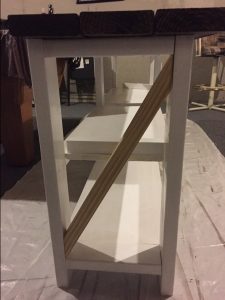
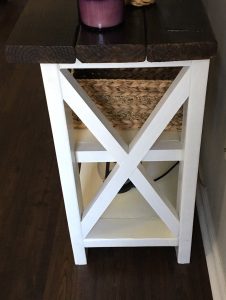
Step 3: Add Side X-Design
Cut the angled pieces for the X-pattern on each side. Use scrap wood to test your 60° and 30° cuts.
Step 4: Attach the Top
Assemble the tabletop separately, then secure it to the frame with pocket screws through the aprons.
Finishing Touches
Sand thoroughly, starting with 60 grit and finishing with 220 grit. I stained the top in Kona and painted the base white with Behr paint.
Final Thoughts
This console is sturdy, stylish, and toddler-proof. It’s one of our most complimented DIY pieces!