
I’m not crazy about painter’s tape because it takes a forever to line up tape and I still end up with messing paint lines.The secret to cutting in paint is the right $5 tool for the job.
What is the secret to cutting in paint?
I’ve painted my home from top to bottom, so I learned tricks to cut in paint like a pro without tape.

The secret to cutting in paint is the right angled paint brush.
Good news is, it is not a fancy contraption and you can easily learn how to use it.
If you are like me, you will find those imperfect lines while you are laying on the couch.
How to Cut in Paint without Tape
The key to achieving a clean line when painting a room without using tape, is to have an angled brush.
A good quality angled brush is the only tool that you need to cut in paint.

An angled brush with a small handle fits nicely in you hand giving you more control and allows you to easily glide the brush.
My favorite brush is the Wooster Angled Brush because it making cutting in paint so easy!
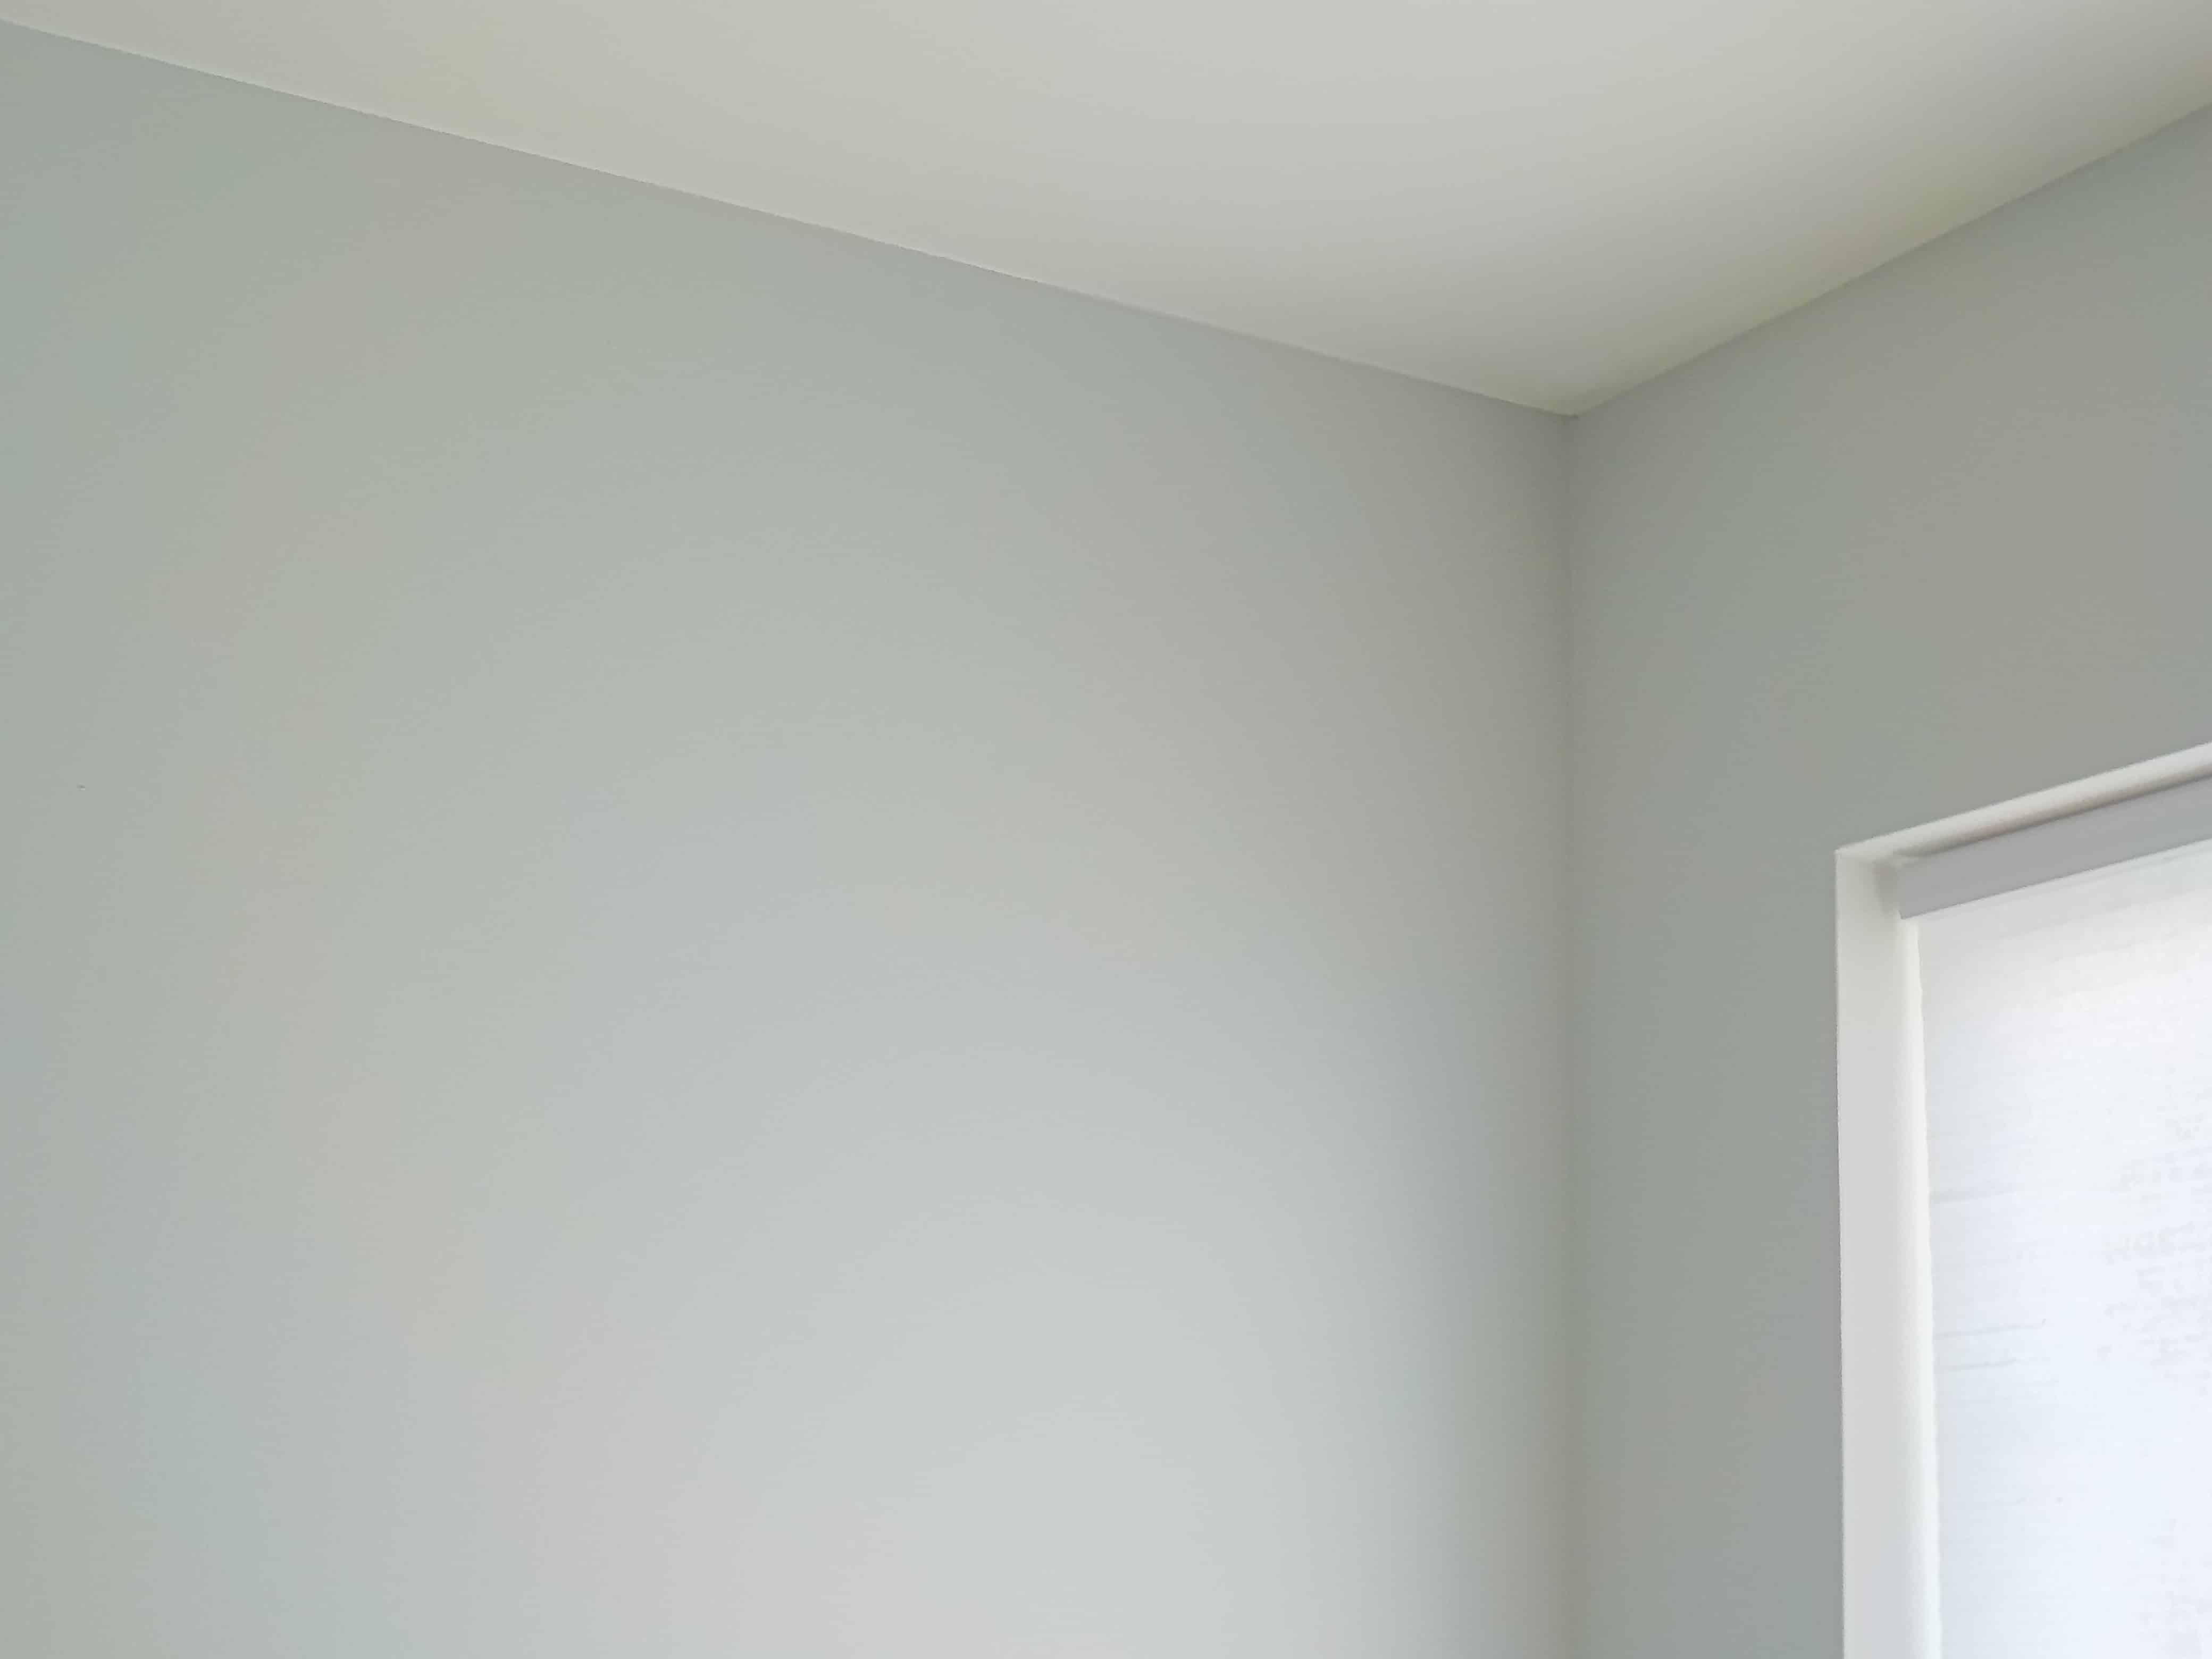
How to Cut in Paint at Ceiling
Now that you have the right paint brush for cutting in, it is time to start painting along your ceiling.
To get a perfect line between the wall and ceiling, lightly dip your brush into the paint and wipe excess paint before applying it to the wall.
Tip: Do not use an overly saturated brush or it will drip all over.
Light to Medium Pressure: Apply a light to medium pressure and work your way up toward the ceiling to use any excess paint before dragging the brush along the top of the wall.
Leave Small Space: When cutting in along ceiling, make sure to leave a little space along the top near the ceiling.
I like to work my way up to the ceiling then drag my brush over along the top of the wall.

The reason I work my way over, is to gain control and use excess paint so when I reach the ceiling my paint is almost dry.
This helps prevent paint drips and will avoid getting any paint on the ceiling.
Fill in the Space: Now that you worked your way up toward the ceiling, drag your brush along the top of the wall very slowly as shown below.

Continue to work your way up toward the ceiling to use excess paint then drag your brush over along the top of the wall.
The most important thing is to take your time and beware of the angle of your brush.
Work with the brush, so that it feels comfortable in your hand and you aren’t leaning too much.
If you find that you are leaning then you should move your ladder closer to avoid messing paint lines and falling.
Additional Tip To Painting At Ceilings
If you find yourself in an awkward spot of a room then you may need to switch hands.
I am right-handed, but occasionally I switch to my left hand to get the best angle to paint certain areas.
This sounds crazy, but you will have more control over the brush if you switch hands.
When using your non dominant hand make sure to go very slowly to avoid paint smudges on the ceiling.
I also, recommend using as little paint as possible when using your other hand.
Should you paint the ceiling or walls first?
There is no wrong answer to this question. In my opinion it is best to paint the ceilings first followed by the walls.
The reason I recommend painting the ceiling first is because the ceiling paint splatters, so it could get onto your freshly painted wall.
Another reason I prefer to paint the ceiling first is because it is easier to cut in the ceiling paint when you can quickly brush it on the wall.
After the ceiling paint has dried, you are left with a clean white line to follow along with your new wall paint.
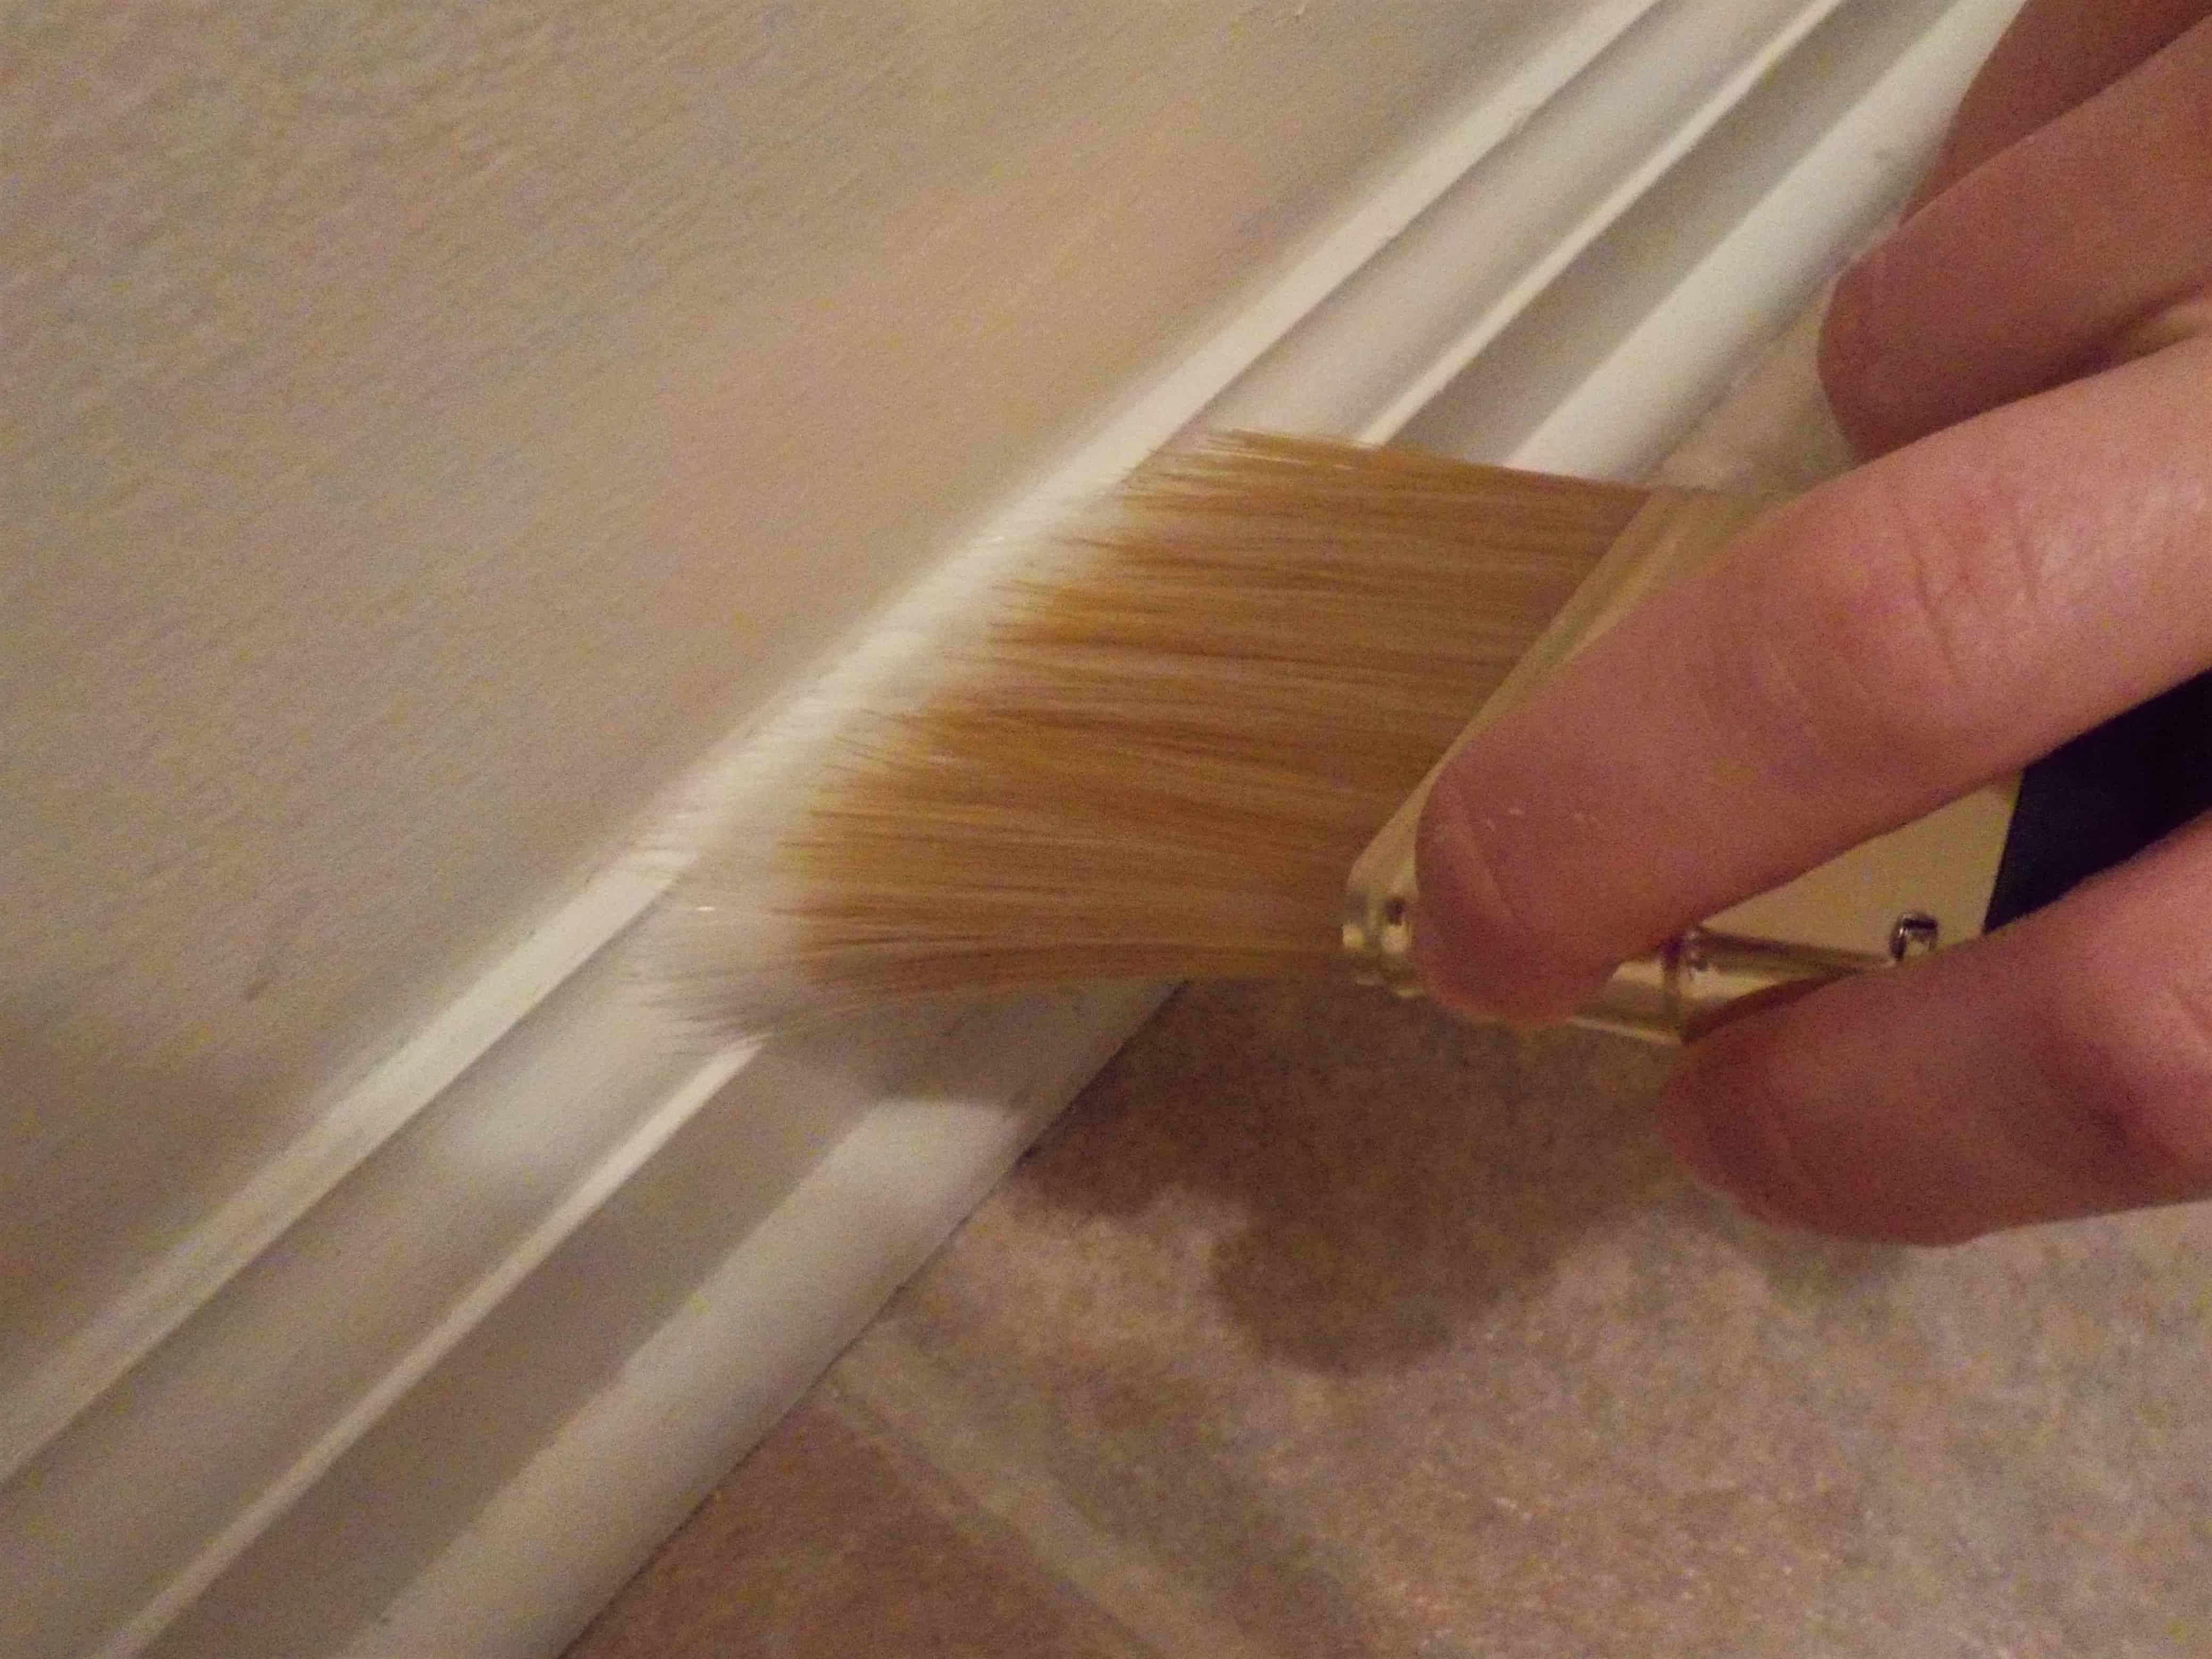
How to Cut in Paint at Baseboards
To cut in paint at the baseboards, I recommend using the same type of angled brush.
Dip the angled brush into the paint color, wiping any excess paint before brushing it onto the wall.
Then with light to medium brush drag the brush slightly above the baseboard to use up some of the paint on the brush.
Go back in with the brush before dipping it into more paint and cover the small space above the baseboard.
The reason I recommend leaving a small space is to avoid the paint dripping down toward the baseboard. This will leave you with a crisp clean paint line.
How to Paint Baseboards
My favorite painting trick is to use an index card or a piece of junk mail and the angled brush that I’ve mentioned a 100 times already.
I first paint the center of the baseboard first to use excess paint in this area then work my way along the floor and top portion of the baseboard.
I drag the index card along the floor against the baseboard to avoid getting paint on the floor.

The index card is only used to catch any light brush strokes that might have brushed against the floor.
Make sure to wipe off excess or start painting toward the middle area of the baseboard to use the paint.
To achieve a clean line along the top of the baseboard, I drag a few bristles of the brush across it.
How to Paint Trim Without Tape
When I paint trim, I use the same angled brush and the paint that I used for the baseboards.
Dip the angled brush into the paint then start in the middle of the trim to use the excess paint then I work my way to the inside and outside of the trim.

To paint the trim without tape, dip the brush in the paint and wipe off some of the excess.
Then I lightly drag the angled brush along the side of the trim making sure not to overlap the white part of the trim.
Occasionally you may need to switch hands when painting trim because of an awkward angle in your room.
If you slightly drag too much paint, try to pull the brush back in against the side of the trim and finish painting the rest.
Additional Trim Painting Tips
Step back and see where you exaggerated the line and take the angled brush and go back against the line to try to blend it.
If the line is just not blending, let the paint dry and go back in with the paint that you used for the wall to try to cover the area.
How to Reuse Brushes and Rollers
To reuse brushes and rollers for the same project, place the brushes in a plastic zip lock bag or wrap rollers in a couple of plastic shopping bags.
I do not rinse brushes or rollers before placing them into the bag.
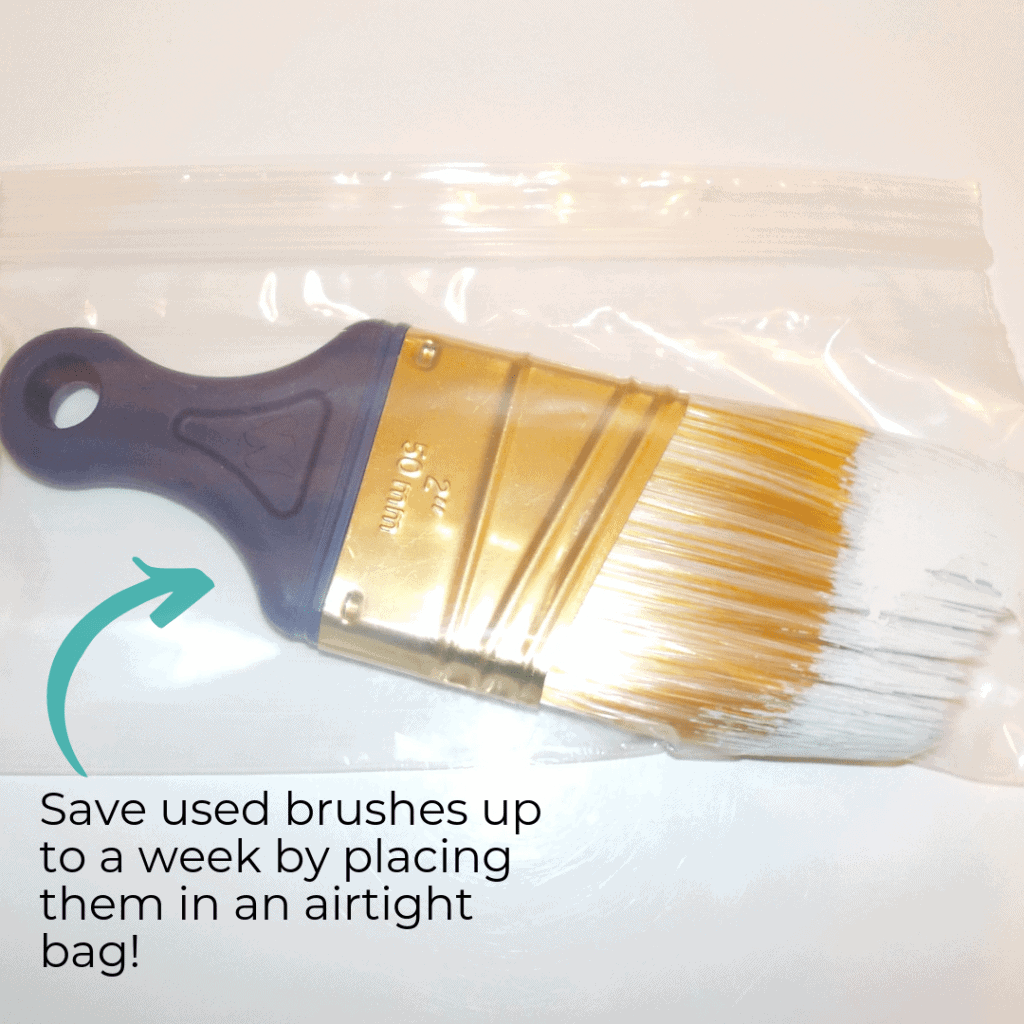
You can leave whatever paint is left on the angled brush or paint roller, and put them in the airtight bag. The brush or roller can last up to a week in the airtight bag.
Conclusion
Now that you’ve learned how to cut in paint without tape, check out one of our other posts on paint color ideas! You can see paint colors used inside of actual homes, so you can get a good feel for what the colors look like.