
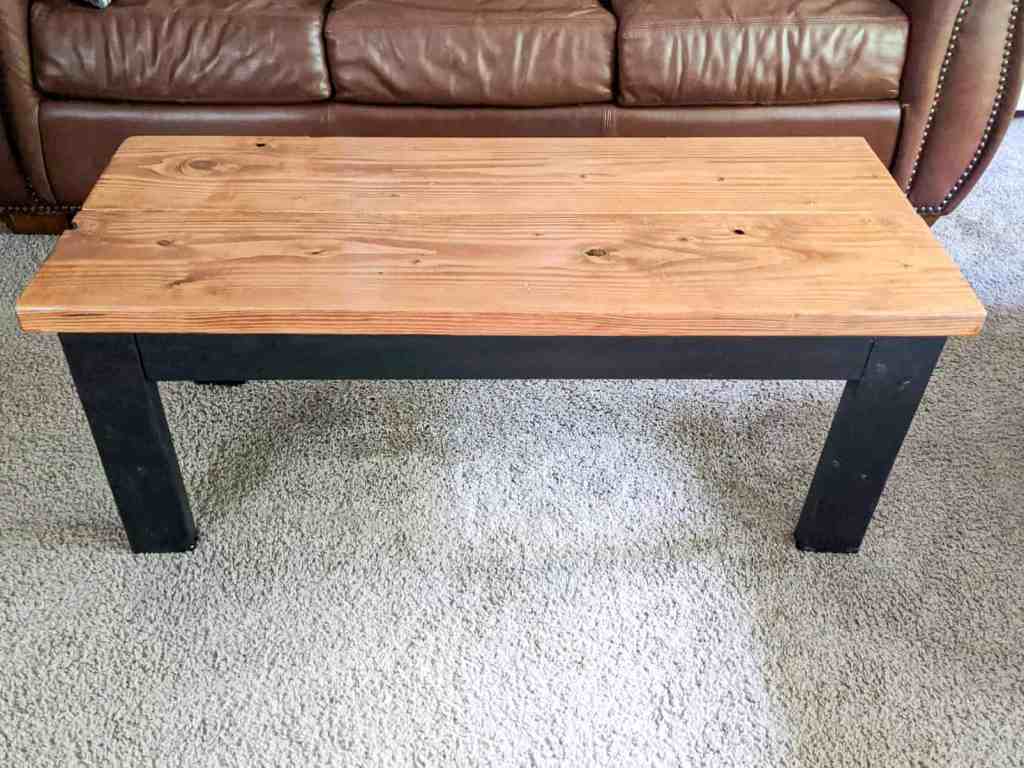
Isn’t it crazy that some coffee tables can run close to a thousand dollars? Instead of overspending, learn how to build a coffee table to save money and design a custom piece of furniture.
How to Build a Coffee Table
I decided to make a DIY coffee table because I didn’t have a large budget, but I wanted quality furniture. If you have been browsing online for a new coffee table, but can’t find the right one for your space then you should build your own!
This DIY coffee table will run you around just $40 or free, if you have extra scrap wood laying around. You do not need a lot of wood to build a small to medium size table, especially if you are going for a simpler design.

The best part of building your own farmhouse coffee table is that you can design it exactly how you want for your space. Your coffee table can also, be painted or stained any color to perfectly match existing home decor.
Determine the Size of Your DIY Coffee Table
Before getting started with making your DIY coffee table, you should determine where you are going to put it. I only had a small space to fit a coffee table, so my coffee table might look a little weird in the pictures.
Make sure to consider the walking space around the coffee table and surrounding furniture. You want to allow for enough leg room for adults and also children or pets. If you have small children, I would advise against a coffee table.

My toddler boys were wild when they were young and I always had a fear of something bumping their head on the table. If you have small children, I recommend going with a padded storage ottoman instead because a rock solid wood table will be sure to leave a decent bruise.
Materials Required to Build a Coffee Table
You’re going to need 2×10’s (or 2×12’s if you prefer) planks for the top and 2×4’s for the side skirt of the coffee table. For the legs, I went with scrap 4×4’s, so I went with this size for the legs of the table.
You can get away with use 2×4’s if you prefer a less chunky style table. To build the coffee table you will need wood glue, screws, and a Kreg Jig.
How to Make a Coffee Table Top
Figure out how wide you want your top, then determine how many pieces you need for that width. In my case, I just wanted two 2×10’s for the top, which equals roughly 20 inches.
My top was just about 4 feet long, so I cut them to size then laid them next to each other. I put a mark every 8 inches or so on the legs for where I would drill holes with the Kreg Jig.
Drill the appropriate holes with the Kreg Jig then use wood glue between the boards. Screw them together, making sure to start in the middle and work your way to the outsides when putting in screws.
Kneel on one of the planks so it won’t move when screwing in the other one. The boards should be are aligned on both ends and flush.
Alternative to Kreg Jig
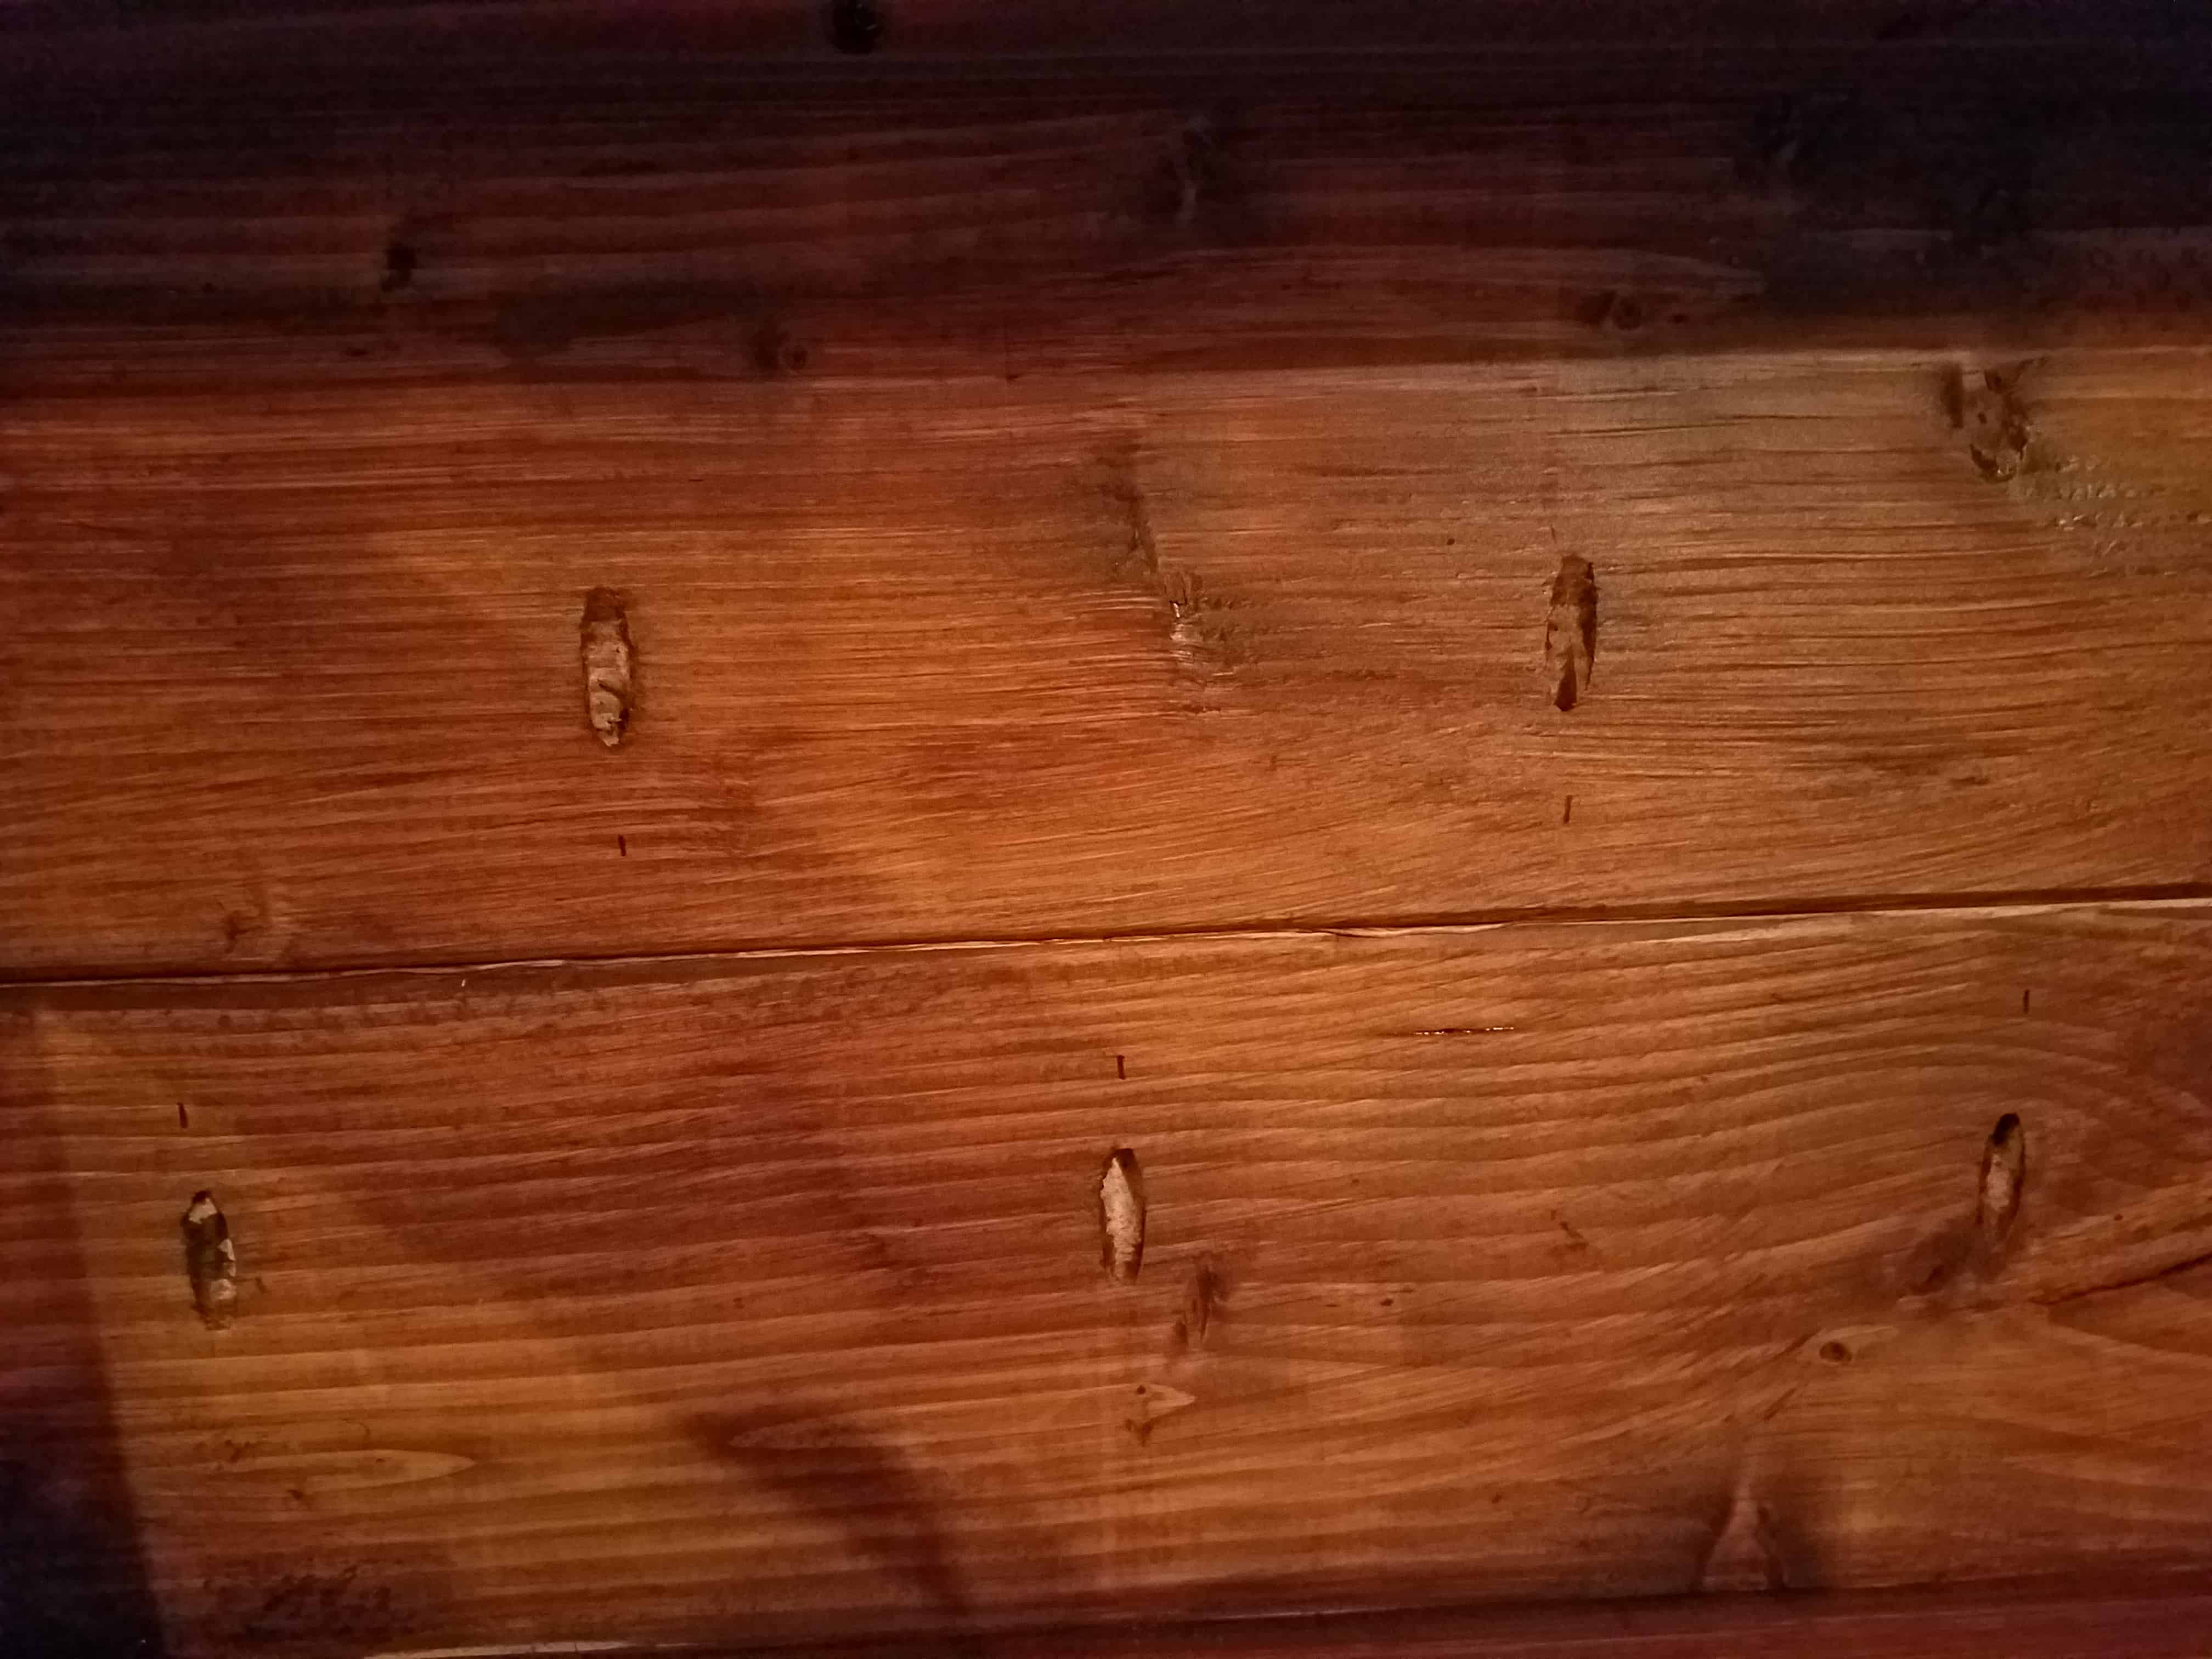
If you do not have a Kreg Jig or you would rather not use one, there is a way to build a coffee table with it. You can simply drill holes right into the top of the coffee table instead of making pocket holes with a kreg jig.
The screws on the top of the table will give the coffee table a rustic look. Another option is to counter sink the screw heads then fill the space with wood putty.
The wood putty can be sanded and stained, so you would never know the screws were drilled into the top of the wood. Take a look at how Carli made a similar coffee table without a Kreg Jig.

Building the Coffee Table Side Skirts
First, cut all 4 legs to the height you prefer then place the kegs on the table top, while it’s laying face down. Place them about an inch or two from the edge of of the four corners.
After that trace a line around the legs, then measure the distance between each leg. That’s the size that you’ll want to cut all 4 side skirts.
Before you mark the holes to connect the side skirts to the table top, make 2 additional pocket holes on each end of each board, where they will connect to the legs.
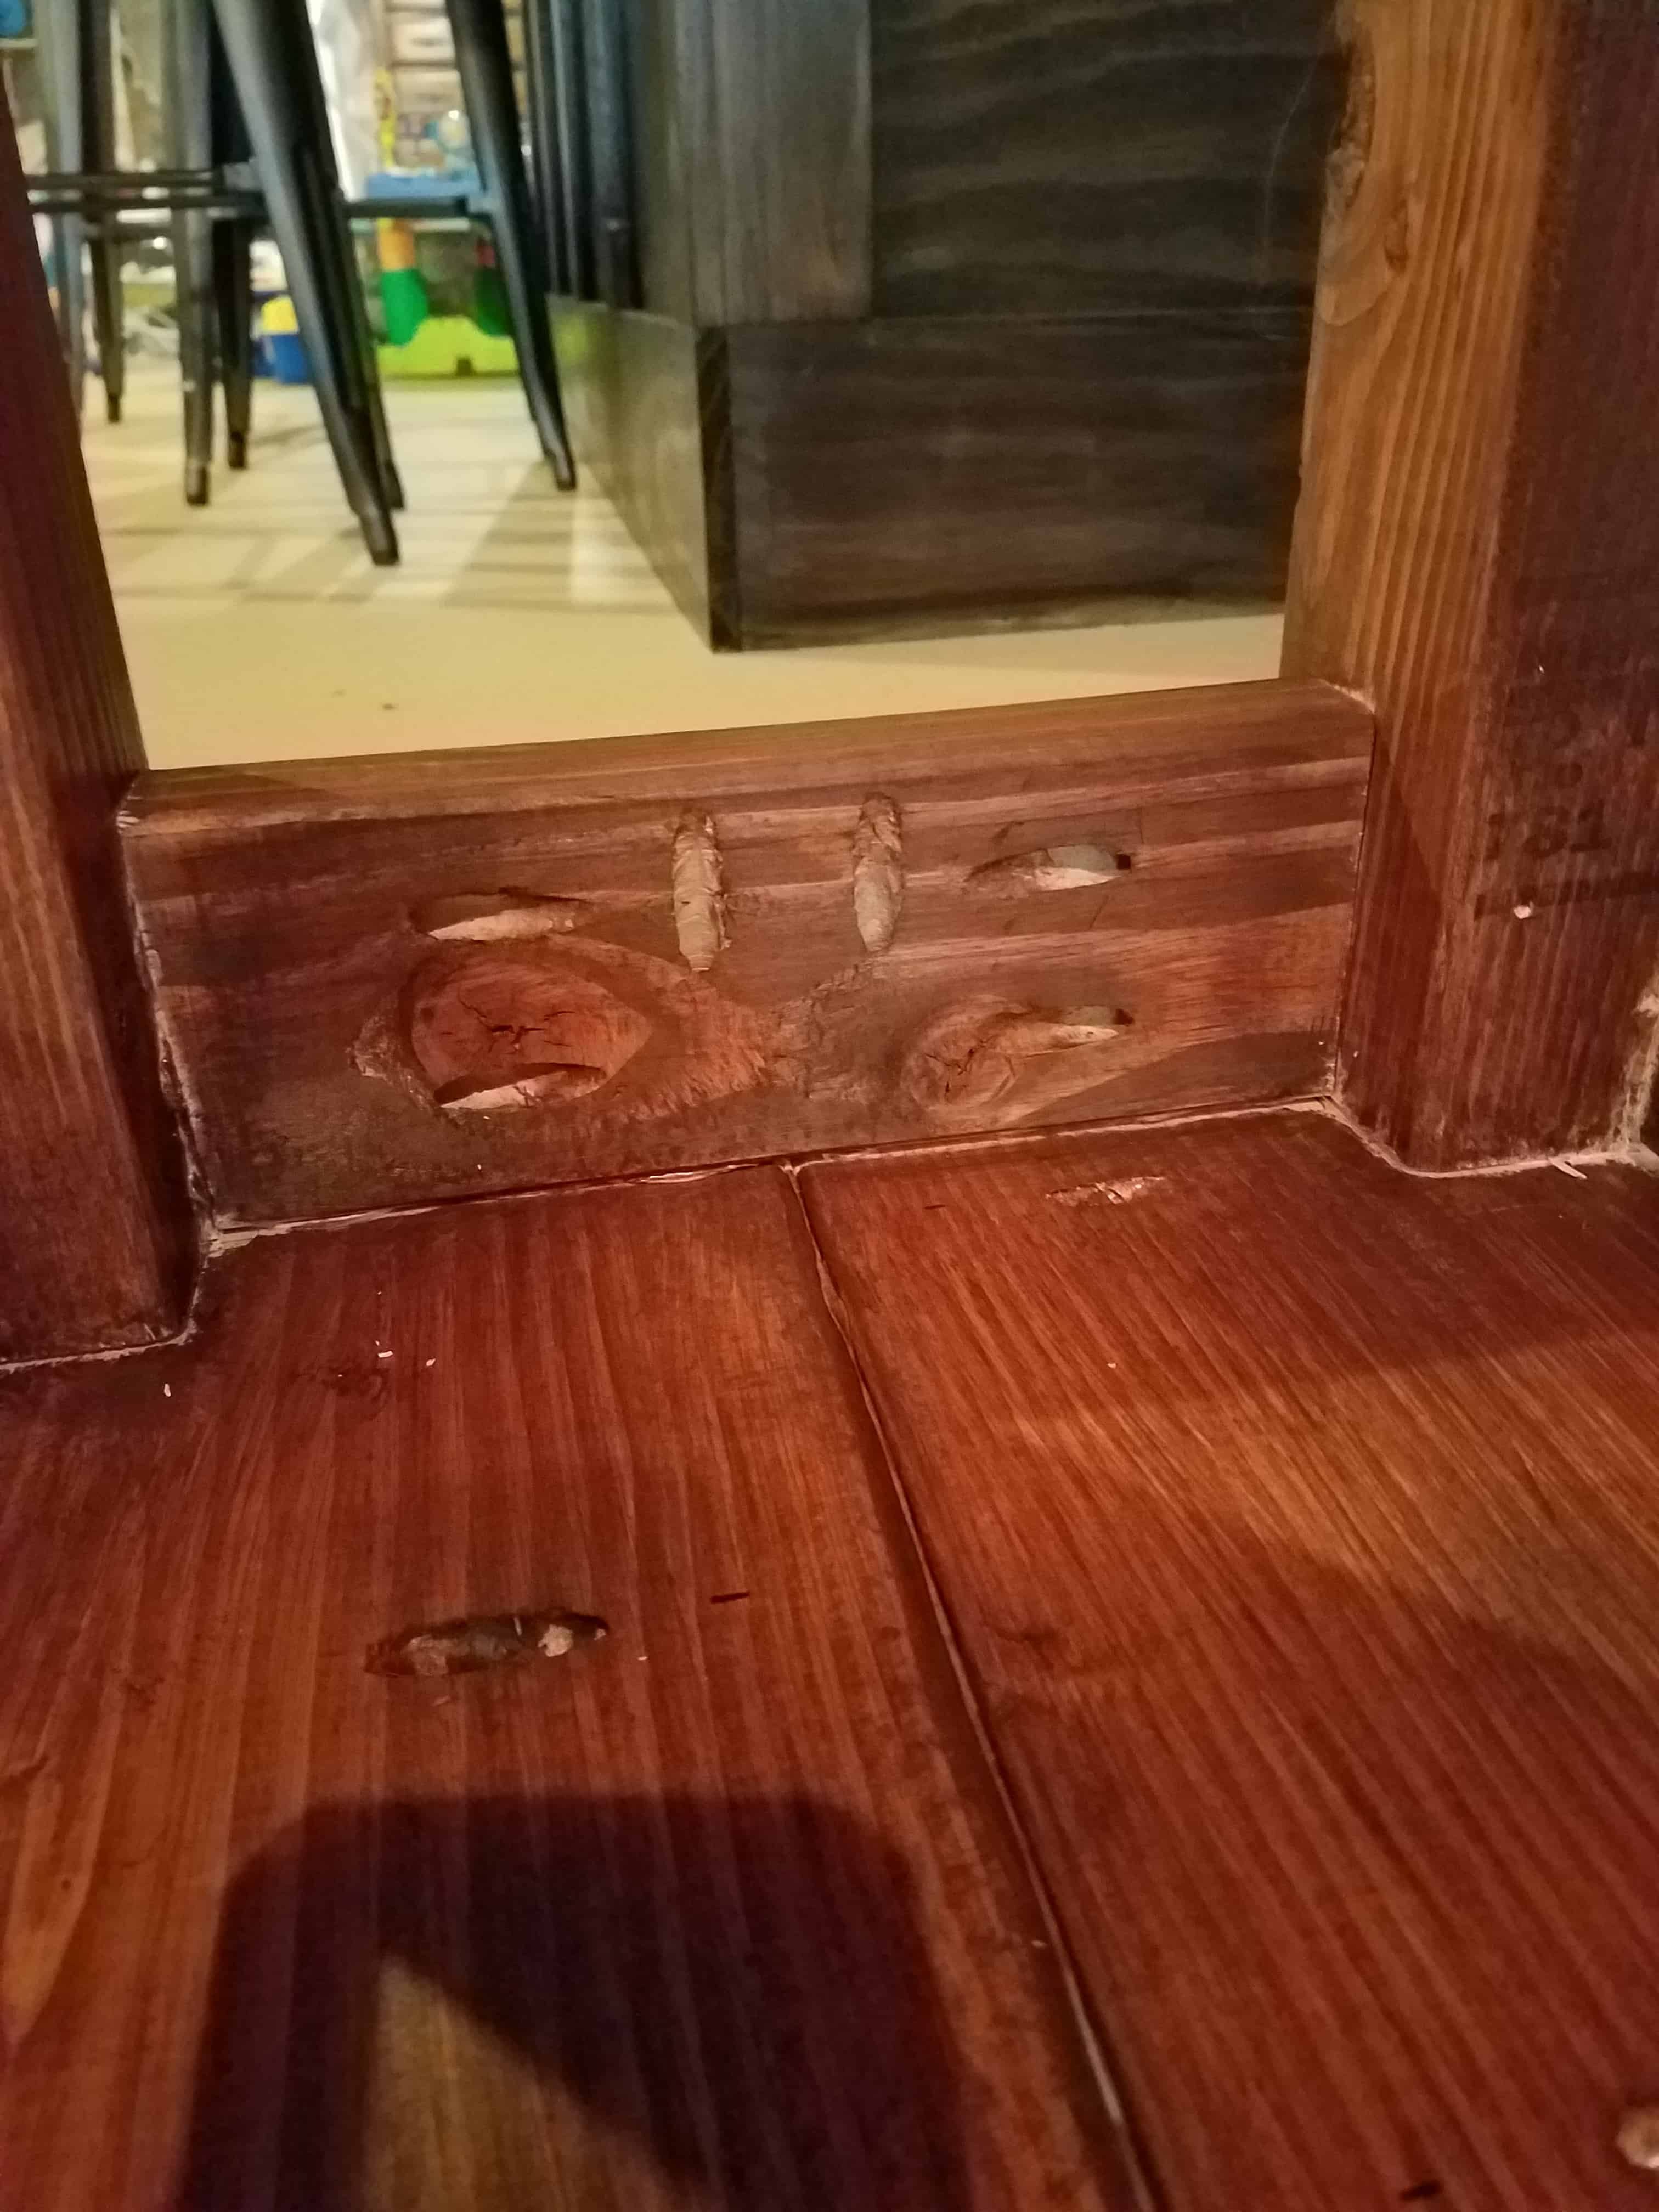
Mark those first then mark every 8 or 6 inches from those “side holes”. After the holes are drilled, align them on the table top with the marks you traced for your legs.
Use wood glue again to adhere them before screwing them on. Make sure the screws are not long enough to go through the top of the table then wipe up excess wood glue.
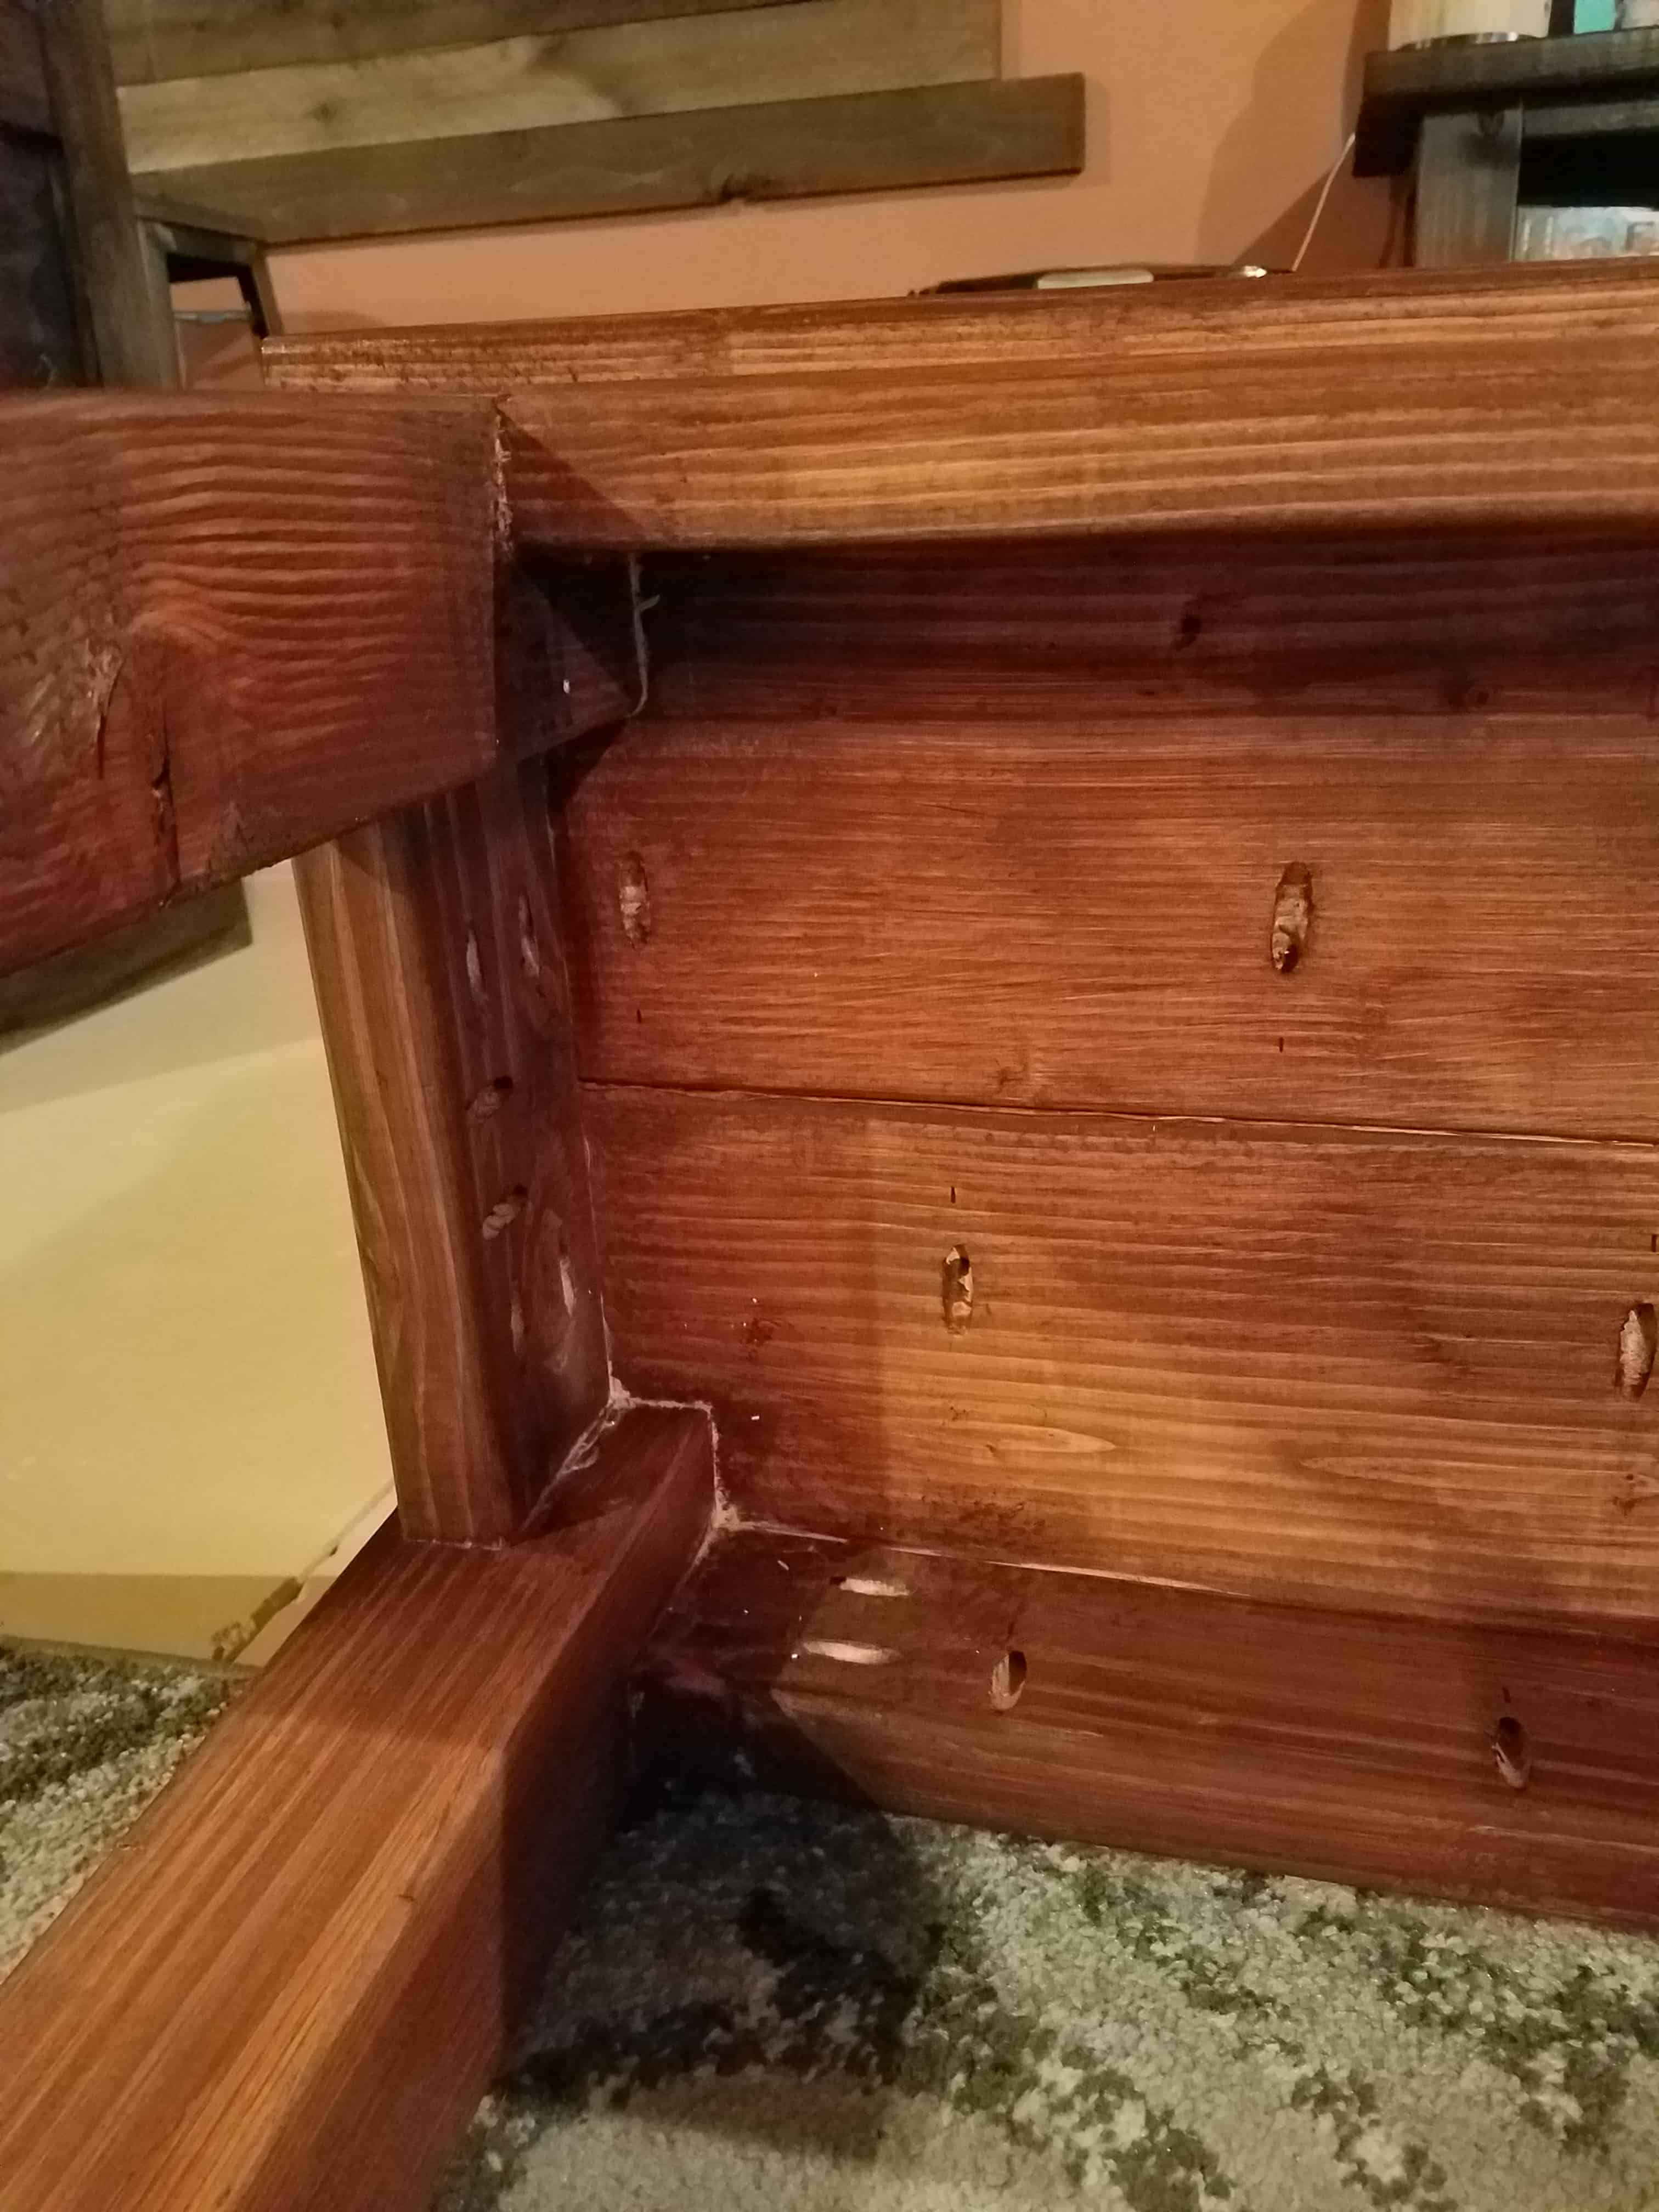
Adding Legs to the DIY Coffee Table
The legs are the easiest because there’s only one place they can fit. You don’t have to use wood glue here if you think you’ll take it apart, but I did for extra support. Now align the legs in the empty corners and screw them in with the pocket holes.
Cross Brace for the Coffee Table
To help support the DIY coffee table, you should a cross brace, or “cross rail”. The brace would lay straight across or like in the picture. You would adhere those in a similar fashion that you did the side braces, like in the picture.
Finishing Touches
Lastly, sand the entire table with a medium grit sandpaper then working your way to a fine sandpaper. Then stain the wood coffee table any color that your prefer. Some stains have a clear coat mixed into the stain, but if it doesn’t make sure to apply a top protective coat.
Allow the coffee table to dry for a few hours in between coats of stain and top coat. The final top coat should dry for at least 24 hours before moving the table into your living room.

Conclusion
Then move the table to your space and kick your feet up because you made a rock solid piece of furniture. Now don’t smash your knee into it or it will really hurt because this table is so strong.