
Looking to give your fireplace a fresh, timeless look? Airstone is a beginner-friendly stone veneer that makes it easy to upgrade your space in just a weekend—no masonry experience required!
What Is Airstone?
Airstone is a lightweight, thin stone veneer that can be installed indoors or outdoors. It adheres easily to drywall, brick, tile, marble, and more—just make sure the surface is clean and in good condition.

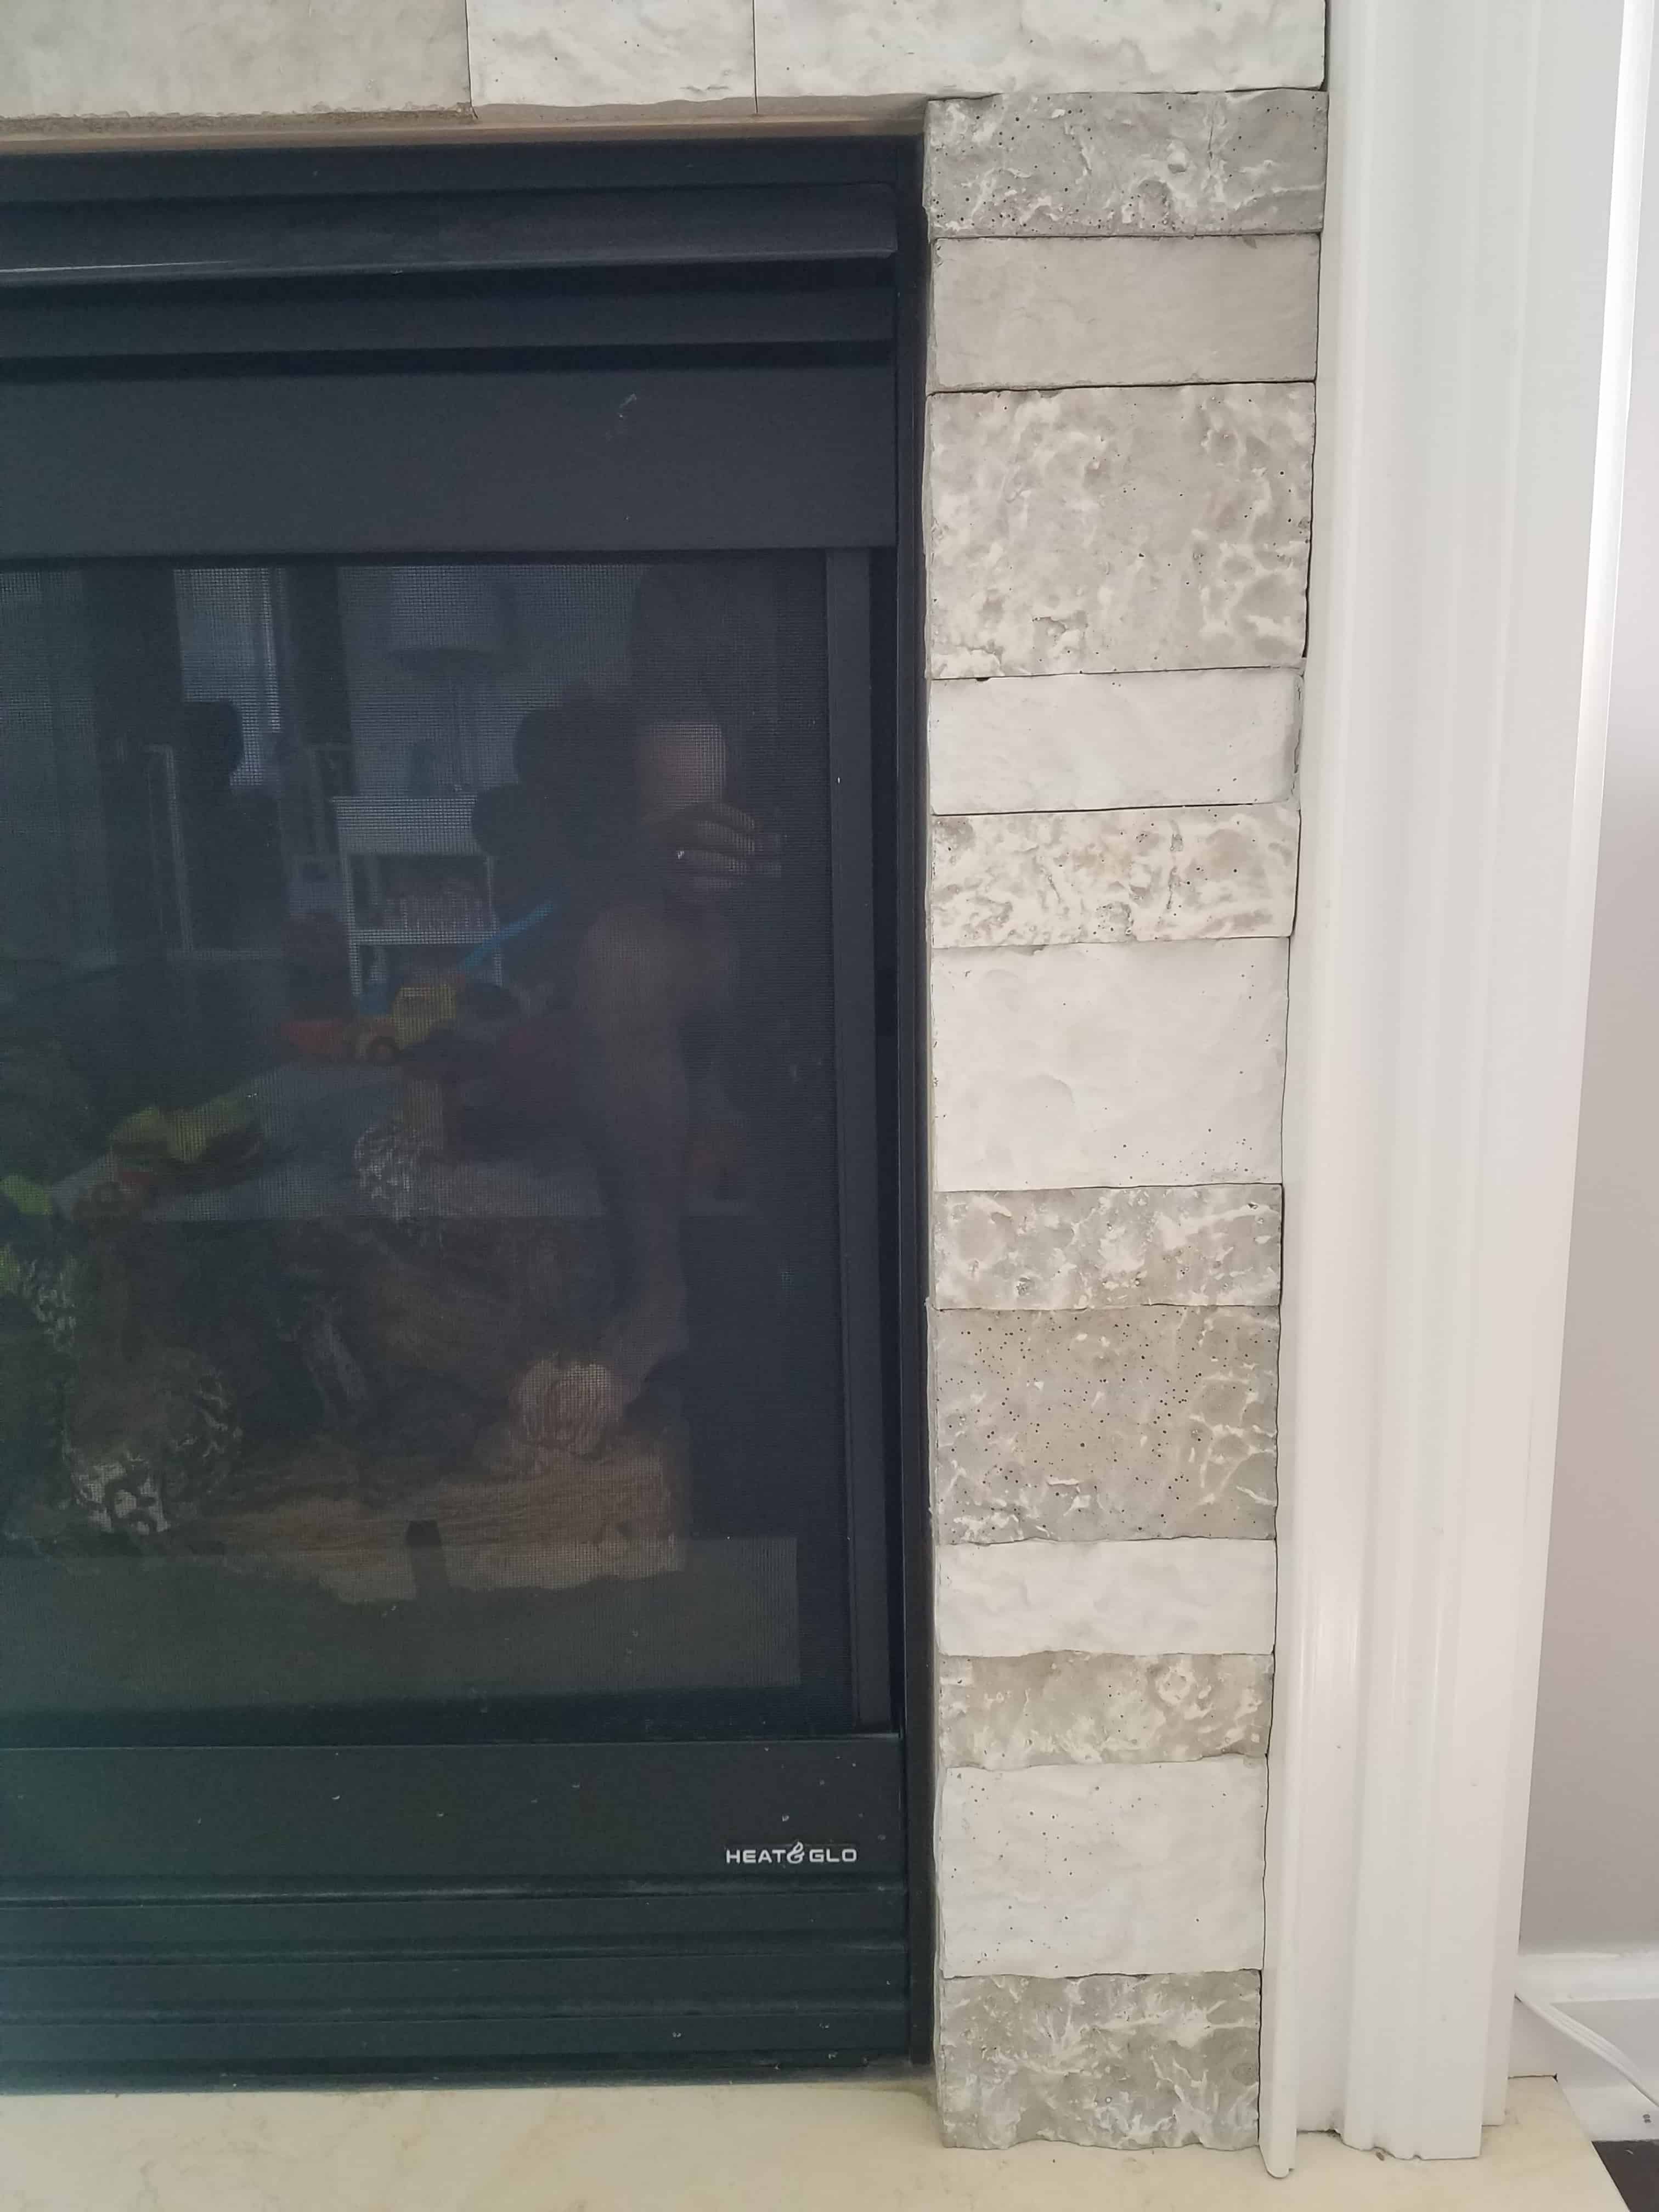
We used the Birch Bluff color for a soft, neutral look that blends cream, white, gray, and taupe. It works well with nearly any home style.
Planning & Measuring
Before sticking any stones to the wall:
- Dry fit your layout. Start with the horizontal space below the mantel to avoid unnecessary cuts.
- Measure vertical columns. Plan to trim end pieces so they don’t stick out past your fireplace.
- Stagger the stone pattern for a natural, varied look.

How to Cut Airstone
To trim the stones:
- Use a jigsaw with a masonry blade for quicker cuts.
- A hacksaw works too but is more labor-intensive.
- Always wear safety glasses when cutting.

Building Support (Scaffolding)
To hold stones in place while drying, build a simple 2×4 support frame under the top row. This keeps the stones level and prevents sagging.

Applying Airstone Adhesive
Use Airstone’s recommended adhesive—it has the texture of thick icing.
Steps:
- Apply a medium layer to the back of each stone.
- Press the stone firmly onto the wall.
- Start with the top center and work your way out.
- Once the top dries, move to the sides, starting from the bottom and working upward.

Project Timeline & Tips
- Most fireplace makeovers take a weekend including dry time.
- No clear coat or sealing is needed—just clean lines and strong adhesion.
- Don’t overdo it—use leftover Airstone for small accents, not your entire bathroom!
Final Results
The finished fireplace has a high-end, natural stone look at a fraction of the cost. Plus, it adds warmth and texture to your space with minimal effort.